Are you looking to add a touch of tranquility and beauty to your outdoor space? One fantastic way to achieve this is by creating your very own homemade pond. Ponds can attract wildlife, provide a serene atmosphere, and enhance the overall aesthetic of your garden or backyard. In this guide, we will take you through the process of making a homemade pond, from planning and designing to construction and maintenance.
Step 1: Planning Your Pond
Before you start digging, it’s essential to carefully plan out your pond to ensure its success. Consider the following factors:
- Location: Choose a spot that receives a good amount of sunlight but also has some shade to prevent algae growth.
- Size and Shape: Determine the size and shape of your pond based on the available space and your preferences.
- Depth: A depth of at least 18 inches is recommended to prevent freezing in colder climates and to provide a suitable habitat for aquatic plants and wildlife.
Step 2: Gathering Materials and Tools
Once you have a clear plan in place, it’s time to gather the necessary materials and tools. Here’s what you’ll need:
| Materials | Tools |
|---|---|
| Pond liner | Shovel |
| Rocks or stones | Tape measure |
| Aquatic plants | Sand or underlayment |
| Pond pump and filter | Level |

Credit: www.pinterest.com
Step 3: Digging the Pond
With your materials and tools ready, it’s time to start digging. Follow these steps:
- Mark the outline of your pond using a rope or hose.
- Start digging within the marked area, ensuring the depth and shape match your plan.
- Remove any rocks, roots, or debris from the hole.
- Smooth the bottom of the pond and check the level.
Step 4: Installing the Pond Liner
Once the hole is ready, it’s time to install the pond liner to prevent water leakage. Follow these steps:
- Place a layer of sand or underlayment at the bottom of the hole.
- Unroll the pond liner and carefully place it in the hole, ensuring it covers the entire area with some overlap on the edges.
- Smooth out any wrinkles or folds in the liner to prevent leaks.
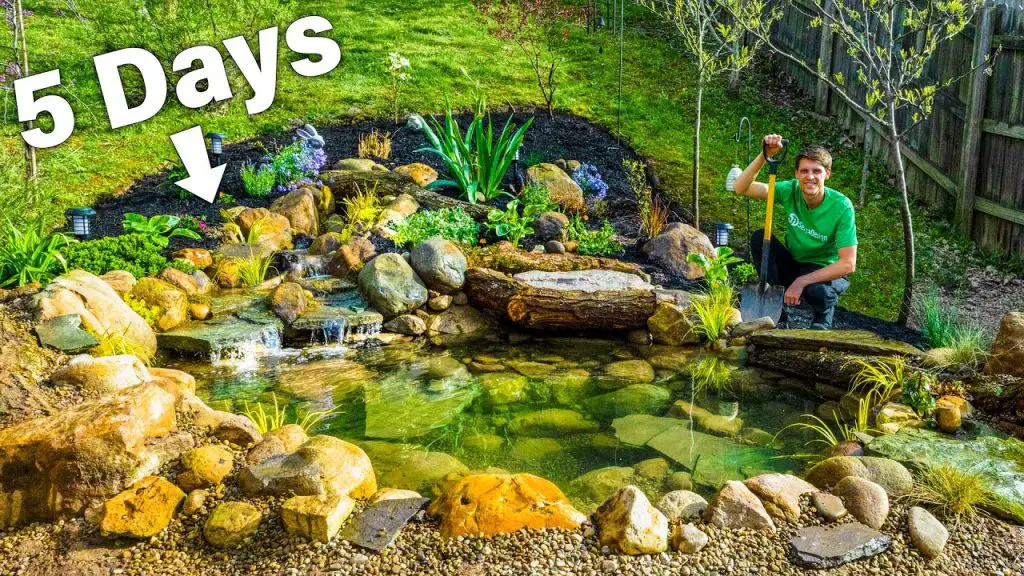
Step 5: Adding Rocks and Plants
Now comes the fun part – decorating your pond with rocks and aquatic plants. Follow these tips:
- Arrange rocks or stones around the edge of the pond to create a natural look.
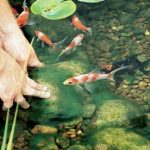
- Place aquatic plants in baskets filled with aquatic soil and submerge them in the pond at different depths.
Step 6: Installing a Pond Pump and Filter
To keep your pond water clean and healthy, it’s essential to install a pond pump and filter system. Here’s how:
- Place the pump at the bottom of the pond and connect it to the filter.
- Position the filter at the edge of the pond or partially buried nearby.
- Ensure the pump and filter are properly connected and functioning correctly.

Credit: www.apieceofrainbow.com
Step 7: Filling and Maintaining the Pond
Now that your pond is complete, it’s time to fill it with water and start enjoying your new outdoor oasis. Here are some maintenance tips:
- Fill the pond with water and add a dechlorinator if using tap water.
- Monitor the water quality regularly and perform water changes as needed.
- Remove debris, fallen leaves, and algae to maintain the cleanliness of the pond.
Step 8: Enjoying Your Homemade Pond
Congratulations! You’ve successfully created your very own homemade pond. Now it’s time to sit back, relax, and enjoy the sights and sounds of your new water feature. Invite friends and family over to appreciate the beauty of nature right in your own backyard.
Remember, a homemade pond requires regular maintenance to ensure it stays healthy and thriving. With proper care and attention, your pond will provide years of enjoyment and create a peaceful retreat for both you and your local wildlife.
So, what are you waiting for? Start planning and building your homemade pond today and transform your outdoor space into a tranquil oasis that you can enjoy for years to come.