If you have a small pond in your garden or backyard, adding a rock waterfall can significantly enhance its aesthetic appeal and create a soothing atmosphere. Building a rock waterfall for a small pond is a great way to introduce the calming sound of flowing water and provide a natural habitat for aquatic plants and wildlife. In this guide, we’ll walk you through the step-by-step process of building a beautiful and functional rock waterfall for your small pond.
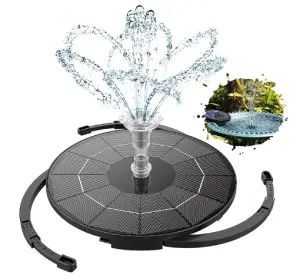
Small Solar Fountain Pump For Rock Waterfall
Planning and Design
Before you start building your rock waterfall, it’s essential to carefully plan and design the layout. Consider the size and shape of your pond, the available space for the waterfall, and the overall look you want to achieve. Take into account the natural slope of the land and determine the best location for the waterfall to ensure proper water flow.
Sketch out a rough design of your waterfall, including the placement of rocks, the height of the cascades, and the path of the water flow. This will serve as a visual guide and help you envision the final result.
Gathering Materials
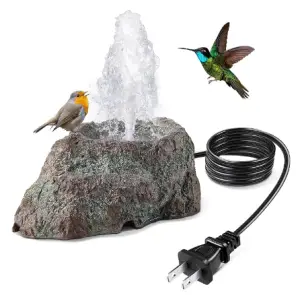
Small Pond Fountain For Bird Birth
Once you have a clear plan in place, it’s time to gather the necessary materials for building your rock waterfall. Here’s a list of the basic materials you’ll need:
- Large boulders and rocks of various sizes and shapes
- Flexible pond liner
- Pond pump and tubing
- Waterproof sealant
- Shovel and digging tools
- Level
- Plastic crates or containers (optional for creating a reservoir)
- Aquatic plants (optional for naturalizing the waterfall)
Make sure to choose rocks that are appropriate for the size of your pond and waterfall. Look for a variety of shapes and textures to create a natural and visually appealing design.
Excavation and Placement
Begin by marking the area where the waterfall will be located and start excavating the soil to create a shallow basin for the reservoir. If you’re using plastic crates or containers, position them in the excavation area to serve as the reservoir for the waterfall. Ensure that the reservoir is level and stable.
Next, arrange the rocks and boulders in the desired configuration, keeping in mind the natural flow of water. Start with the largest rocks at the base of the waterfall and work your way up, using smaller rocks to create cascades and channels for the water to flow through.
Creating the Waterfall Structure
Once the rocks are in place, it’s time to install the flexible pond liner to contain the water. Carefully drape the liner over the rocks, allowing it to conform to the shape of the waterfall. Use waterproof sealant to secure the liner in place and prevent water from leaking out.
Connect the pond pump to the tubing and position it in the reservoir at the base of the waterfall. Run the tubing up through the rocks, ensuring that it follows the natural path of the waterfall. Test the pump to ensure that water flows smoothly through the tubing and cascades down the rocks.
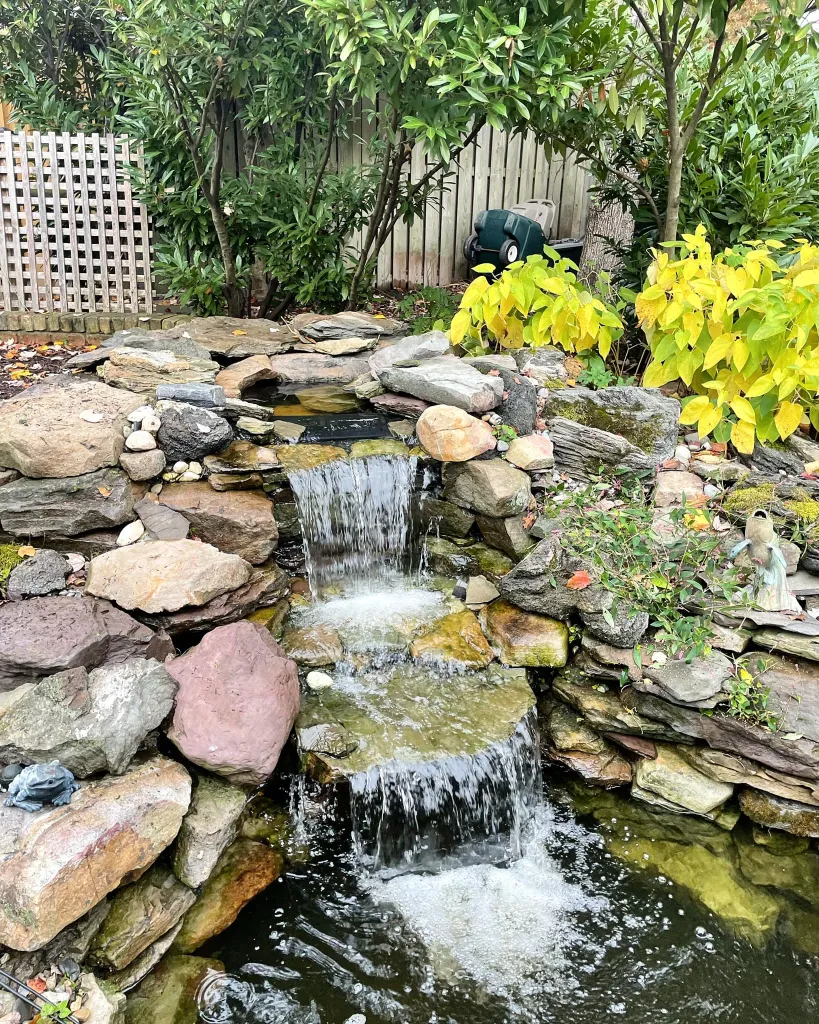
Credit: premierpond.com
Finishing Touches
With the basic structure of the rock waterfall in place, it’s time to add the finishing touches to enhance its natural beauty. Consider adding aquatic plants around the edges of the waterfall to soften the rock edges and create a more natural appearance. Plants such as water lilies, irises, and rushes can thrive in the moist environment created by the waterfall.
Additionally, you can use smaller rocks and pebbles to fill in any gaps between the larger rocks, creating a more cohesive and natural-looking waterfall. Take your time to adjust the positioning of the rocks and plants until you achieve a visually pleasing and harmonious composition.

Credit: www.pinterest.com
Maintenance and Care
Once your rock waterfall is complete, it’s essential to establish a regular maintenance routine to keep it looking and functioning at its best. Here are a few maintenance tips to keep in mind:
- Regularly check the pump and tubing for any clogs or debris that may affect water flow.
- Monitor the water level in the reservoir and top it up as needed to ensure the pump remains submerged.
- Remove any algae or debris that may accumulate on the rocks to maintain the waterfall’s natural appearance.
- Trim and prune aquatic plants as needed to prevent overgrowth and maintain a balanced ecosystem.
- During the winter months, consider installing a heater or de-icer to prevent the water from freezing and damaging the pump and tubing.
By following these maintenance practices, you can ensure that your rock waterfall remains a beautiful and functional focal point in your pond for years to come.
Conclusion
Building a rock waterfall for a small pond is a rewarding and creative project that can transform your outdoor space into a tranquil oasis. With careful planning, the right materials, and attention to detail, you can create a stunning rock waterfall that enhances the beauty and serenity of your pond. Whether you’re a seasoned DIY enthusiast or a first-time pond owner, the process of building a rock waterfall is an enjoyable and fulfilling endeavor that allows you to connect with nature and create a peaceful retreat in your own backyard.
Remember to take your time, enjoy the process, and let your creativity flow as you bring your vision of a rock waterfall to life. With the gentle sound of cascading water and the natural beauty of rocks and plants, your small pond will be transformed into a captivating and harmonious haven for you to enjoy and appreciate for years to come.