Having a pond in your backyard can be a wonderful addition to your outdoor space, providing a tranquil oasis for relaxation and a habitat for aquatic plants and wildlife. However, over time, pond liners can develop leaks or tears, causing water to seep out and potentially damaging the surrounding environment. In this guide, we will discuss the steps you can take to repair a pond liner and ensure that your pond remains a healthy and beautiful feature in your landscape.
Identifying the Problem
The first step in repairing a pond liner is to identify the source of the leak. This can be done by visually inspecting the liner for any tears, punctures, or other damage. You may also notice a drop in the water level in your pond, which can indicate a leak. Once you have located the damaged area, you can proceed with the repair process.
Gathering the Necessary Supplies
Before you begin the repair, make sure you have all the necessary supplies on hand. You will need a pond liner patch kit, which typically includes a patch of pond liner material and a waterproof adhesive. Additionally, you may need scissors, a clean cloth, and a roller to ensure the patch adheres properly to the liner.
Preparing the Area
Before applying the patch, it is important to clean and dry the area around the damaged section of the pond liner. Use a clean cloth to remove any debris, dirt, or algae that may prevent the patch from adhering properly. Make sure the area is completely dry before proceeding with the repair.
Applying the Patch
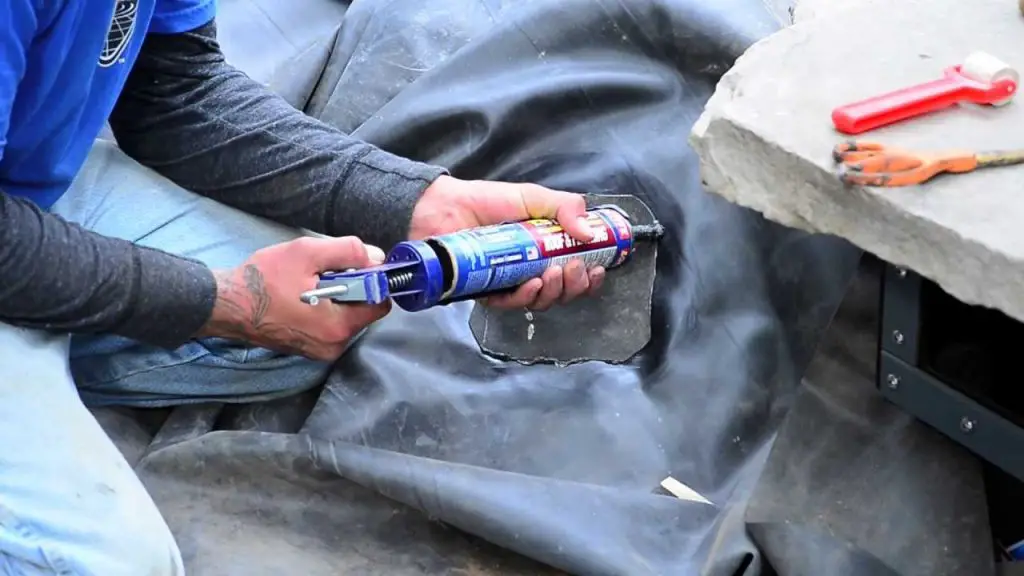
Once the area is clean and dry, you can apply the patch to the damaged section of the pond liner. Cut the patch to the appropriate size, ensuring that it is large enough to cover the damaged area with some overlap. Apply a generous amount of waterproof adhesive to the patch and press it firmly onto the liner. Use a roller to smooth out any air bubbles and ensure a tight seal.

Credit: www.pondpro2000.com

Credit: thefabulousgarden.com
Allowing the Adhesive to Cure
After applying the patch, allow the adhesive to cure according to the manufacturer’s instructions. This may involve waiting a certain amount of time for the adhesive to set and create a strong bond between the patch and the pond liner. Avoid adding water to the pond until the adhesive has fully cured to prevent the patch from coming loose.
Refilling the Pond
Once the adhesive has cured, you can refill the pond with water. Monitor the water level closely to ensure that the repair has been successful and that no leaks are present. If you notice any further issues, you may need to repeat the repair process or seek professional assistance.
Preventing Future Damage
To prevent future damage to your pond liner, there are a few steps you can take. Regularly inspect the liner for signs of wear and tear, and address any issues promptly to prevent leaks from developing. Avoid sharp objects or heavy equipment near the pond that could cause damage to the liner. Additionally, consider adding a protective layer, such as rocks or gravel, to the bottom of the pond to provide an extra barrier against potential damage.
Conclusion
Repairing a pond liner can be a simple and effective way to address leaks and damage, ensuring that your pond remains a beautiful and functional feature in your outdoor space. By following the steps outlined in this guide and taking preventive measures to protect your pond liner, you can enjoy your pond for years to come. Remember to regularly inspect your pond for any issues and address them promptly to maintain the health and integrity of your pond ecosystem.