If you are looking to enhance your outdoor space with a beautiful water feature, putting in a pond can be a rewarding and enjoyable project. Whether you want to create a serene oasis or attract wildlife to your garden, installing a pond can add value and beauty to your property. In this comprehensive guide, we will walk you through the step-by-step process of putting in a pond.
Step 1: Planning and Preparation
Before you start digging, it is important to plan out your pond carefully. Consider the size and shape of the pond, the location in your yard, and the depth of the water. Make sure to check with your local authorities for any permits or regulations that may be required for installing a pond on your property.
Next, gather all the necessary tools and materials for the project. This may include a shovel, pond liner, pump, filter, rocks, plants, and any other accessories you want to include in your pond.
Credit: m.youtube.com
Step 2: Marking the Pond Area
Using a garden hose or spray paint, mark out the shape and size of your pond on the ground. This will give you a visual guide to follow when digging the hole for your pond.
Step 3: Digging the Hole
Start digging the hole for your pond, following the outline you marked in the previous step. The depth of the hole will depend on the size and type of pond you want to create. Make sure to create shelves or varying depths to accommodate different types of aquatic plants and wildlife.

Credit: worldofwater.com
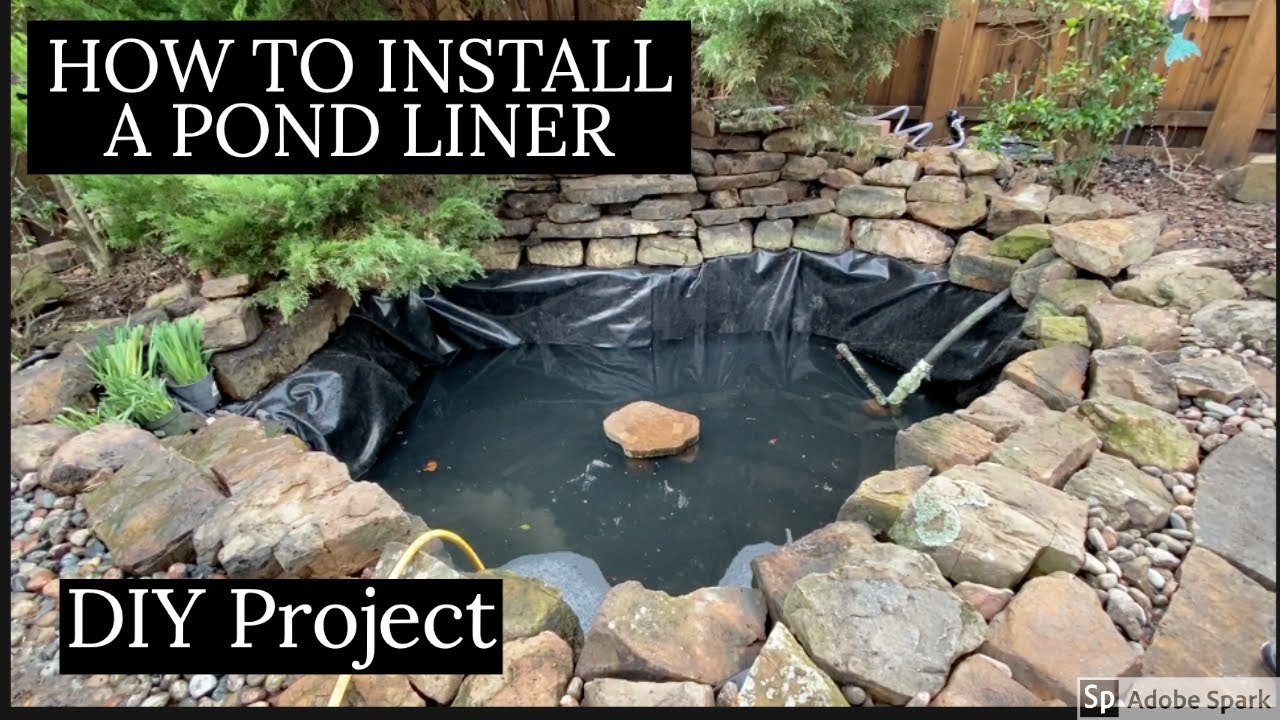
Step 4: Installing the Pond Liner
Once the hole is dug to the desired depth and shape, it is time to install the pond liner. Spread the liner over the hole, making sure to smooth out any wrinkles or folds. Secure the liner in place with rocks or bricks around the edges to hold it in place.
Step 5: Adding Water and Accessories
Fill the pond with water, using a garden hose or a pump to add water gradually. As the water level rises, adjust the liner to prevent any bulges or wrinkles. Once the pond is filled, you can add rocks, plants, and other accessories to create a natural and visually appealing pond environment.
Step 6: Installing a Pump and Filter
To maintain the health and clarity of your pond water, it is important to install a pump and filter system. These devices will help circulate the water, remove debris, and keep the water clean for fish and plants. Follow the manufacturer’s instructions for installing and maintaining the pump and filter.
Step 7: Adding Fish and Plants
If you wish to include fish and aquatic plants in your pond, now is the time to introduce them. Choose fish species that are suitable for the size and depth of your pond, and select aquatic plants that will thrive in the water conditions of your pond. Be sure to provide adequate food and care for your fish and plants to keep them healthy and happy.
Step 8: Maintenance and Care
Once your pond is up and running, it is important to maintain and care for it regularly. This may include removing debris, trimming plants, checking the water quality, and cleaning the pump and filter. Regular maintenance will help keep your pond looking beautiful and ensure the health of the fish and plants living in it.
Conclusion
Putting in a pond can be a fulfilling and enjoyable project that will add beauty and tranquility to your outdoor space. By following the steps outlined in this guide and dedicating time and effort to maintaining your pond, you can create a stunning water feature that will be a focal point of your garden for years to come.