Are you a pond owner dealing with a pesky leak in your pond liner? Don’t worry, patching a pond liner is a common task that can be easily accomplished with the right tools and techniques. In this guide, we will walk you through the step-by-step process of patching a pond liner to help you restore the beauty and functionality of your pond.

Credit: www.pondpro2000.com
Materials You Will Need
Before you start the patching process, make sure you have the following materials on hand:
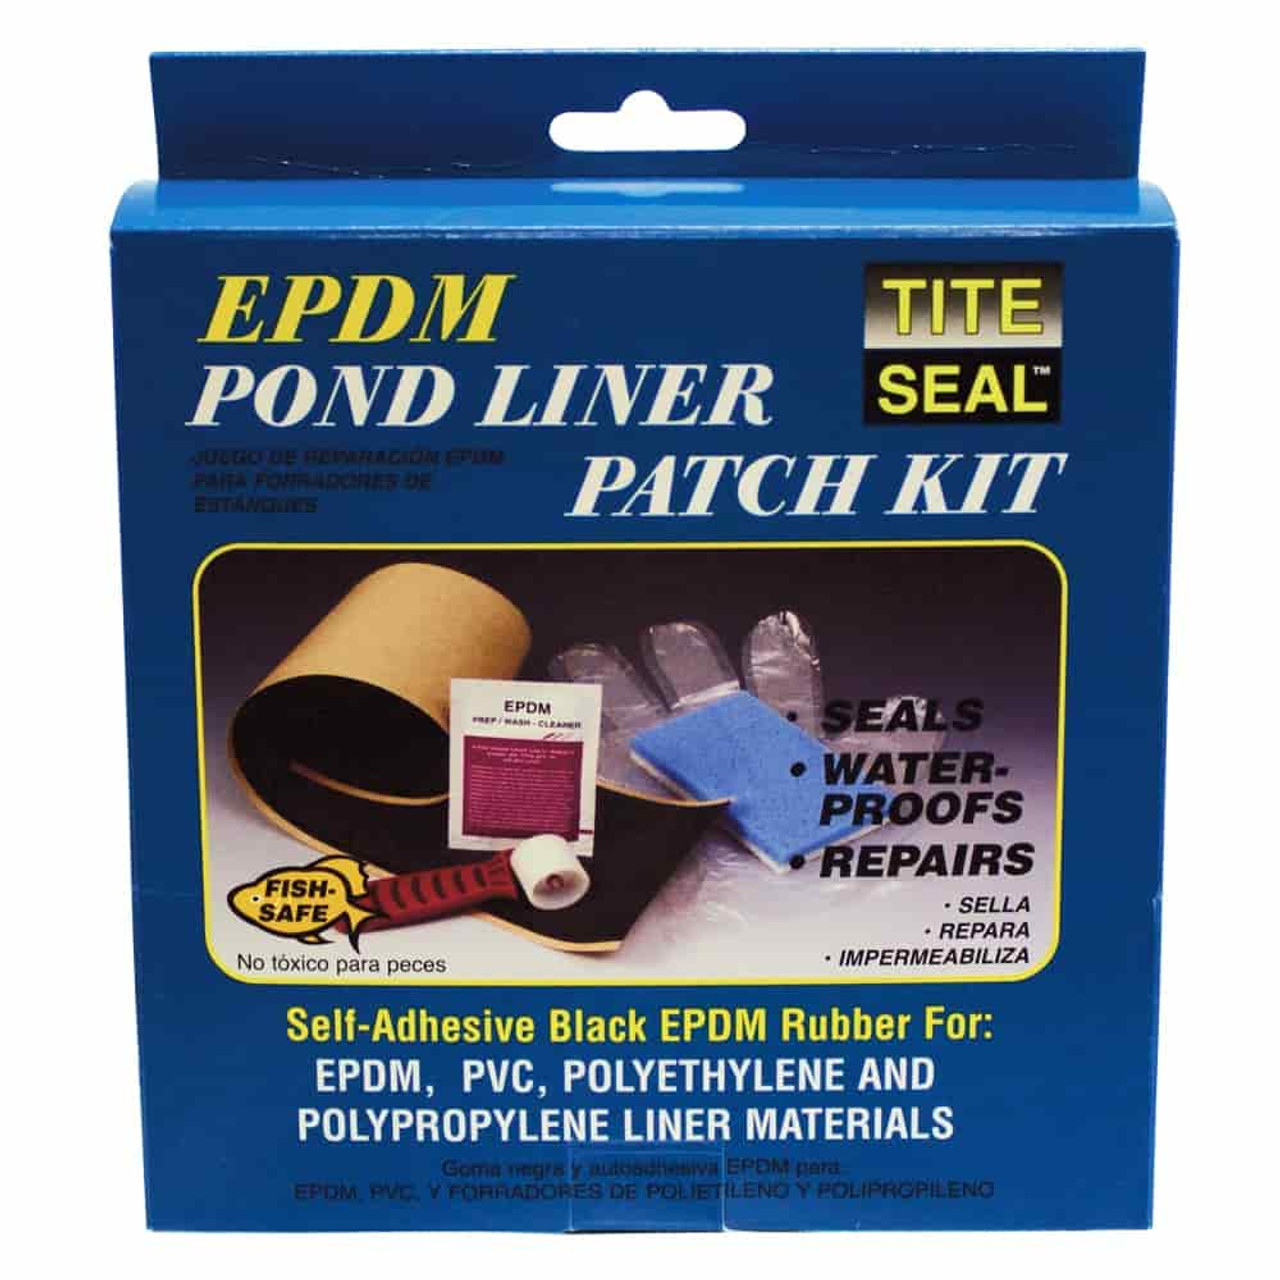
- Pond liner patch kit
- Clean cloth or sponge
- Scissors
- Roller or brush
- Marker
- Measuring tape
- Waterproof adhesive
Step-by-Step Guide to Patching a Pond Liner
Follow these simple steps to patch a leak in your pond liner:
Step 1: Locate The Leak
Fill your pond with water and carefully observe where the water is leaking from. Mark the area with a marker or chalk once you’ve identified the leak.
Step 2: Drain The Pond
Before you can apply the patch, you need to drain the pond completely to access the damaged area. Use a pump to remove the water efficiently.
Step 3: Clean The Area
Thoroughly clean the area around the leak with a clean cloth or sponge to remove any dirt, debris, or algae that may interfere with the patching process.
Step 4: Measure And Cut The Patch
Measure the size of the damaged area using a measuring tape. Cut a patch from the pond liner patch kit that is at least 2 inches larger than the damaged area on all sides.
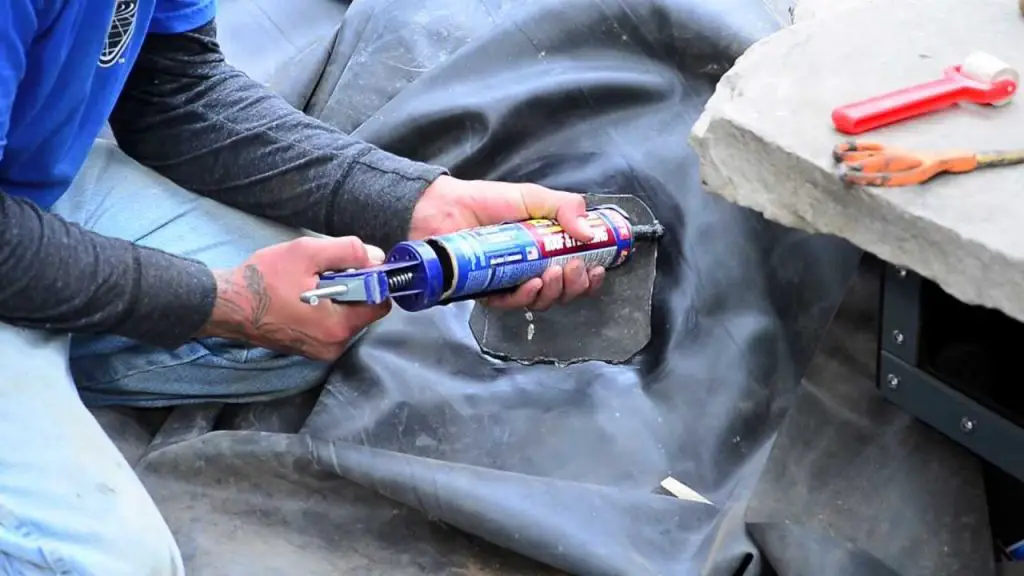
Step 5: Apply Adhesive
Apply a generous amount of waterproof adhesive to the back of the patch and the area around the leak. Make sure the adhesive is spread evenly to ensure a strong bond.
Step 6: Place The Patch
Carefully place the patch over the damaged area, ensuring that it is centered and free of wrinkles or air bubbles. Press down firmly to secure the patch in place.
Step 7: Allow To Dry
Allow the adhesive to dry completely as per the manufacturer’s instructions. This will ensure that the patch forms a watertight seal with the pond liner.
Step 8: Refill The Pond
Once the patch has dried, refill the pond with water and monitor closely to ensure that the leak has been successfully patched.
Credit: www.thepondguy.com
Tips for Maintaining Your Pond Liner
Prevent future leaks and damage to your pond liner by following these maintenance tips:
- Regularly inspect your pond liner for signs of wear and tear.
- Keep the pond liner clean by removing debris and algae regularly.
- Avoid sharp objects near the pond that could puncture the liner.
- Ensure proper installation of the pond liner to prevent leaks.
- Monitor water levels regularly to detect leaks early on.
Conclusion
Patching a pond liner is a simple and effective solution to repair leaks and prolong the life of your pond. By following the steps outlined in this guide and practicing good maintenance habits, you can enjoy a beautiful and leak-free pond for years to come.