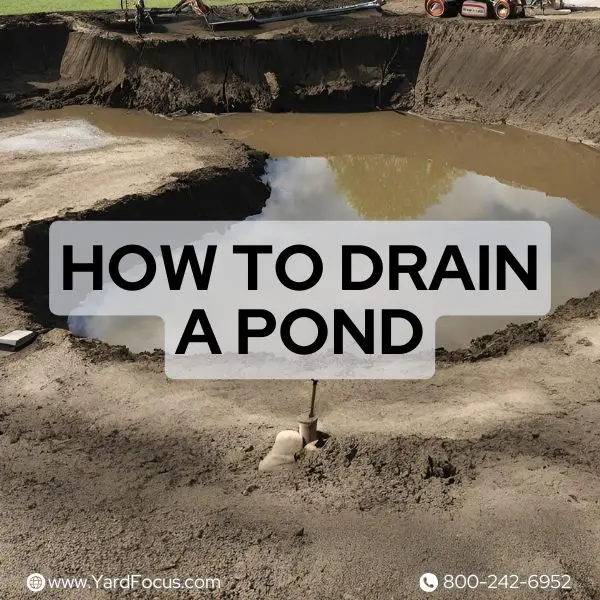
Draining a pond is an essential task for pond owners, whether it’s for maintenance, repairs, or simply starting from scratch. In this comprehensive guide, we will walk you through the step-by-step process of draining a pond to ensure a smooth and efficient operation.
1. Gather the Necessary Equipment
Before starting the draining process, make sure you have all the required tools and equipment at hand. This includes a submersible pond pump, a drain hose, a bucket, a pair of gloves, and a water storage container.
Credit: www.thepondguy.com
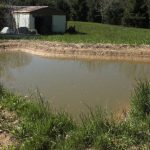
2. Locate the Pond Drain
Identify the pond’s drain, which is usually located at the bottom of the pond. It can be a valve or a plug. If you are unsure, refer to your pond’s construction plans or consult a professional.
3. Turn Off the Pond Pump
Before draining the pond, it is crucial to turn off the pond pump to prevent it from running dry. This will protect the pump from damage and ensure a longer lifespan.
4. Connect the Drain Hose
Attach one end of the drain hose to the pond drain and the other end to the water storage container. Make sure the hose is securely connected to avoid any leaks during the draining process.
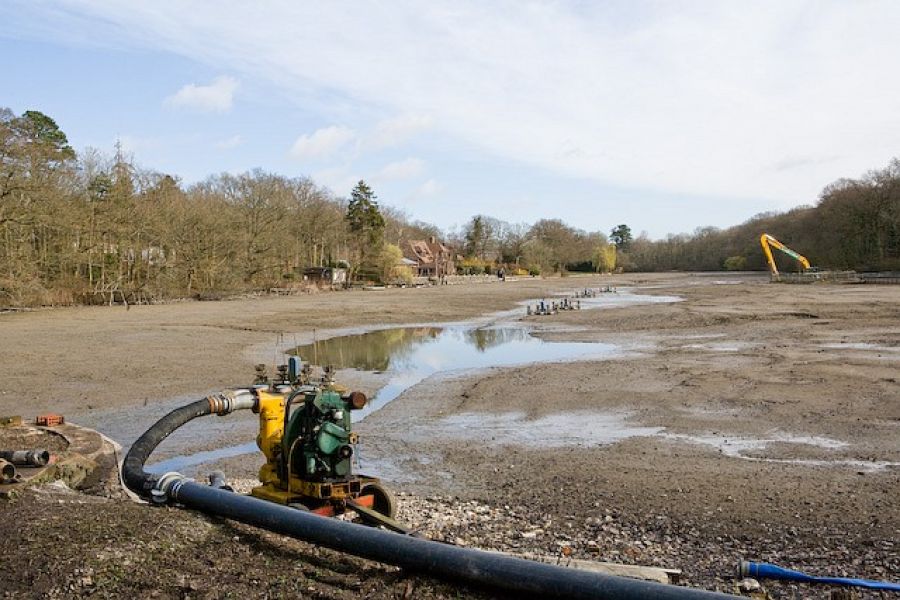
5. Begin Draining the Pond
Once everything is set up, start the submersible pond pump and allow it to remove the water from the pond. Monitor the draining process closely to ensure it is progressing smoothly.
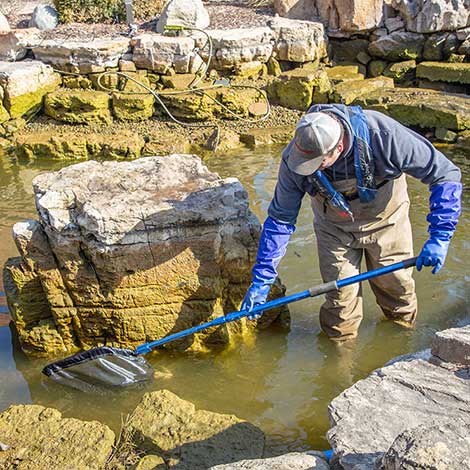
6. Remove Debris
While the pond is being drained, take the opportunity to remove any debris or unwanted materials that may have accumulated at the bottom. This will help maintain the overall health and cleanliness of the pond.
7. Save Some Pond Water
If you have any aquatic plants or fish in the pond, it is essential to save some pond water in a separate container. This will provide a temporary habitat for the plants and fish while you clean or repair the pond.
8. Clean the Pond
Once the pond is drained, take this opportunity to thoroughly clean the pond liner, rocks, and any other surfaces. Use a soft brush or sponge to remove any algae or debris. Rinse everything with clean water.
9. Inspect and Repair
While cleaning the pond, carefully inspect the liner for any damage, leaks, or wear. If you notice any issues, make the necessary repairs or contact a professional for assistance. This will help prevent future problems.
Credit: www.platinumlakemanagement.com
10. Refill the Pond
After completing the cleaning and repairs, it’s time to refill the pond. Use the saved pond water or fresh water to fill it back up. Ensure that the water temperature matches the existing pond water to avoid shocking the aquatic life.
11. Reintroduce Plants and Fish
Once the pond is refilled, gradually reintroduce the aquatic plants and fish back into their habitat. This should be done slowly to allow them to acclimate to the new water conditions.
12. Turn On the Pond Pump
Finally, turn on the pond pump and check that it is functioning properly. Monitor the water circulation and adjust the pump as needed to ensure optimal filtration and oxygenation.
By following these step-by-step instructions, you can successfully drain and maintain your pond, keeping it clean and healthy for years to come. Remember to consult professionals or experts if you encounter any difficulties or have specific concerns regarding your pond.