If you’re considering adding a pond to your property, using a backhoe can be a practical and efficient way to dig the pond. Digging a pond with a backhoe requires careful planning, proper equipment, and attention to detail. In this guide, we will walk you through the step-by-step process of digging a pond with a backhoe.
Step 1: Planning
Before you start digging, it’s important to carefully plan the location and size of your pond. Consider factors such as the terrain, water source, and surrounding vegetation. Choose a spot that is not prone to flooding and has good drainage. Mark the outline of the pond using stakes and string to visualize the shape and size.
Step 2: Equipment and Safety
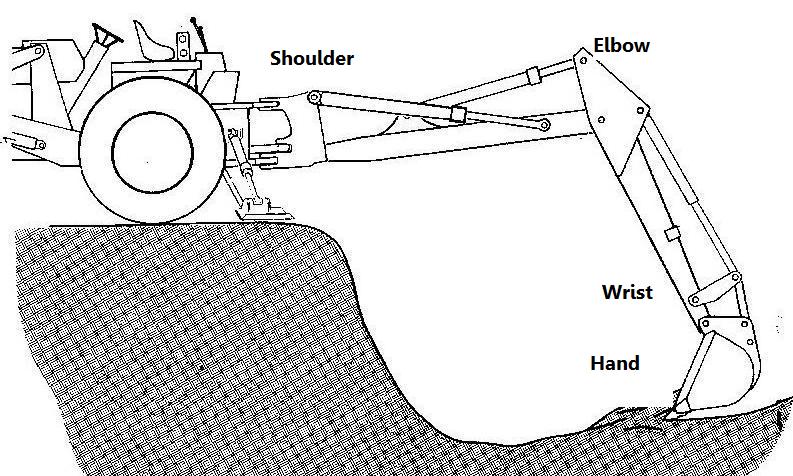
Make sure you have the necessary equipment for the job, including a backhoe with a bucket attachment. Before operating the backhoe, familiarize yourself with the controls and safety procedures. Wear appropriate safety gear such as a hard hat, gloves, and steel-toed boots. Clear the work area of any obstacles and ensure there are no underground utilities.
Step 3: Excavation
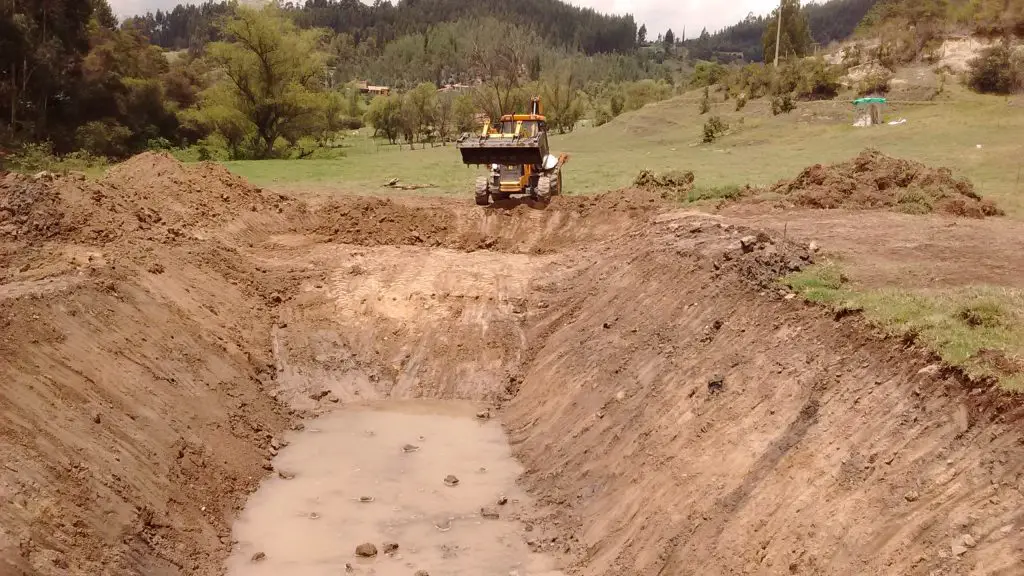
Begin by excavating the soil within the marked outline of the pond. Use the backhoe to remove the topsoil and set it aside for later use. Dig down to the desired depth of the pond, keeping the sides sloped to prevent collapse. Take care to create a gradual slope from the edges to the center of the pond to allow for easy access for maintenance.

Credit: www.whatpond.com
Step 4: Shaping the Pond
As you dig, periodically stop to check the depth and shape of the pond. Use the backhoe bucket to shape the sides and bottom of the pond according to your design. Create shelves or ledges around the edges to provide habitat for aquatic plants and wildlife. Smooth out any rough areas and ensure the pond has a uniform depth.
Step 5: Finishing Touches
Once the pond is dug to the desired size and shape, it’s time to add the finishing touches. Line the bottom and sides of the pond with a protective liner to prevent leaks. Backfill any gaps or low spots with soil and compact it to ensure stability. Consider adding rocks, boulders, and aquatic plants to enhance the aesthetics of the pond.

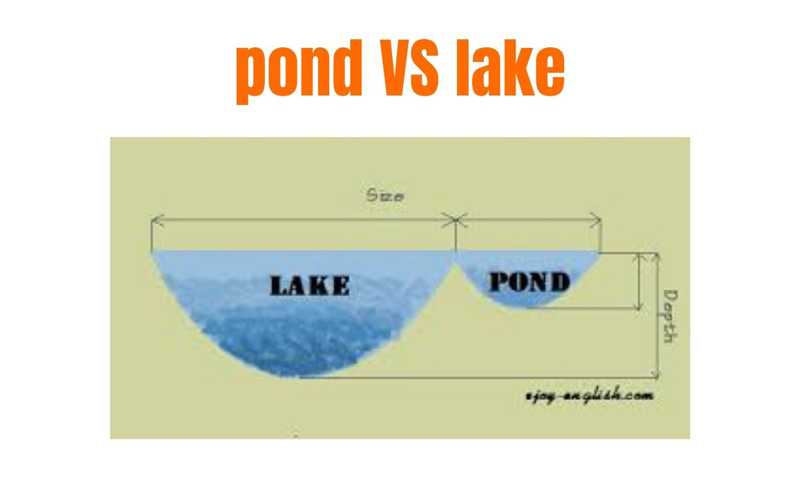
Credit: www.bigrentz.com
Step 6: Water Source
After the pond is dug and shaped, you’ll need to fill it with water. Depending on your location and water source, you can use a hose, pump, or natural water supply to fill the pond. Monitor the water level to ensure it reaches the desired depth and make any adjustments as needed.
Step 7: Maintenance
Once your pond is filled with water, it’s important to maintain it regularly to keep it healthy and thriving. Remove debris such as leaves and algae, test the water quality, and add beneficial bacteria as needed. Monitor the water level and refill as necessary to account for evaporation and rainfall.
Tips for Digging a Pond With a Backhoe
- Start digging from the center and work your way outwards to maintain balance.
- Take breaks to inspect the progress and make adjustments as needed.
- Consult with a landscaping professional for guidance on pond design and maintenance.
- Consider adding a fountain or aerator to improve water circulation and oxygen levels.
Conclusion
Digging a pond with a backhoe can be a rewarding project that adds beauty and value to your property. By following these steps and tips, you can create a stunning pond that enhances your landscape and provides a habitat for aquatic life. Remember to plan carefully, prioritize safety, and enjoy the process of creating your own backyard oasis.


