Are you looking to create a unique and cost-effective swimming pool in your backyard? Have you considered the idea of building a shipping container pool? Shipping container pools are gaining popularity due to their affordability, sustainability, and versatility. In this guide, we will walk you through the step-by-step process of building your own shipping container pool.

Credit: m.youtube.com
1. Selecting the Right Container
When it comes to building a shipping container pool, the first step is to choose the right container. Look for a container that is structurally sound and free from major dents or rust. Typically, a 20-foot or 40-foot container works best for a pool project.
2. Preparing the Site
Before you start the construction process, you need to prepare the site where the container pool will be placed. Make sure the ground is level and stable to support the weight of the container. You may need to clear the area of any debris or obstacles.
3. Modifying the Container
Next, you will need to modify the container to transform it into a pool. This involves cutting an opening in the side of the container to create the pool entrance. You will also need to add a filtration system, plumbing, and a ladder for easy access.
4. Insulating and Waterproofing
Proper insulation and waterproofing are crucial to ensure your container pool remains durable and functional. Use insulation materials to regulate the temperature of the water and prevent heat loss. Apply a waterproof coating to protect the container from corrosion.
5. Installing the Pool Equipment
Once the container is prepared, it’s time to install the pool equipment such as pumps, filters, and heaters. These components are essential for maintaining the water quality and temperature of your pool. Make sure to follow the manufacturer’s instructions for proper installation.
6. Filling the Pool
After all the equipment is in place, you can start filling the pool with water. Depending on the size of the container, you may need to arrange for water delivery or use a hose to fill the pool. Monitor the water level to ensure it reaches the desired depth.
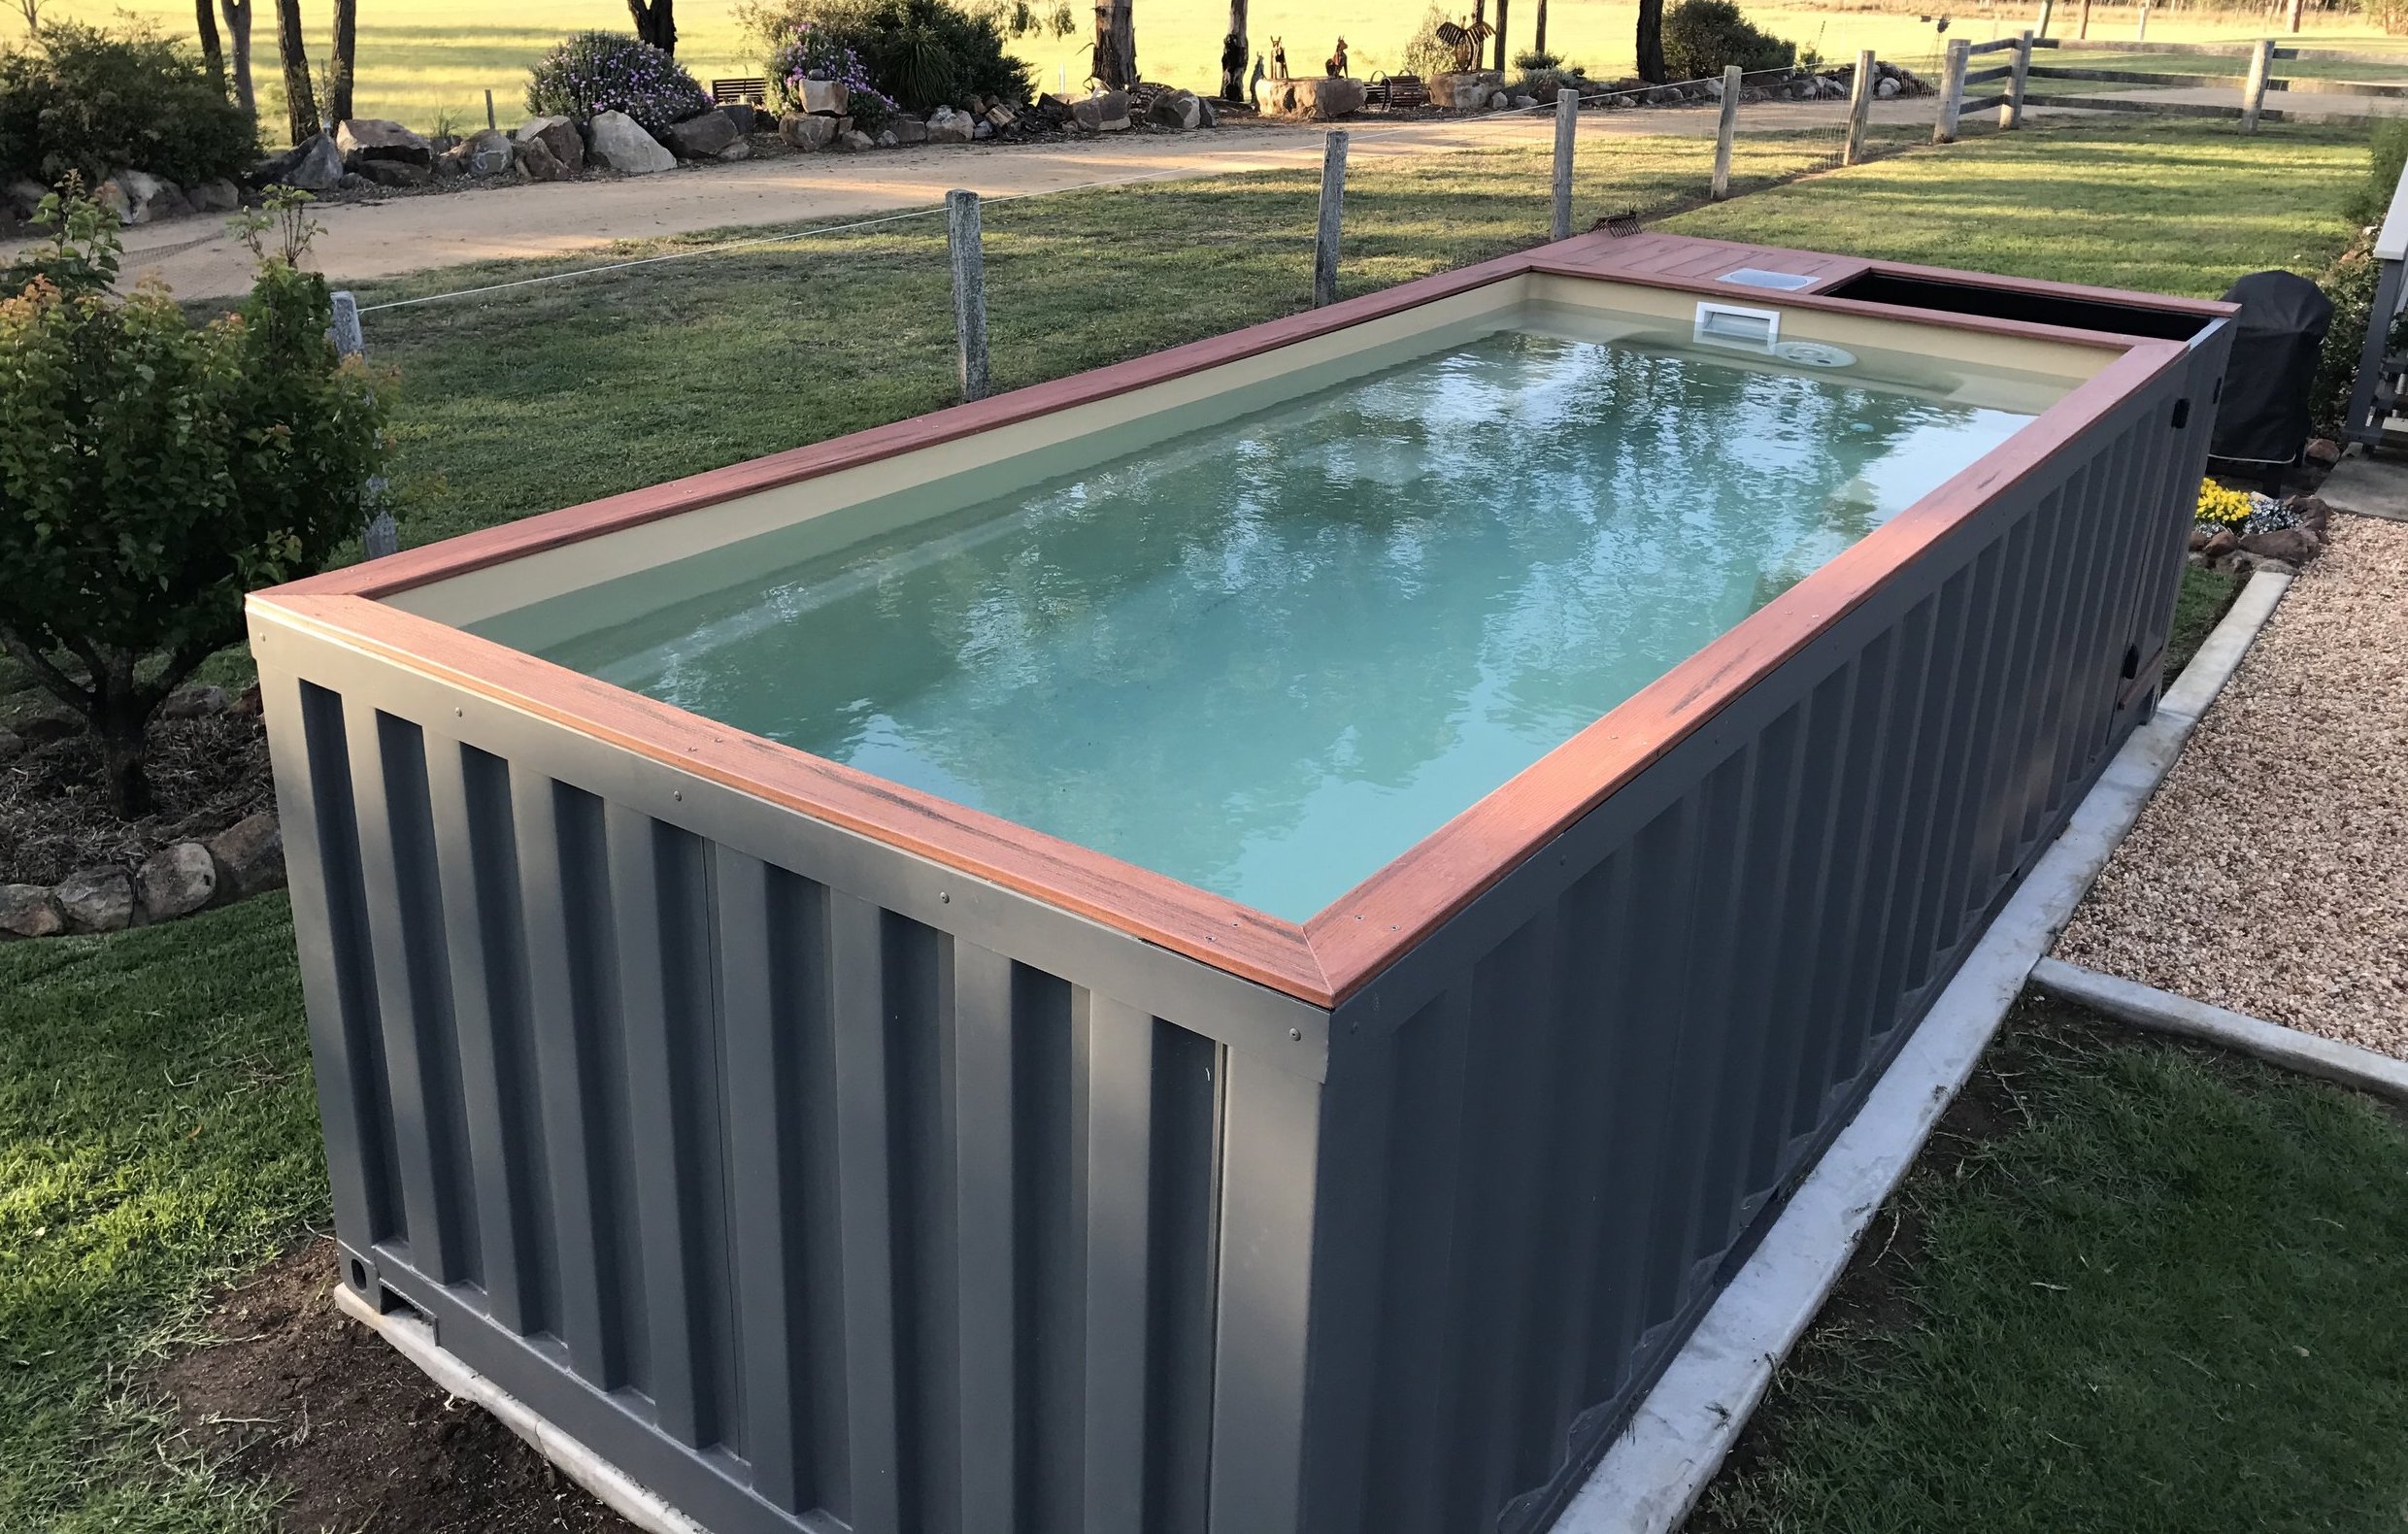
Credit: shipped.com
7. Adding Finishing Touches
To enhance the aesthetics of your shipping container pool, consider adding finishing touches such as decking, landscaping, and lighting. Create a relaxing and inviting atmosphere around the pool area to make it a perfect space for relaxation and entertainment.
8. Maintenance and Care
Once your shipping container pool is up and running, it’s important to establish a regular maintenance routine to keep the water clean and safe for swimming. Test the water quality regularly, clean the filters, and check for any signs of damage or leaks.
9. Safety Precautions
Lastly, don’t forget to implement safety precautions to ensure a secure swimming environment. Install a pool cover when the pool is not in use, set up proper fencing around the pool area, and establish pool rules for users to follow.
10. Enjoy Your Container Pool!
Now that you have successfully built your shipping container pool, it’s time to relax and enjoy the fruits of your labor. Invite friends and family over for a swim, soak up the sun, and create lasting memories in your one-of-a-kind pool.
Building a shipping container pool is a fun and rewarding project that allows you to have a unique swimming experience right in your backyard. With proper planning, preparation, and execution, you can create a stunning pool that will be the envy of your neighborhood. So, roll up your sleeves and get ready to dive into the world of container pool construction!