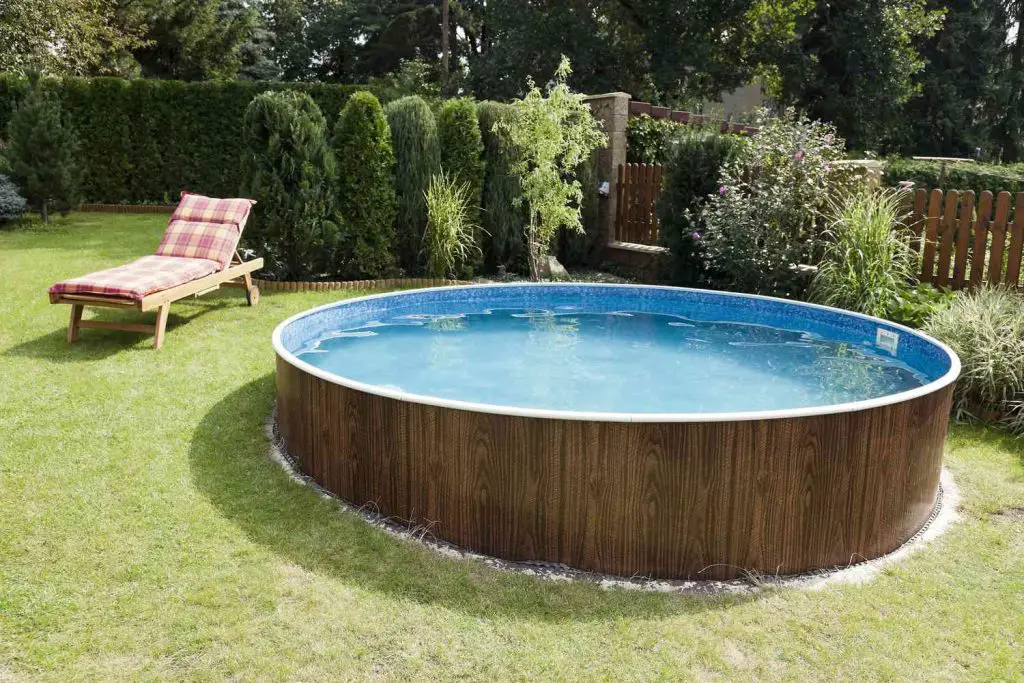
Welcome to our comprehensive guide on building a swimming pool above ground! Whether you’re looking to beat the summer heat, increase your property value, or create a fun outdoor space for your family, an above-ground pool can be a fantastic addition to your home. In this article, we’ll walk you through the step-by-step process of building your very own above-ground swimming pool.

Credit: m.youtube.com
Step 1: Choose the Right Location
The first step in building an above-ground swimming pool is to choose the right location. Select a spot in your yard that is level and free from any underground utilities or obstructions. Make sure to check with your local building department to ensure compliance with any zoning or building codes.

Credit: www.pinterest.com
Step 2: Prepare the Ground
Once you’ve selected the location, it’s time to prepare the ground. Clear the area of any rocks, roots, or debris, and ensure that the ground is level. You may need to use a shovel or a small bulldozer to level the ground properly.
Step 3: Install the Pool Frame
Next, it’s time to install the pool frame. Follow the manufacturer’s instructions carefully to assemble the frame components and secure them in place. Make sure the frame is level and square before proceeding to the next step.
Step 4: Add the Pool Liner
With the frame in place, it’s time to add the pool liner. Spread the liner out inside the frame, making sure it is smooth and free from wrinkles. Secure the liner in place according to the manufacturer’s instructions.
Step 5: Fill the Pool with Water
Once the liner is in place, it’s time to fill the pool with water. Use a garden hose to slowly fill the pool, taking care not to overfill it. As the pool fills, adjust the liner as needed to ensure a proper fit.
Step 6: Install the Filter and Pump
With the pool filled, it’s time to install the filter and pump. Follow the manufacturer’s instructions to set up the filter and pump system, ensuring that it is working correctly before using the pool.
Step 7: Add Finishing Touches
Once the pool is up and running, it’s time to add the finishing touches. Consider adding a ladder, pool lights, a pool cover, and any other accessories to enhance the functionality and aesthetics of your above-ground pool.
Maintaining Your Above-Ground Pool
Now that your above-ground pool is built, it’s essential to maintain it properly to ensure it stays in good condition for years to come. Here are some tips for maintaining your above-ground pool:
1. Regular Cleaning
Clean your pool regularly by skimming the surface, vacuuming the bottom, and scrubbing the walls. Use a pool brush and skimmer to remove debris and keep the water clear.
2. Monitor Water Chemistry
Test your pool water regularly and adjust the chemical levels as needed. Maintain proper pH, chlorine, and alkalinity levels to keep the water clean and safe for swimming.
3. Check Equipment
Inspect your pool equipment, including the filter, pump, and heater, regularly to ensure everything is working correctly. Replace any worn or damaged parts as needed to prevent breakdowns.
4. Winterize The Pool
Before the cold weather sets in, winterize your above-ground pool to protect it from freezing temperatures. Drain the water, remove the pump and filter, and cover the pool to prevent damage.
Conclusion
Building a swimming pool above ground can be a rewarding project that provides endless hours of fun and relaxation for you and your family. By following the steps outlined in this guide and maintaining your pool properly, you can enjoy your above-ground pool for many years to come. So, roll up your sleeves, get ready to dive in, and start building your dream above-ground pool today!


