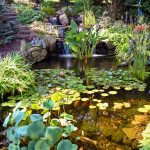
Building a pond with a waterfall in your backyard can create a serene and beautiful oasis where you can relax and enjoy the sights and sounds of nature. Not only does it enhance the aesthetics of your outdoor space, but it also attracts wildlife and adds a sense of tranquility to your surroundings. In this guide, we will walk you through the steps to create your own stunning pond with a waterfall.
Step 1: Planning and Design
Before you start digging, it’s essential to have a clear plan and design in mind for your pond and waterfall. Consider the size of your yard, the location of the pond, and the overall aesthetic you want to achieve. Sketch out a design that includes the shape and size of the pond, the placement of the waterfall, and any additional features you want to incorporate.

Credit: www.yardfocus.com
Step 2: Choosing the Location
When selecting the location for your pond, take into account factors such as sunlight exposure, proximity to trees, and the natural slope of your yard. Choose a spot that receives a good amount of sunlight but is also shaded at certain times of the day to prevent algae growth. Ensure that the area is free from tree roots and other obstacles that could interfere with the construction process.
Step 3: Excavation
Once you have chosen the location, it’s time to start digging. Use a rope or a garden hose to outline the shape of the pond and waterfall. Start digging according to the design you have sketched out, making sure to create varying depths to accommodate different plant and fish species. Remember to create shelves for plants and rocks to sit on.
Step 4: Installing the Pond Liner
After excavation, it’s time to install the pond liner. Choose a high-quality EPDM or PVC liner that is durable and resistant to punctures. Carefully lay the liner in the excavated area, making sure to smooth out any wrinkles or folds. Secure the liner in place with rocks or bricks along the edges.
Step 5: Adding Rocks and Plants
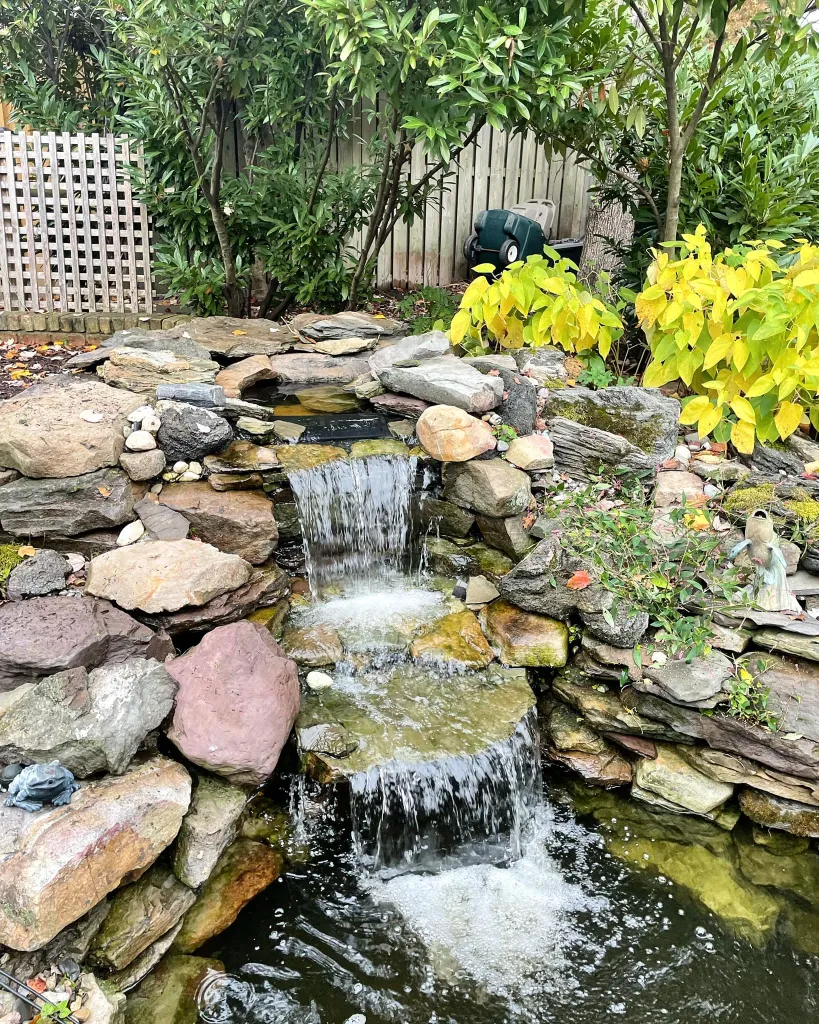
Next, it’s time to add rocks and plants to enhance the natural look of your pond. Use a variety of sizes and shapes of rocks to create a visually appealing waterfall. Plant aquatic plants around the edges of the pond and on the shelves to provide habitat for fish and wildlife.

Credit: www.youtube.com
Step 6: Installing the Waterfall
Now it’s time to install the waterfall feature. You can use a pre-formed waterfall kit or build a custom waterfall using rocks and a submersible pump. Position the pump at the bottom of the pond and run tubing up to the top of the waterfall. Arrange the rocks in a cascading pattern to create a natural-looking waterfall.
Step 7: Filling the Pond
Once the waterfall is in place, it’s time to fill the pond with water. Use a garden hose to slowly fill the pond, taking care not to disturb the rocks and plants. Allow the water to sit for a few days to let any chlorine evaporate before adding fish or other aquatic life.
Step 8: Maintenance and Care
After your pond and waterfall are up and running, it’s important to maintain them regularly to ensure they stay healthy and beautiful. Keep an eye on the water quality, remove any debris, and trim plants as needed. Check the pump and filter regularly to ensure they are functioning properly.
Conclusion
Building a pond with a waterfall in your backyard can be a rewarding and enjoyable project that adds beauty and tranquility to your outdoor space. By following these steps and putting in the effort to plan, design, and construct your pond and waterfall, you can create a stunning feature that you can enjoy for years to come.