Adding submersible lights to your pool can create a stunning ambiance and enhance the overall look of your pool area. Whether you want to illuminate your pool for a nighttime swim or create a relaxing atmosphere for an evening gathering, submersible lights are a fantastic addition. Here’s a step-by-step guide on how to attach submersible lights to your pool:
Materials Needed:
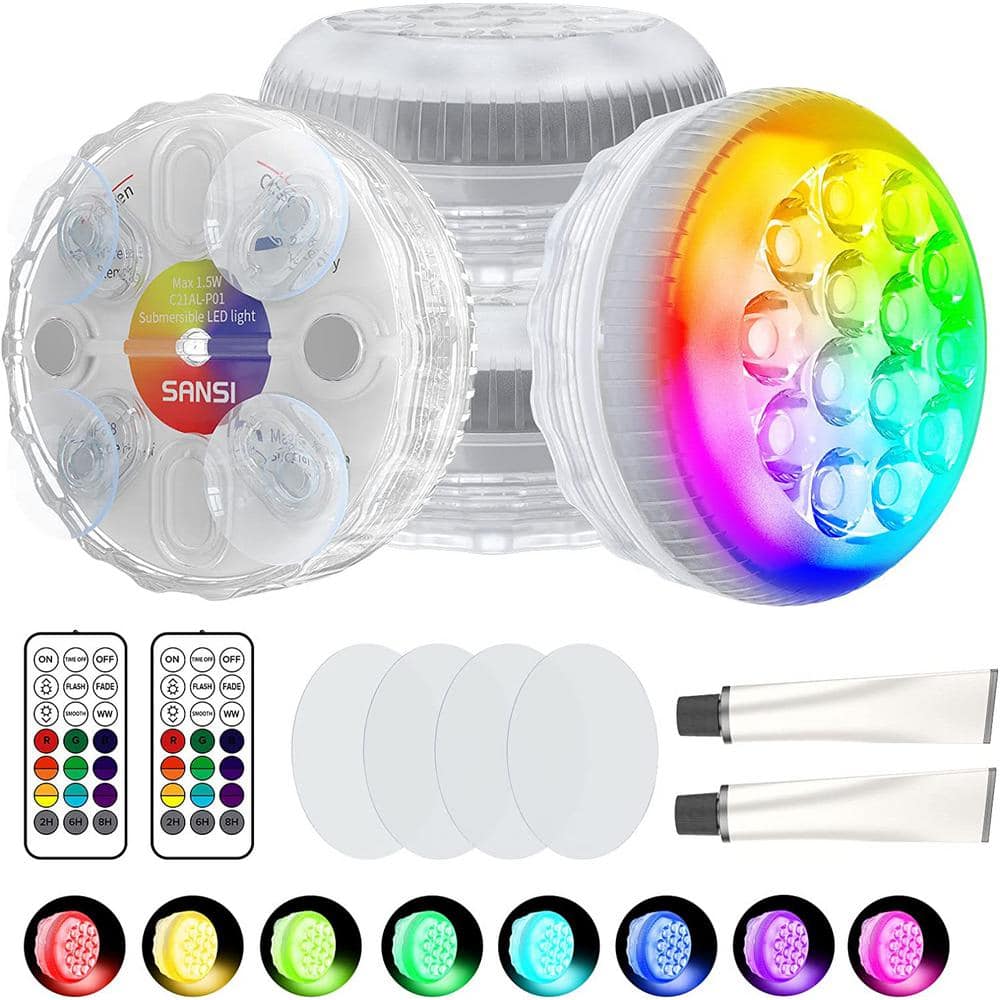
- Submersible pool lights
- Transformer
- Extension cord
- Drill
- Gasket or sealant
- Waterproof connectors
- Wire cutters/strippers
- Electrical tape
Step 1: Choose the Right Lights
Ensure you select submersible lights specifically designed for pool use. Opt for LED lights for energy efficiency and durability.
Step 2: Plan the Placement
Determine where you want to place the lights in your pool. Consider the depth, spacing, and the overall lighting effect you want to achieve.
Step 3: Prepare the Lights
Before installation, ensure the lights are clean and free from any dirt or debris. Check for any damage or defects.

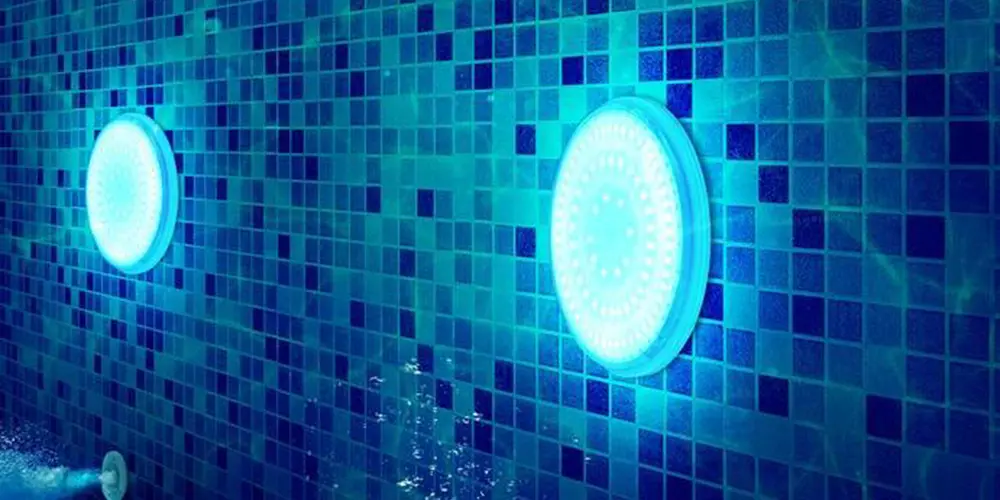
Credit: www.amazon.com
Step 4: Drill Holes for Lights
Using a drill, create holes in the pool wall where you plan to install the lights. Be sure to follow the manufacturer’s instructions for the correct size of the holes.
Step 5: Install the Lights
Place the lights in the drilled holes and secure them in place using the provided mounting hardware. Use a gasket or sealant to ensure a watertight seal.
Step 6: Connect the Lights
Connect the lights to the transformer using waterproof connectors. Make sure the connections are secure and waterproof to prevent any electrical hazards.
Step 7: Test the Lights
Before fully submerging the lights, test them to ensure they are working correctly. Check for any flickering or dimming issues.
Step 8: Submerge the Lights
Gently lower the lights into the water, ensuring they are fully submerged. Double-check the seals to prevent any water leakage.
Step 9: Secure the Wiring
Secure any excess wiring to the pool wall using clips or straps. Ensure the wiring is not dangling into the water to prevent any accidents.
Credit: www.homedepot.com
Step 10: Enjoy Your Illuminated Pool
Turn on the lights and bask in the beautiful glow of your illuminated pool. Sit back, relax, and enjoy the enhanced ambiance of your pool area.
By following these steps, you can easily attach submersible lights to your pool and create a captivating and inviting atmosphere. Remember to prioritize safety during the installation process and enjoy the magical transformation of your pool area with the addition of submersible lights!