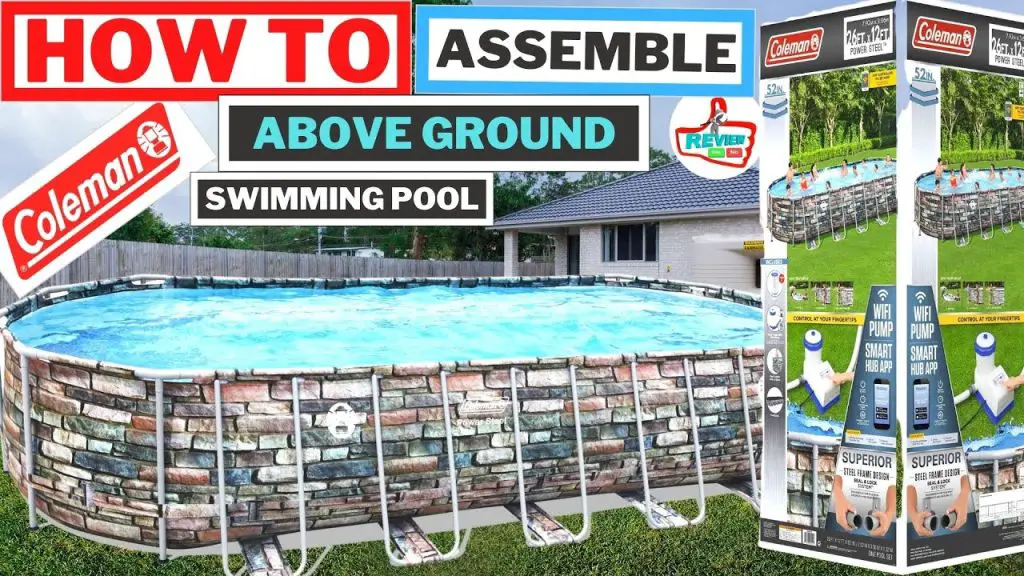
Are you ready to enjoy some refreshing fun in the sun with your very own Coleman pool? Assembling a Coleman pool may seem like a daunting task, but with the right guidance, you can have your pool up and running in no time. In this comprehensive guide, we will walk you through the step-by-step process of assembling a Coleman pool, ensuring that you can start making a splash in your backyard oasis in no time.
Step 1: Choose the Right Location
Before you start assembling your Coleman pool, it is essential to choose the right location. Make sure the area is level and free of any sharp objects that could potentially damage the pool liner. Ideally, the location should also be close to a water source for easy filling.

Credit: m.youtube.com
Step 2: Lay Out the Pool
Once you have selected the perfect spot for your Coleman pool, it’s time to lay out the pool liner. Lay the liner flat on the ground, ensuring that there are no wrinkles or folds that could affect the pool’s stability.
Step 3: Connect the Frame
Next, it’s time to connect the pool frame. Follow the manufacturer’s instructions to securely connect the frame pieces, ensuring that each connection is tight and secure. The frame provides the structural support for the pool, so this step is crucial to the pool’s stability.
Step 4: Install the Filter Pump
Once the frame is in place, it’s time to install the filter pump. The filter pump is essential for keeping your pool water clean and clear. Follow the manufacturer’s instructions to install the filter pump correctly, ensuring that it is securely connected to the pool.
Step 5: Fill the Pool with Water
With the pool frame and filter pump in place, it’s time to fill the pool with water. Connect a hose to your water source and begin filling the pool. Make sure to monitor the water level as the pool fills to ensure it does not overflow.

Credit: bestwayusa.com
Step 6: Test the Water Chemistry
Once the pool is filled with water, it’s important to test the water chemistry to ensure it is safe for swimming. Use a pool testing kit to check the pH and chlorine levels and adjust them as needed to maintain a healthy swimming environment.
Step 7: Add Pool Accessories
Now that your Coleman pool is assembled and filled with water, it’s time to add some fun accessories. Consider adding pool toys, floats, and a ladder for easy access to the pool. You can also add a pool cover to help keep debris out when the pool is not in use.
Step 8: Enjoy Your Pool
Congratulations! You have successfully assembled your Coleman pool, and now it’s time to enjoy some fun in the sun. Invite friends and family over for a pool party or simply relax and unwind by the poolside. With proper maintenance and care, your Coleman pool will provide hours of enjoyment for years to come.
Tips for Maintaining Your Coleman Pool
Maintaining your Coleman pool is essential to ensure it remains clean and safe for swimming. Here are some tips to help you keep your pool in top condition:
- Regularly clean the pool filter to ensure optimal performance.
- Skim the surface of the water to remove leaves and debris.
- Check the water chemistry regularly and adjust as needed.
- Use a pool cover when the pool is not in use to keep out debris and prevent evaporation.
- Inspect the pool liner for any signs of wear or damage and repair as needed.
Conclusion
Assembling a Coleman pool can be a fun and rewarding experience, providing you with a cool oasis right in your backyard. By following the step-by-step guide outlined in this article and properly maintaining your pool, you can enjoy endless hours of fun in the sun with your family and friends. So, what are you waiting for? Get ready to dive into summer with your very own Coleman pool!