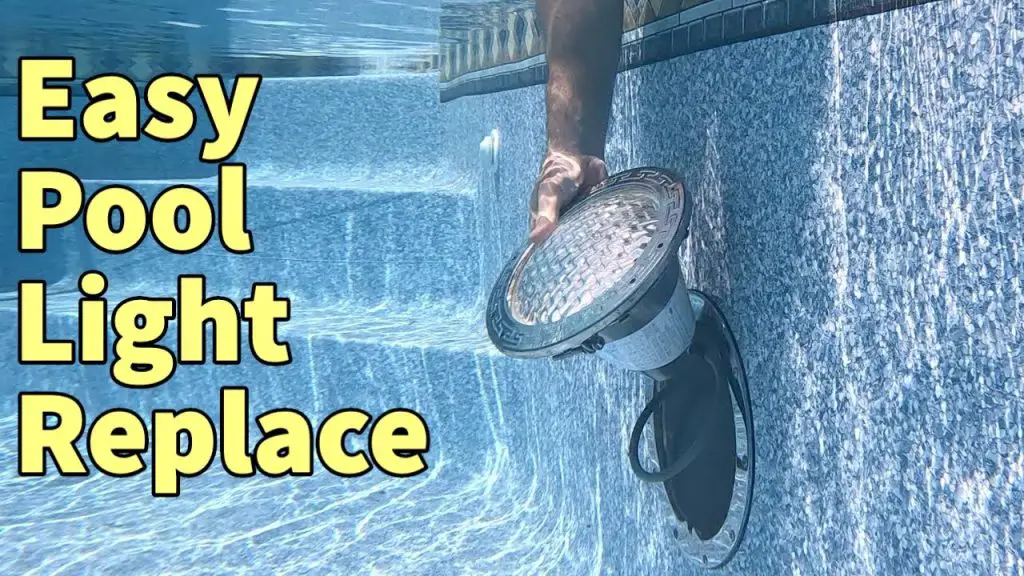
Welcome to our guide on how to replace your pool light! Having a well-lit pool not only enhances safety but also creates a wonderful ambiance for night-time swims. Whether your pool light has burnt out or you’re looking to upgrade to a more energy-efficient option, you can easily replace the light yourself with the right tools and know-how.
Tools and Materials You’ll Need:
| Tools | Materials |
|---|---|
| Phillips screwdriver | New pool light |
| Gasket lubricant | Silicone sealant |
| Socket wrench | Pool light niche (optional) |
Step 1: Turn Off Power to the Pool Light
Before beginning any work, turn off the power supply to the pool light at the breaker box to prevent any accidents. Make sure the power is completely shut off before moving forward.
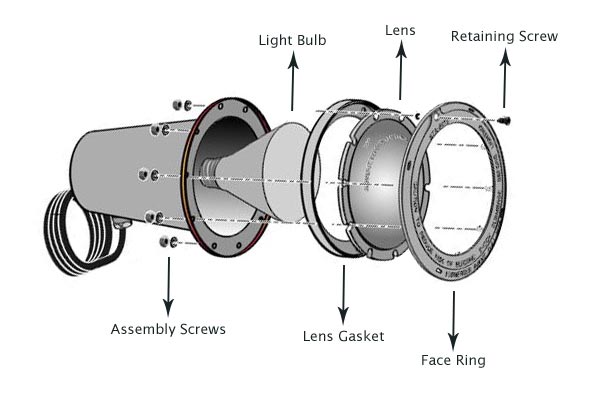
Credit: www.poolsupplyunlimited.com
Step 2: Remove the Old Pool Light
- Identify the location of the pool light fixture.
- Remove the screws around the light with a Phillips screwdriver.
- Gently pull the light fixture out of the niche.
- Disconnect the wires from the old light.
Step 3: Prepare the New Pool Light
Unbox your new pool light and ensure all components are included. Apply gasket lubricant to the new gasket to ensure a proper seal. Connect the wires of the new light to the existing pool wiring.
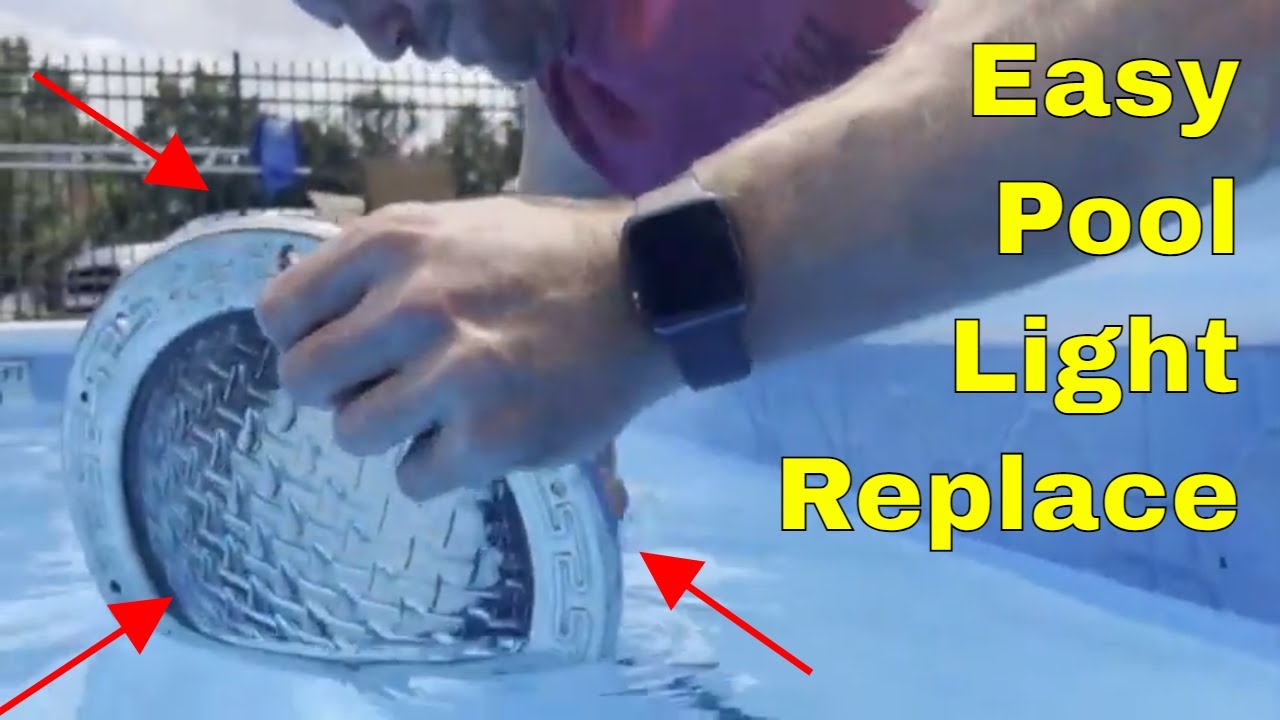
Credit: m.youtube.com
Step 4: Install the New Pool Light
- Place the new light fixture into the niche carefully.
- Use a socket wrench to tighten the screws securely.
- Apply silicone sealant around the edges for extra protection.
Step 5: Test the Pool Light
Once you have installed the new pool light, turn the power back on and test the light to ensure it is working correctly. If everything looks good, you’re all set to enjoy your well-lit pool!
Congratulations! You have successfully replaced your pool light. Remember, if you are unsure about any step in the process, it’s always best to consult a professional to ensure safety and proper installation.