Welcome to our comprehensive guide on how to make a small pond waterfall! Adding a waterfall to your pond can elevate its aesthetic appeal and create a soothing atmosphere in your outdoor space. Whether you’re a seasoned DIY enthusiast or a beginner looking to enhance your backyard, this step-by-step tutorial will help you bring the peaceful sounds of cascading water to your own home.

Credit: www.youtube.com
Materials You’ll Need:
- Pond liner
- Pump
- Flexible tubing
- Rocks and stones
- Shovel
- Level
- Spray paint
- Safety gear (gloves, goggles)
Step 1: Plan Your Design
Start by determining the location and size of your pond waterfall. Consider the natural slope of your yard and choose a spot that allows for a smooth flow of water. Use spray paint to outline the shape of your pond and waterfall on the ground.
Step 2: Dig the Pond
Use a shovel to dig out the area marked for your pond. Make sure the depth is sufficient to accommodate the pond liner and pump. Check the level of the ground to ensure your pond will be even and stable.
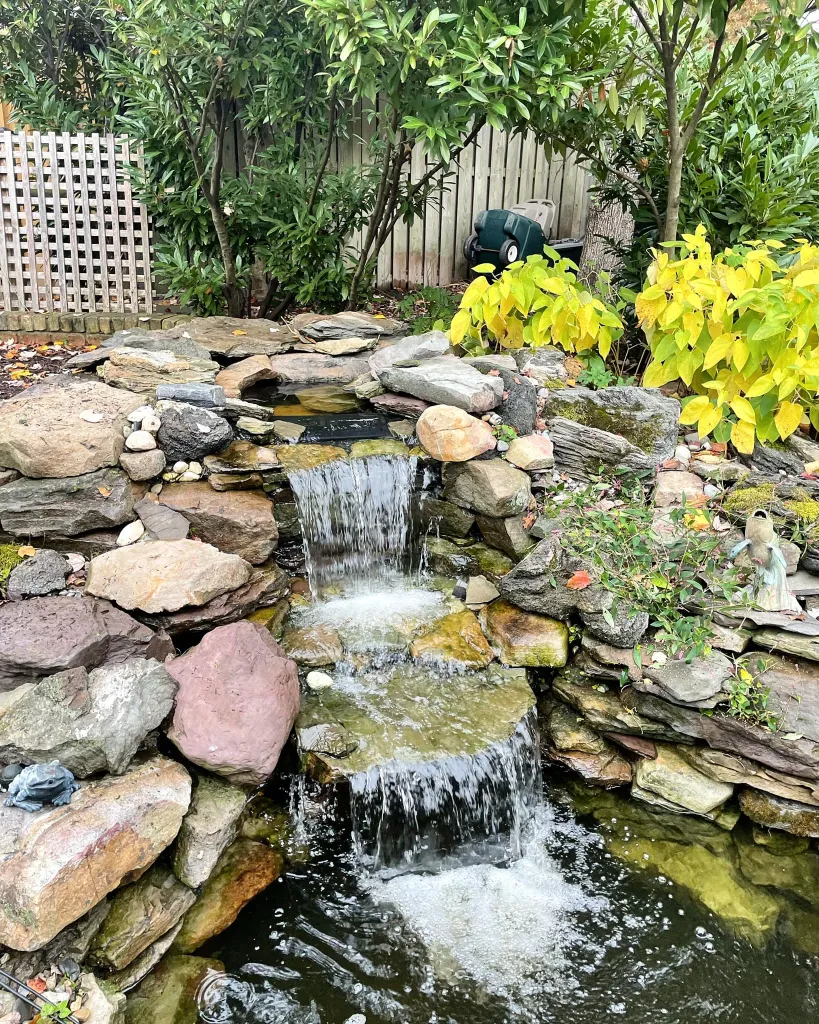
Credit: premierpond.com
Step 3: Install the Pond Liner
Place the pond liner inside the hole you’ve dug, ensuring it fits snugly and covers the entire area. Smooth out any wrinkles and creases to prevent leaks. Trim any excess liner around the edges of the pond.
Step 4: Add the Pump and Tubing
Install the pump at the bottom of the pond and connect it to the flexible tubing. Position the tubing to allow water to flow from the pump to the top of the waterfall. Test the pump to ensure it’s working properly.
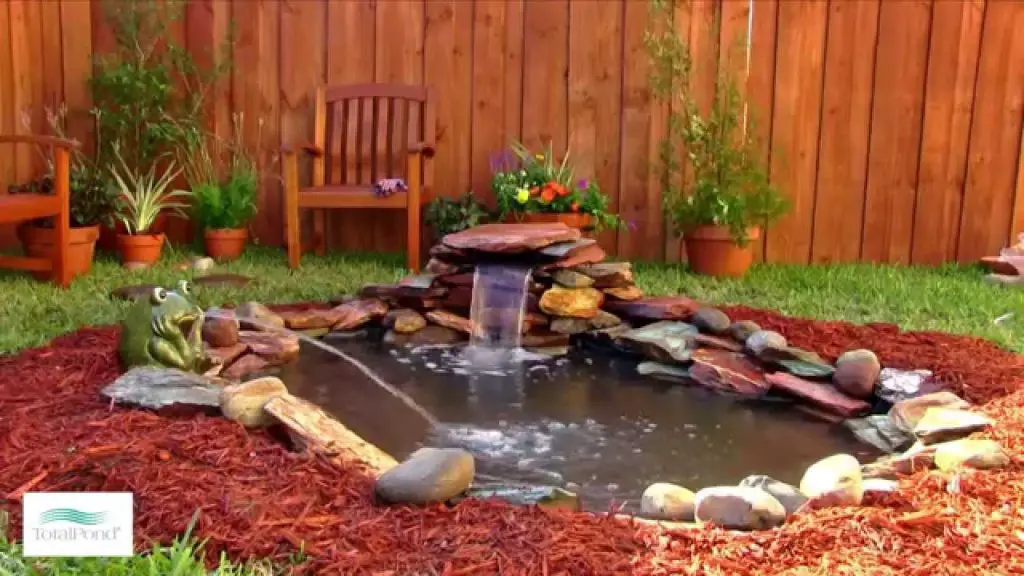
Step 5: Create the Waterfall Structure
Arrange rocks and stones along the outlined waterfall area to create a natural-looking cascade. Stack the rocks in a staggered pattern, ensuring that water can flow smoothly over them. Be creative with the design to achieve the desired aesthetic.
Step 6: Test the Waterfall
Fill the pond with water and turn on the pump to test the waterfall. Make any necessary adjustments to the rocks and tubing to improve the flow and sound of the water. Ensure there are no leaks in the pond liner.
Step 7: Final Touches
Once you’re satisfied with the functionality and appearance of your small pond waterfall, add finishing touches such as aquatic plants, lighting, or decorative elements to enhance the overall look of your outdoor oasis.
Maintaining Your Small Pond Waterfall
Now that you’ve successfully built your small pond waterfall, it’s important to maintain it to ensure its longevity and optimal performance. Here are some tips for keeping your waterfall in top condition:
- Regularly clean the pump and filter to prevent clogs and debris buildup.
- Monitor the water level and top up as needed to keep the pump running smoothly.
- Inspect the pond liner for any signs of wear or damage and repair as necessary.
- Trim back any overhanging vegetation that may obstruct the flow of water in the pond.
- Winterize your pond waterfall by removing the pump and storing it indoors during colder months.
Conclusion
Congratulations on creating your very own small pond waterfall! By following this step-by-step guide and incorporating your creativity and personal touch, you’ve transformed your outdoor space into a tranquil oasis where you can relax and unwind to the soothing sounds of flowing water. Remember to maintain your pond waterfall regularly to enjoy its beauty for years to come.