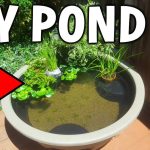
Are you looking to enhance the health of your pond and promote a thriving ecosystem for aquatic life? One effective way to achieve this is by installing a pond aerator. A pond aerator helps increase the oxygen levels in the water, which is essential for the well-being of fish, plants, and other organisms living in the pond. While there are commercial pond aerators available on the market, you can also create a DIY pond aerator at home using simple materials and tools. In this guide, we will walk you through the steps to make your own pond aerator.
Materials Needed:
- Large plastic bucket
- Air pump
- Airline tubing
- Airstone
- Drill
- Drill bit
- Sealant
- Waterproof tape
- Marker
- Scissors
Step 1: Prepare the Bucket
Start by selecting a large plastic bucket that will serve as the main container for your DIY pond aerator. Using a marker, mark the location where you will drill the holes for the airline tubing.
Step 2: Drill Holes
With a drill and an appropriate drill bit, carefully drill multiple holes in the marked area on the bucket. These holes will allow the airline tubing to pass through and distribute the oxygen into the water.
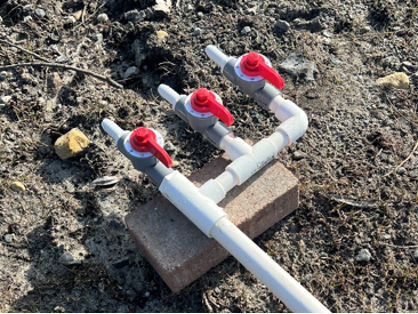
Step 3: Attach the Airline Tubing
Insert one end of the airline tubing through one of the holes in the bucket. Secure the tubing in place using waterproof tape or sealant to prevent any air leakage.
Step 4: Install the Air Pump
Connect the other end of the airline tubing to the air pump. The air pump will push air through the tubing and into the water, increasing the oxygen levels in the pond.
Step 5: Add the Airstone
Attach an airstone to the end of the airline tubing inside the bucket. The airstone will help create bubbles, dispersing oxygen more effectively throughout the water.
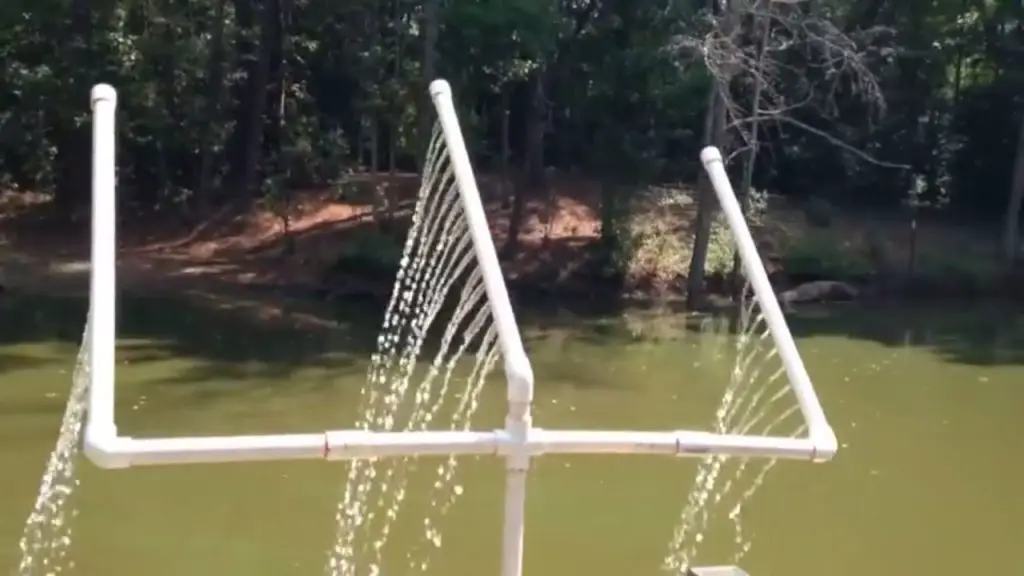
Step 6: Submerge the Aerator
Place the DIY pond aerator into the pond, ensuring that the airstone is fully submerged. The aerator should be positioned in a way that allows the bubbles to reach all areas of the pond.
Step 7: Power On the Air Pump
Turn on the air pump to start the aeration process. You should see bubbles rising from the airstone, indicating that oxygen is being introduced into the water.
Step 8: Monitor and Maintain
Regularly check the DIY pond aerator to ensure it is functioning properly. Clean the airstone and tubing as needed to prevent clogs and maintain optimal performance.
Credit: www.hiblow-usa.com

Credit: www.youtube.com
Benefits of Using a Pond Aerator
By incorporating a pond aerator into your pond, you can enjoy a range of benefits:
- Improved Water Quality: Aeration helps prevent algae growth and reduces foul odors by circulating and oxygenating the water.
- Healthy Fish: Increased oxygen levels support fish health and growth, reducing the risk of diseases.
- Enhanced Aquatic Life: Plants and beneficial bacteria thrive in well-oxygenated water, contributing to a balanced ecosystem.
- Prevention of Ice Formation: A pond aerator can help keep a section of the pond ice-free during winter, promoting gas exchange and protecting fish.
Conclusion
Creating a DIY pond aerator is a rewarding project that can have a positive impact on the health and vitality of your pond. By following the steps outlined in this guide and utilizing simple materials, you can enhance oxygen levels in the water and create a thriving aquatic environment. Remember to monitor your pond aerator regularly and enjoy the benefits of a well-aerated pond for years to come.