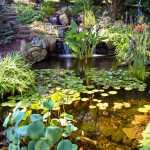
Adding underwater pond lights to your outdoor water feature can enhance its beauty and create a stunning visual effect. Installing these lights is a simple and rewarding DIY project that can transform your pond into a mesmerizing nighttime oasis. In this guide, we will walk you through the step-by-step process of installing underwater pond lights.
Materials Needed:
| Materials | Tools |
|---|---|
| Underwater pond lights | Tape measure |
| Waterproof cable connectors | Drill |
| Outdoor-rated extension cord | Wire strippers |
| Transformer | Shovel |
| Mounting brackets | Timer |
Step 1: Plan Your Lighting Layout
Before you start installing the underwater pond lights, carefully plan out your lighting layout. Consider the size and shape of your pond, as well as the areas you want to highlight. Sketch out a rough plan to determine the number of lights you will need and their placement.
Step 2: Prepare the Lights
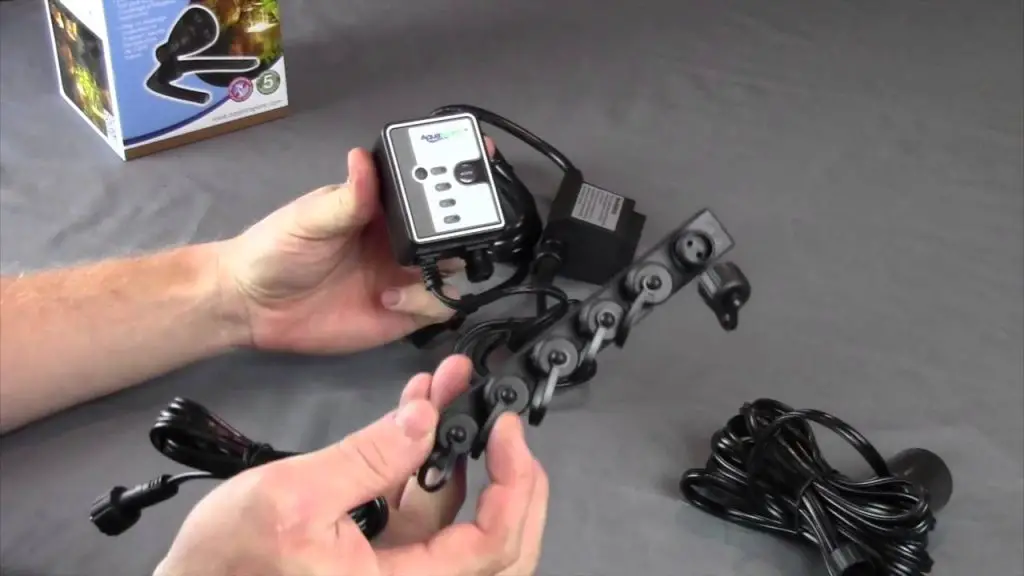
Unpack the underwater pond lights and ensure that all components are included. Test each light to make sure it is working properly before installation. This step will save you time and effort later on.
Step 3: Install the Transformer
Mount the transformer in a location that is close to a power source but protected from the elements. Connect the transformer to an outdoor-rated extension cord and plug it into a GFCI outlet. Make sure the transformer is rated for outdoor use.
Step 4: Dig Trenches for Cables
Use a shovel to dig trenches around the perimeter of the pond to bury the cables. Make sure the trenches are deep enough to protect the cables from damage and to comply with local electrical codes.
Step 5: Connect the Cables
Strip the ends of the cables and connect them to the underwater pond lights using waterproof cable connectors. Ensure that the connections are secure and watertight to prevent any moisture from seeping in.
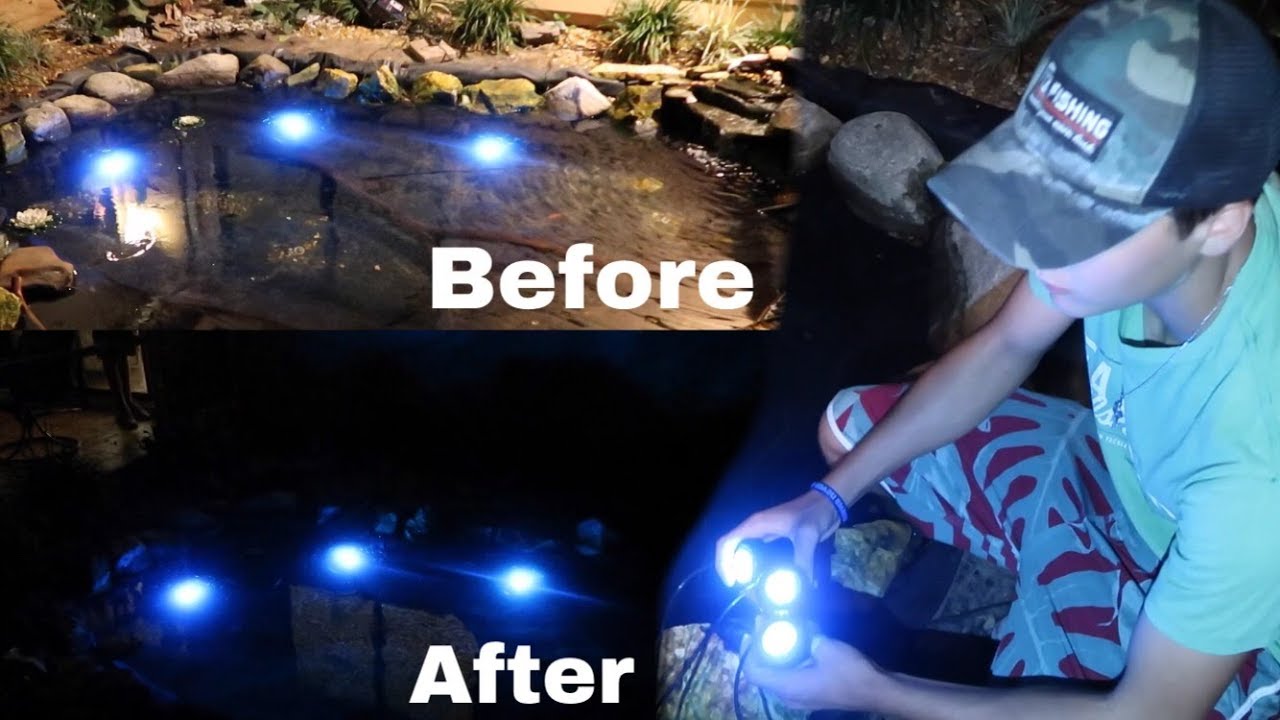
Credit: www.youtube.com
Step 6: Mount the Lights
Attach the mounting brackets to the lights and position them in the desired locations around the pond. Secure the lights in place according to the manufacturer’s instructions to ensure they are stable and properly angled.
Step 7: Test the Lights
Once all the lights are installed, turn on the transformer and test each light to make sure they are functioning correctly. Make any necessary adjustments to the positioning or angle of the lights to achieve the desired lighting effect.
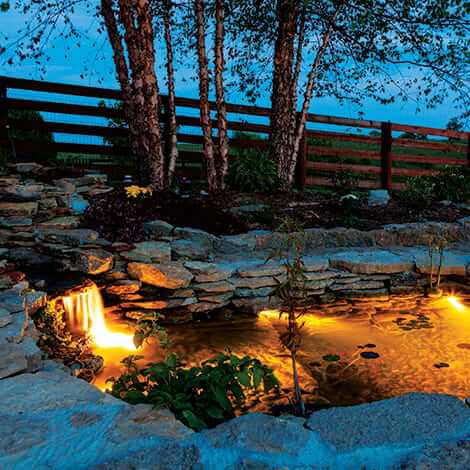
Credit: www.thepondguy.com
Step 8: Set Up a Timer
To automate the lighting schedule and save energy, consider installing a timer for your underwater pond lights. Set the timer to turn the lights on and off at specific times to enhance the ambiance of your pond without having to manually control them.
Step 9: Enjoy Your Illuminated Pond
With the installation complete, sit back and enjoy the enchanting glow of your underwater pond lights. Invite friends and family to admire your beautifully illuminated pond and create unforgettable memories in your outdoor space.
Adding underwater pond lights is a fantastic way to elevate the aesthetics of your pond and create a magical atmosphere in your outdoor living area. By following these simple steps, you can install underwater pond lights like a pro and transform your pond into a captivating nighttime display.