Installing a pond liner is a crucial step in creating a beautiful and functional pond in your backyard. A pond liner serves as a barrier that prevents water from leaking into the ground, helping to maintain the water level and the overall health of the pond ecosystem. In this guide, we will walk you through the step-by-step process of installing a pond liner to ensure a successful and long-lasting pond.
Materials Needed:
Before you begin the installation process, make sure you have all the necessary materials and tools on hand. Here is a list of items you will need:
- Pond liner
- Underlayment
- Sharp scissors or utility knife
- Tape measure
- Marker
- Shovel
- Rocks or decorative stones
- Water pump and filter (optional)
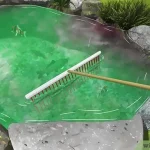
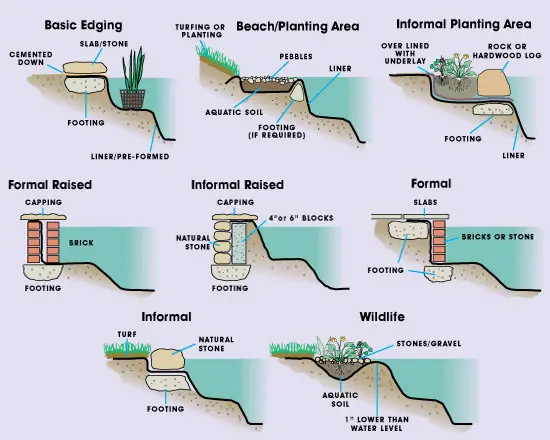
Step 1: Plan Your Pond Layout
Before you start digging or laying down the pond liner, it is important to plan out the layout of your pond. Determine the size and shape of the pond you want, keeping in mind the surrounding landscape and any existing features in your yard.

Credit: www.btlliners.com
Step 2: Dig the Pond
Using a shovel, start digging the pond according to the layout you planned. Make sure to create shelves or varying depths in the pond to accommodate different types of aquatic plants and fish. Remove any sharp objects or debris from the bottom of the pond to prevent puncturing the liner.
Step 3: Prepare the Pond Bottom
Once the pond is dug to the desired depth and shape, it’s time to prepare the bottom for the pond liner. Lay down a layer of underlayment to protect the liner from punctures and ensure a smooth surface for the liner to rest on.
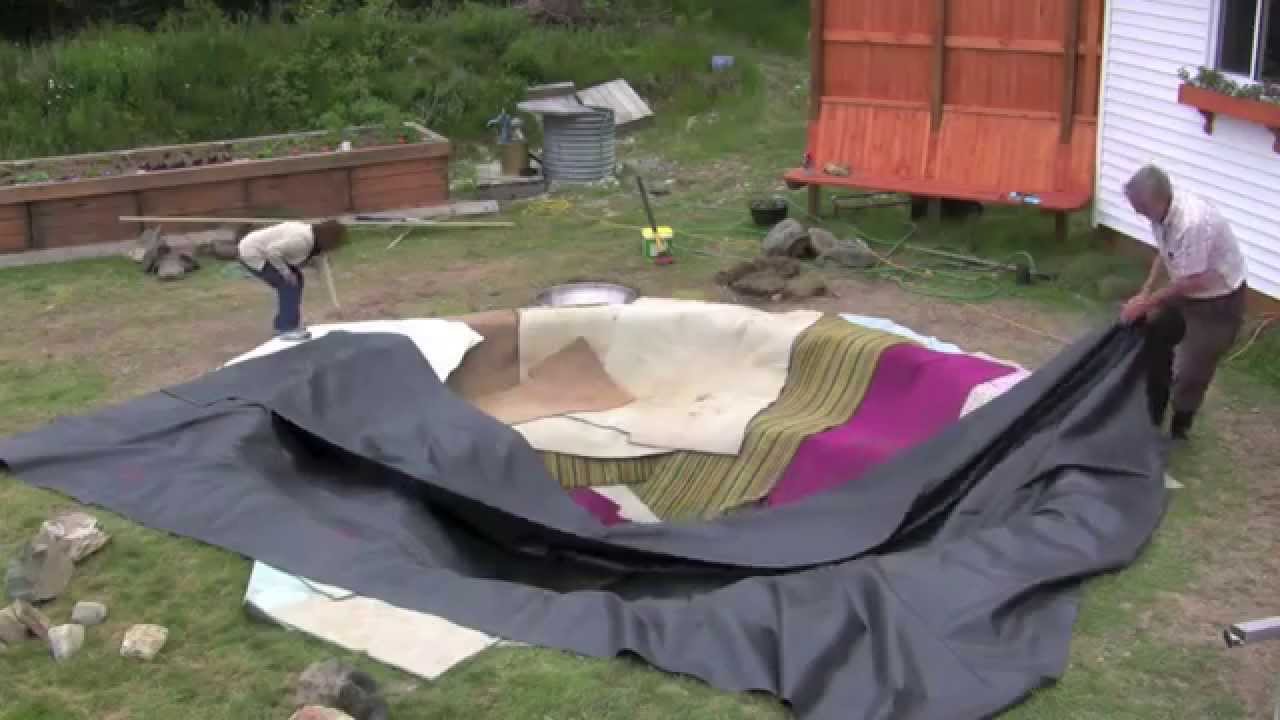
Credit: m.youtube.com
Step 4: Install the Pond Liner
Unroll the pond liner and carefully place it inside the pond. Smooth out any wrinkles or folds in the liner to ensure a snug fit. Trim off any excess liner using sharp scissors or a utility knife, leaving a few inches of overlap around the edges of the pond.
Step 5: Secure the Pond Liner
Once the pond liner is in place, secure it by placing rocks or decorative stones around the edges of the pond. This will help hold the liner in place and create a natural-looking border for your pond.
Step 6: Fill the Pond with Water
After securing the pond liner, it’s time to fill the pond with water. Use a water pump or hose to slowly fill the pond, allowing the liner to settle into place as the water level rises. Check for any leaks or tears in the liner and make any necessary repairs.
Step 7: Add Plants and Fish (Optional)
Once the pond is filled with water, you can add aquatic plants and fish to complete your pond ecosystem. Make sure to choose plants and fish that are suitable for the size and depth of your pond, and provide proper care to maintain a healthy and thriving pond environment.
Step 8: Maintain Your Pond
Regular maintenance is key to keeping your pond in good condition. Monitor the water quality, remove any debris or algae, and check the pond liner for any signs of wear or damage. With proper care and attention, your pond can provide years of enjoyment and relaxation in your backyard.
Conclusion
Installing a pond liner may seem like a daunting task, but with the right materials and a clear plan, you can create a beautiful and functional pond in your backyard. By following these step-by-step instructions, you can enjoy the sights and sounds of a peaceful pond while enhancing the overall aesthetic of your outdoor space.