Having a pond in your garden or backyard can be a beautiful addition to your landscape. However, one of the most common problems that pond owners face is dealing with leaks. If you notice that the water level in your pond is decreasing, it’s important to take action to find and fix the leak as soon as possible.
Step 1: Visual Inspection
Start by visually inspecting the pond for any obvious signs of a leak. Look for wet or soggy areas around the pond, as well as any visible cracks or damage to the pond liner. Additionally, check for areas where the soil may be eroding, which could indicate a leak.
Step 2: Water Loss Test
Conduct a water loss test by filling the pond to its normal level and marking the water line. Turn off any pumps or water features, and then monitor the water level over the course of 24 hours. If the water level drops significantly, it’s likely that there is a leak.
Credit: www.koiphen.com

Credit: m.youtube.com
Step 3: Use Food Coloring
Add a few drops of food coloring to the pond water and observe if the colored water is being drawn out of the pond. The color will help you visually trace the movement of the water and identify the source of the leak.
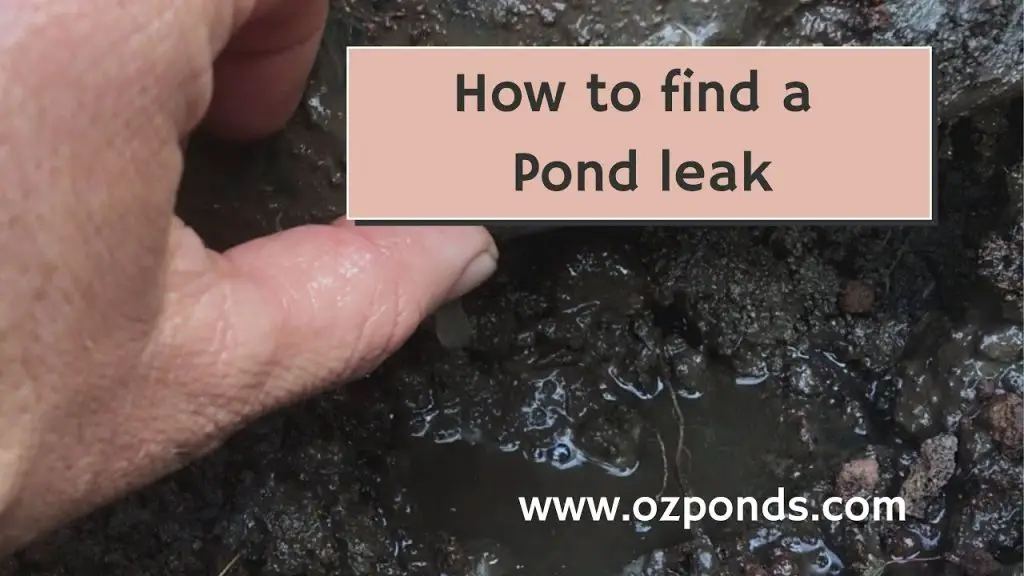
Step 4: Inspect the Pond Liner
Thoroughly inspect the pond liner for any tears, punctures, or holes. Carefully run your hands along the liner to feel for any irregularities, and use a flashlight to check for any signs of damage, especially in hard-to-reach areas.
Step 5: Check Pump and Plumbing
Inspect the pond pump and any plumbing connections for leaks. Look for water dripping or pooling around the pump or any connecting pipes. Tighten any loose connections and replace any damaged seals or gaskets as needed.
Step 6: Underwater Inspection
If your pond is deep enough, consider conducting an underwater inspection using a snorkel or diving mask. Carefully examine the bottom and sides of the pond for any signs of damage to the liner or substrate that could be causing the leak.
Step 7: Repairing the Leak
Once you’ve identified the source of the leak, it’s time to repair it. Depending on the nature and location of the leak, you may need to patch the pond liner, seal cracks, or replace damaged plumbing components. Use appropriate materials and follow manufacturer’s instructions for effective repairs.
Step 8: Preventative Measures
After fixing the leak, consider taking preventative measures to avoid future issues. This can include installing a pond underlayment, using a protective layer of stones or gravel, and regularly inspecting the pond for signs of wear and tear.
Conclusion
Finding and fixing a leak in a pond can be a challenging task, but with the right approach and careful inspection, it’s possible to identify the source of the problem and take appropriate action. By following these steps and taking proactive measures, you can enjoy a beautiful and leak-free pond in your outdoor space.