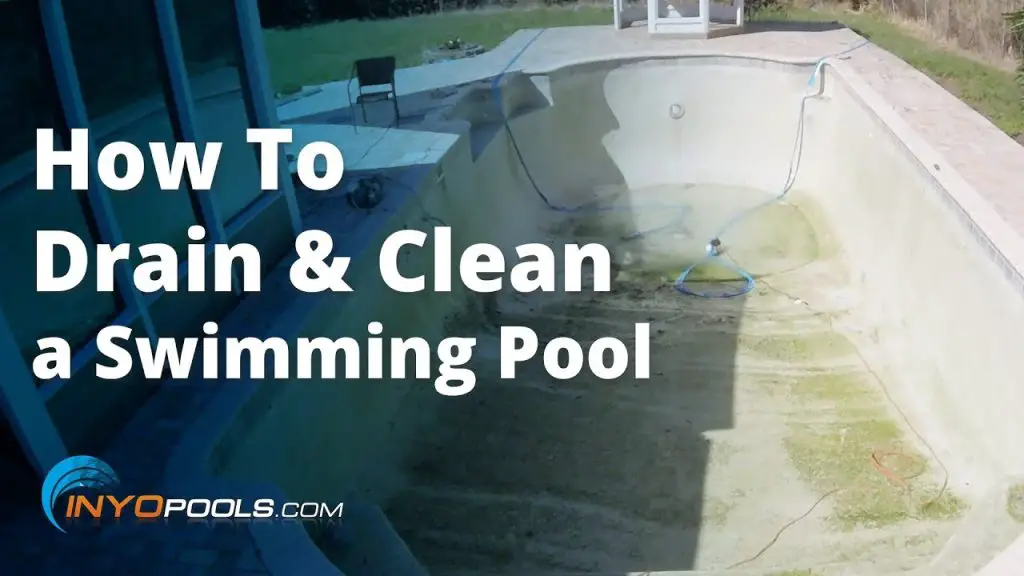
Draining an inground pool may seem like a daunting task, but with the right tools and knowledge, it can be done safely and efficiently. Whether you need to drain your pool for maintenance, repairs, or to replace the water, this step-by-step guide will walk you through the process.
Step 1: Safety First
Before you begin draining your inground pool, it’s essential to prioritize safety. Make sure to turn off the pool’s power supply to avoid any electrical hazards. Additionally, ensure that all equipment, such as pumps and filters, are turned off and disconnected.
Step 2: Determine Where to Drain the Water
Decide where you want to drain the water from your pool. Avoid draining the water near the pool to prevent erosion or flooding. It’s best to drain the water into a storm drain, a sewer cleanout, or an area where it can flow away from your property without causing any damage.
Step 3: Prepare the Necessary Equipment
Gather the following equipment before you start draining your inground pool:
- A submersible pump or a sump pump
- A long garden hose (if needed to reach the drainage area)
- A backwash hose (if your pool has a sand filter)
- A pool brush or a vacuum head (to help remove debris during the draining process)
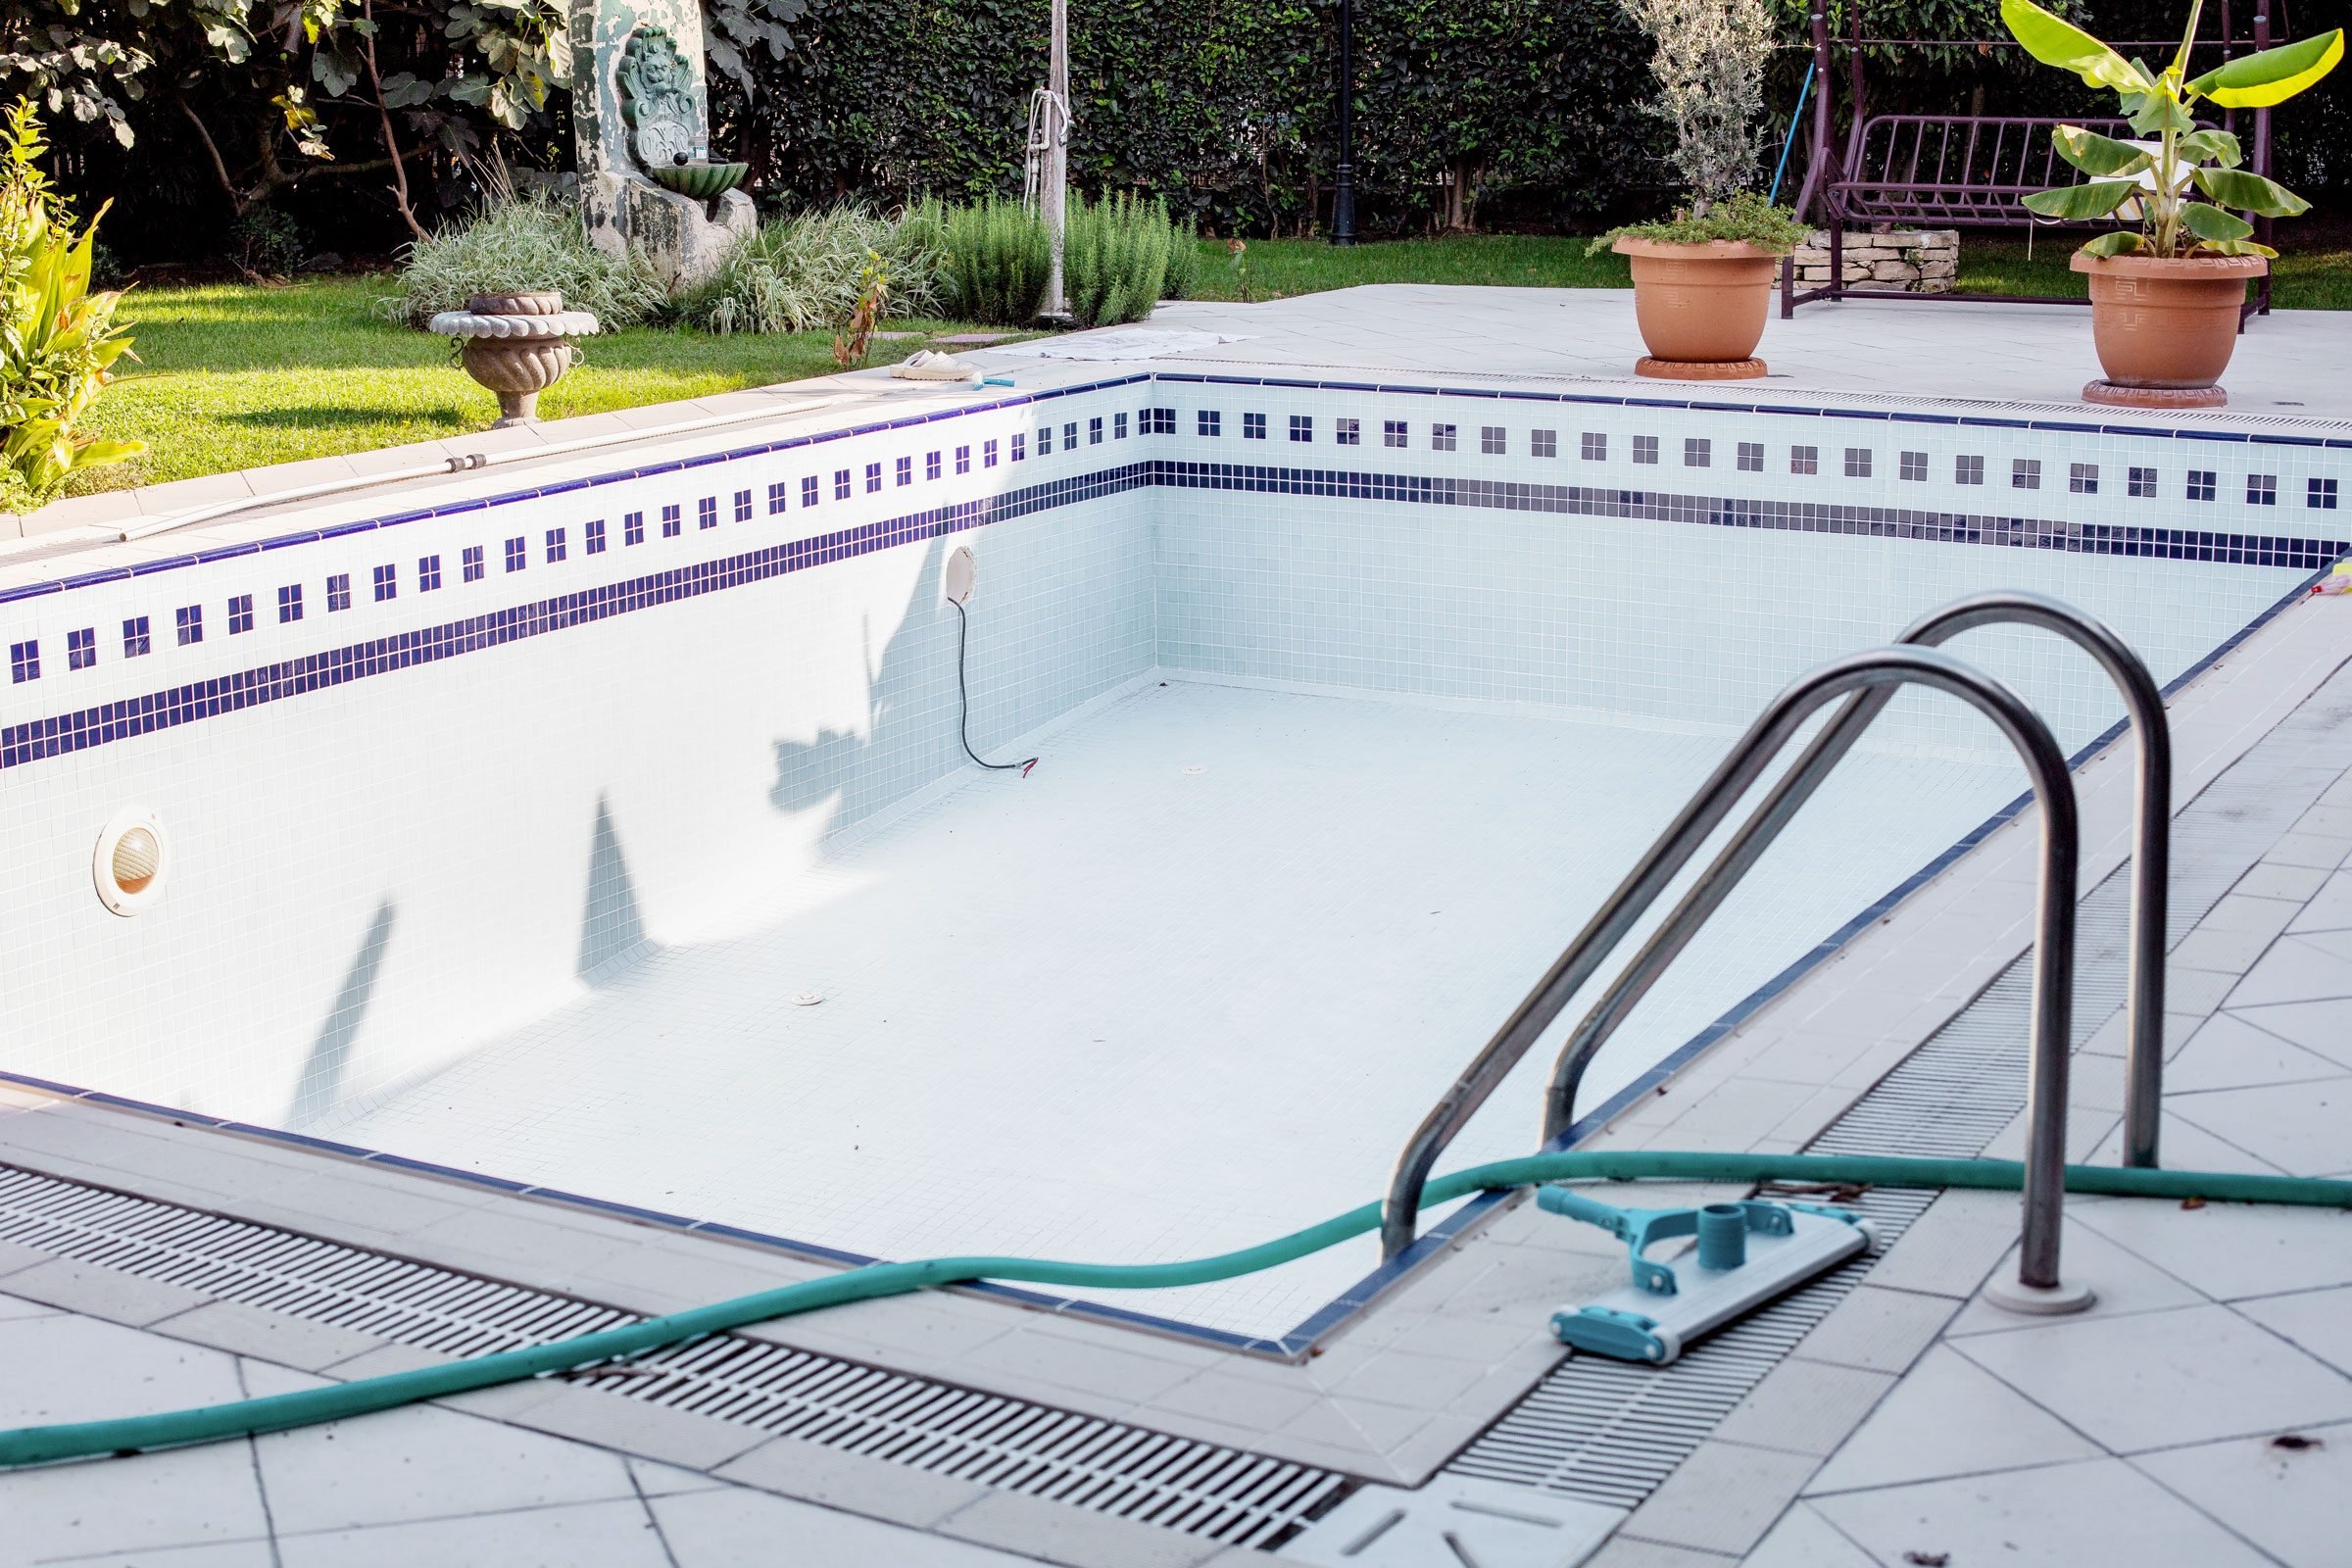
Credit: www.familyhandyman.com
Step 4: Attach the Pump and Hose
If you’re using a submersible pump, place it in the deepest part of the pool. Attach a long garden hose to the pump and ensure that it reaches the desired drainage area. If you’re using a sump pump, position it near the pool and connect the backwash hose to the pump’s outlet. Ensure the hose is long enough to reach the drainage area.
Step 5: Start Draining the Pool
Once the pump and hose are properly set up, you can begin draining the pool. Turn on the pump and allow it to remove the water from the pool. Monitor the process closely to ensure that the water is flowing smoothly and that the pump is functioning correctly.
Step 6: Remove Debris
While the pool is draining, use a pool brush or a vacuum head to remove any debris that may have settled on the pool floor. This will help prevent clogging or damage to the pump. Be thorough in your cleaning to ensure a smooth draining process.
Step 7: Monitor the Water Level
As the water level decreases, keep an eye on the pool’s progress. It’s essential not to completely drain the pool as it may cause damage to the structure. Stop the draining process once the water level is below the skimmer line, but ensure there is still enough water to cover the pump’s intake.
Step 8: Disconnect and Store Equipment
Once the pool has reached the desired water level, turn off the pump and disconnect it from the power supply. Remove the pump and hose from the pool, ensuring that no water remains inside. Store the equipment in a safe place for future use.
Step 9: Refill the Pool
After the pool has been drained and cleaned, it’s time to refill it. Connect your garden hose to a water source and place it in the pool. Turn on the water and let it fill the pool. Remember to monitor the water level to prevent overfilling.
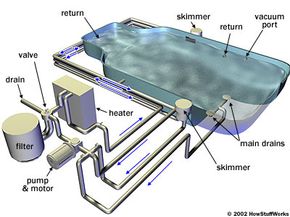
Credit: home.howstuffworks.com
Step 10: Balance the Water Chemistry
Once the pool is refilled, it’s essential to test and balance the water chemistry. Use a pool testing kit to check the pH, alkalinity, and chlorine levels. Adjust the chemicals as needed to ensure the water is safe and balanced for swimming.
By following these ten steps, you can successfully drain an inground pool without any hassle. Remember to prioritize safety, monitor the process closely, and take the necessary precautions to prevent any damage or accidents. With proper maintenance and care, your inground pool will provide you with years of enjoyment.