Creating a pond waterfall in your backyard can bring a sense of tranquility and beauty to your outdoor space. The soothing sound of flowing water and the visual appeal of a cascading waterfall can enhance the ambiance of your garden. If you are considering adding a pond waterfall to your landscape, follow these steps to construct one successfully.
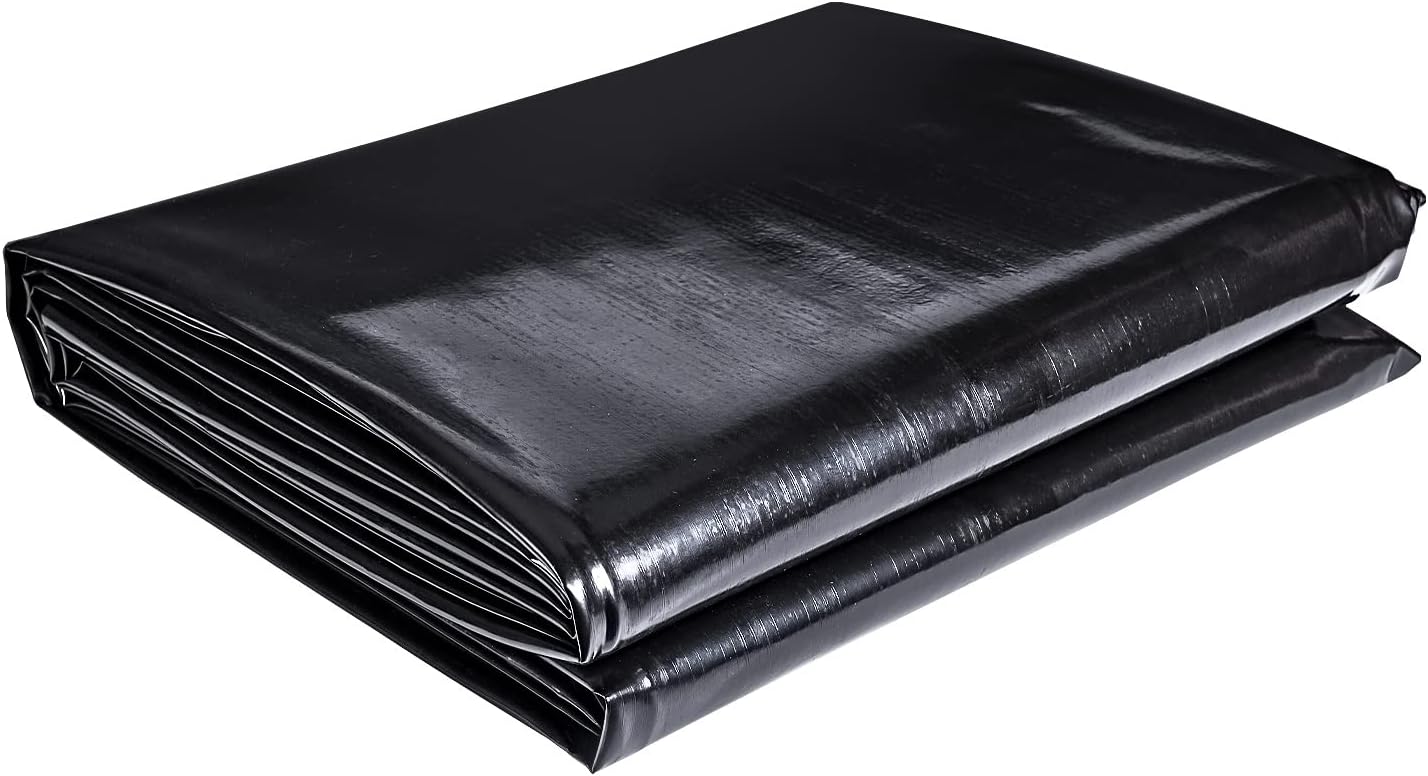
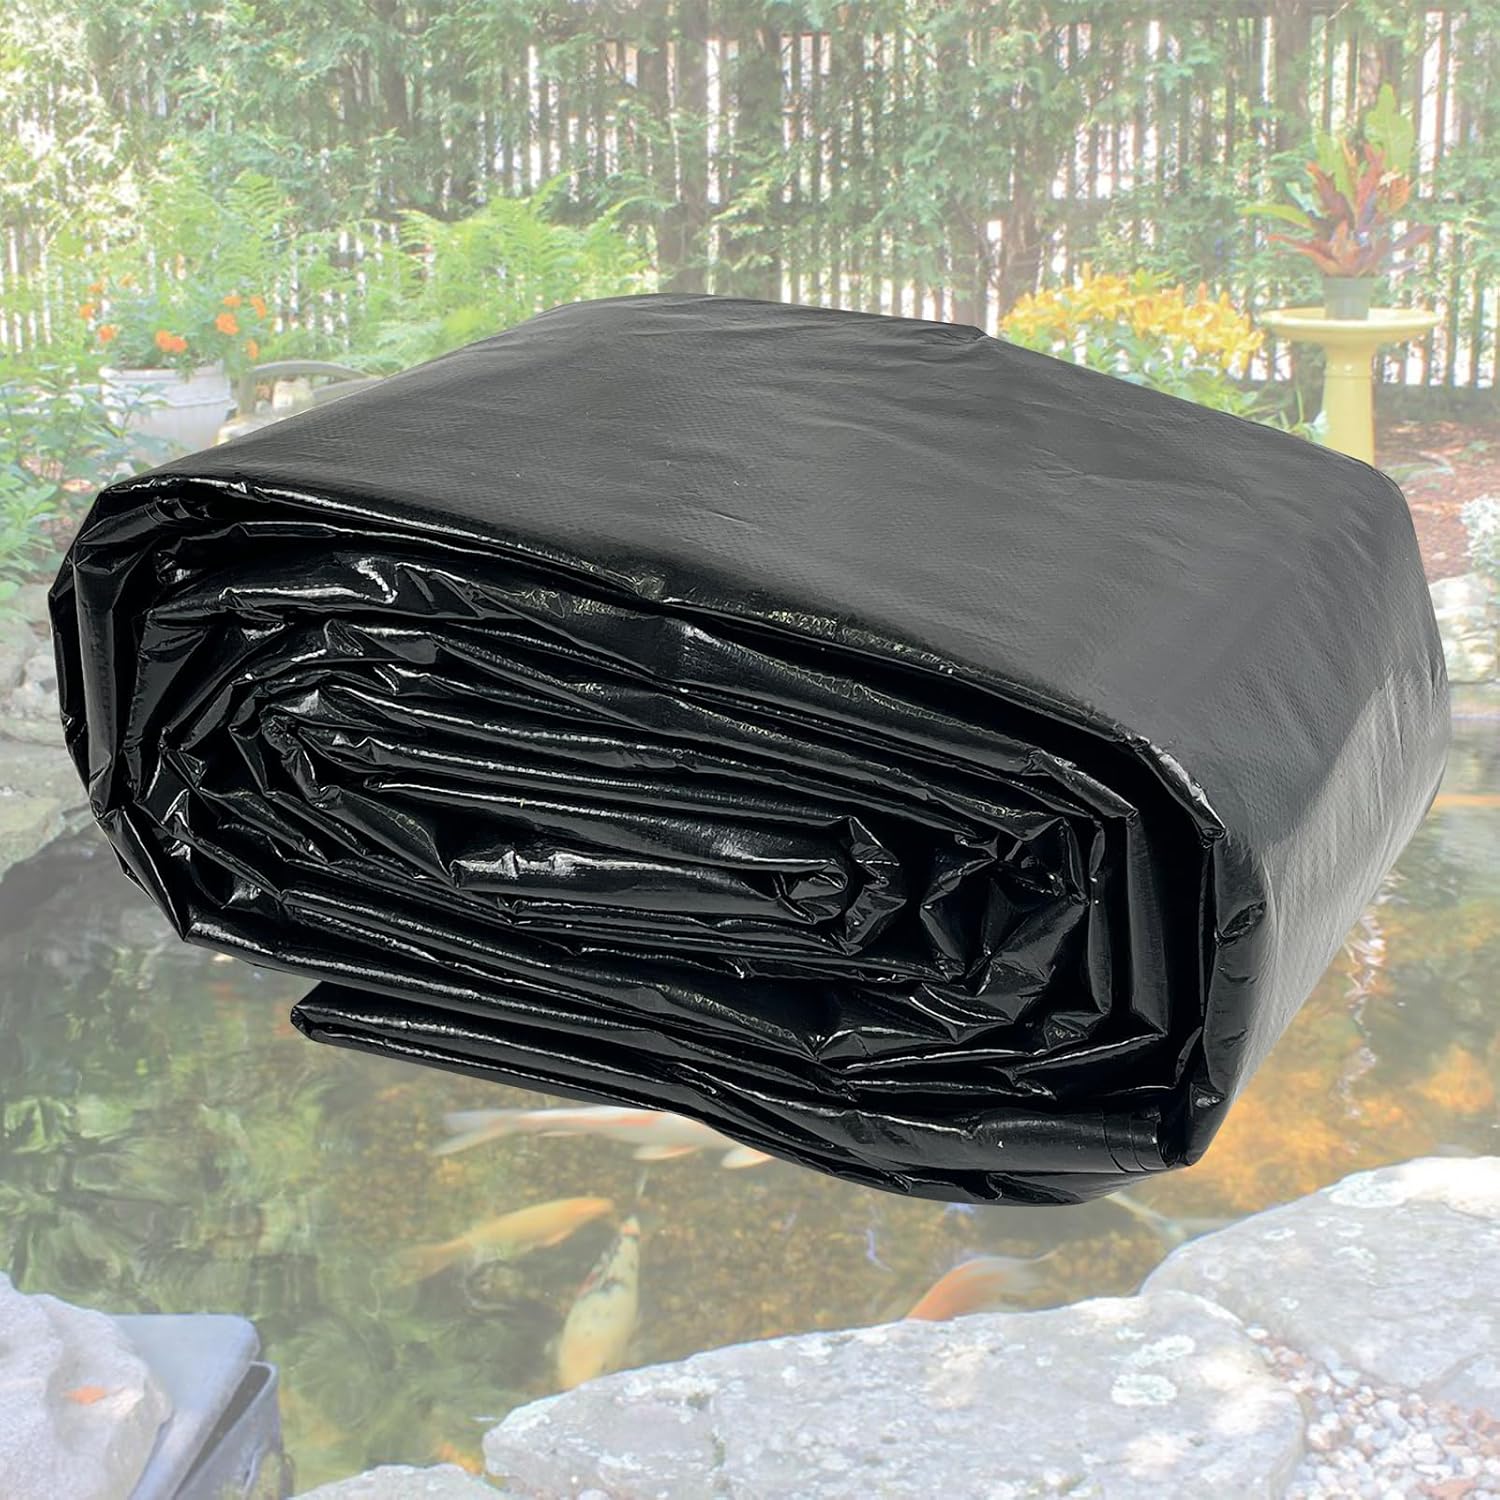
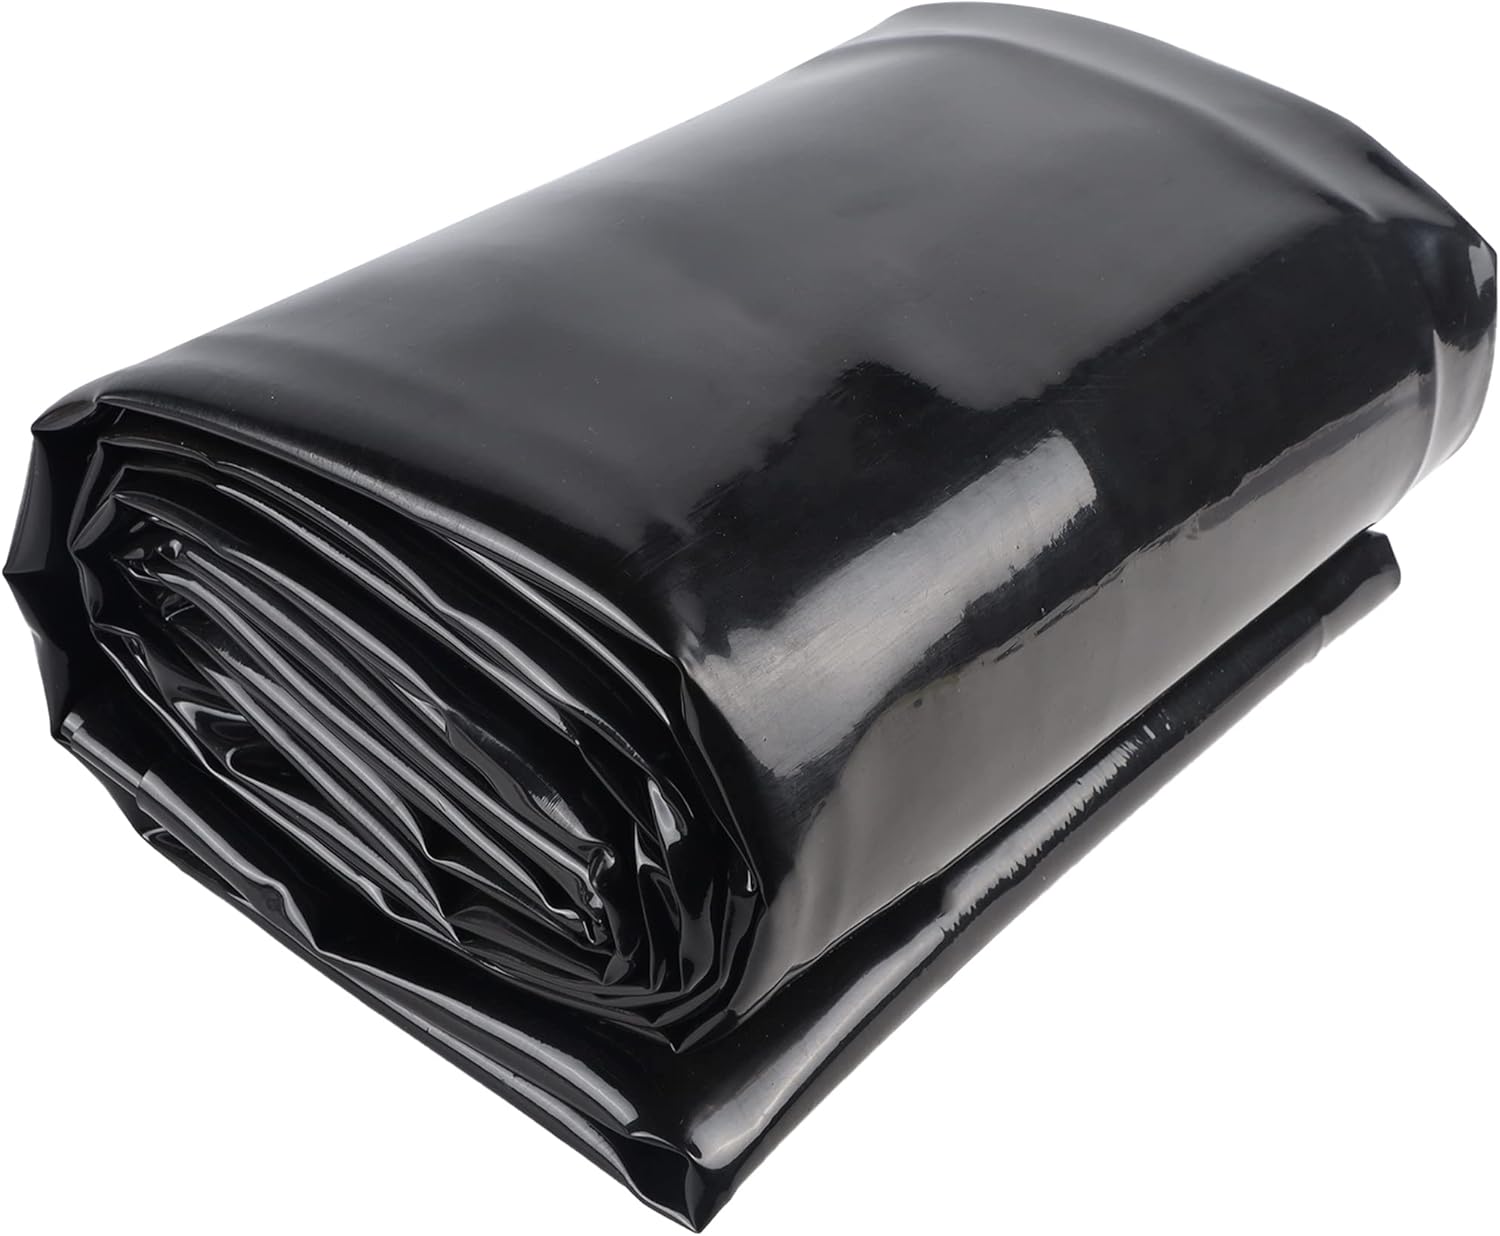
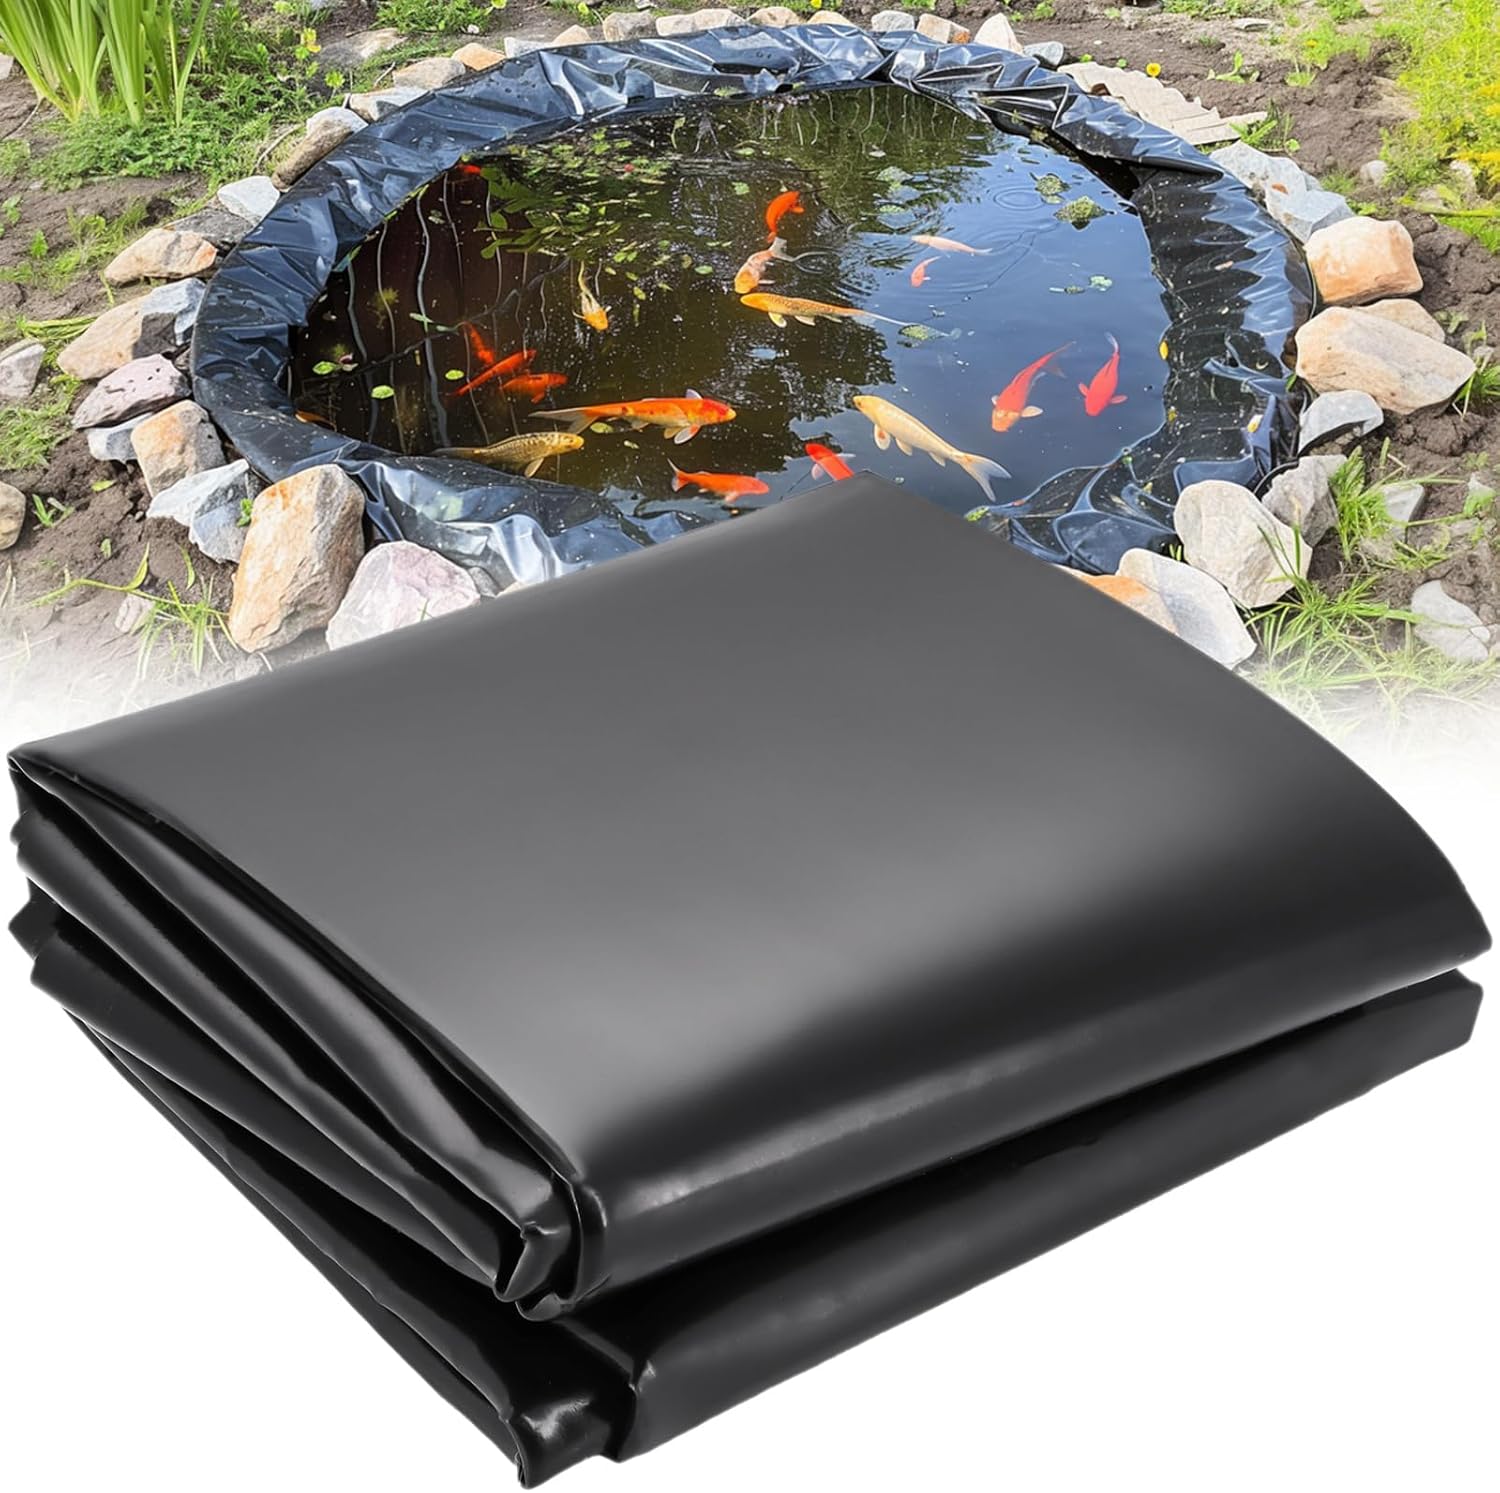
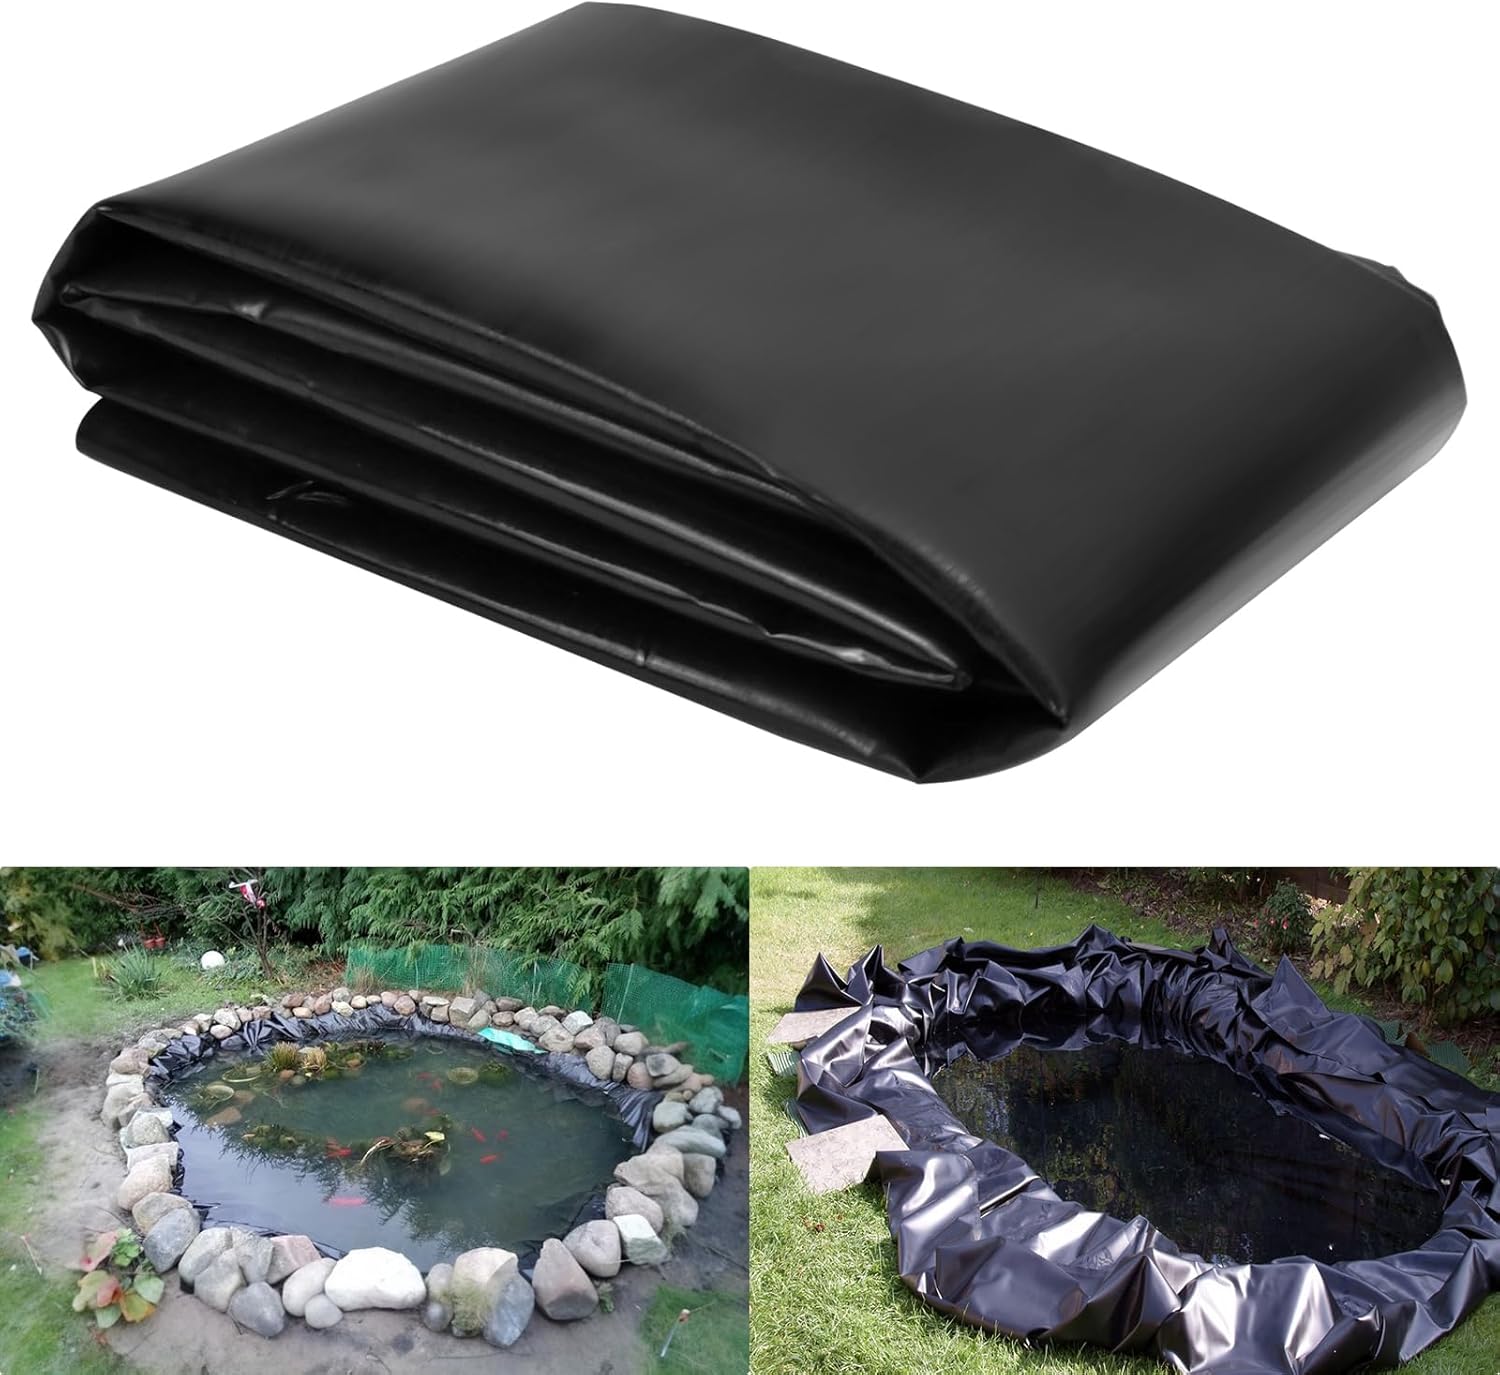
5 Best Durable Pond Liners For Outdoor Ponds, Garden Fountain, And Waterfall
Step 1: Planning and Design
Before starting the construction of your pond waterfall, it is essential to plan and design the layout. Consider the size of your pond, the desired height and width of the waterfall, and the location where you want to install it. Sketch out a rough design of your waterfall to visualize how it will look in your garden.
Materials Needed
- Shovel
- Pond liner
- Rocks or boulders
- Pump and tubing
- Filtration system
- Waterfall spillway
Step 2: Digging the Pond
Start by digging the pond where the waterfall will flow into. The size of the pond will depend on your preference, but ensure it is large enough to accommodate the waterfall spillway and pump. Line the pond with a pond liner to prevent water leakage.
Step 3: Installing the Waterfall Spillway
Place the waterfall spillway at the desired location in your pond. The spillway will act as the starting point of your waterfall where the water will flow from. Ensure it is securely positioned and level to allow for proper water flow.
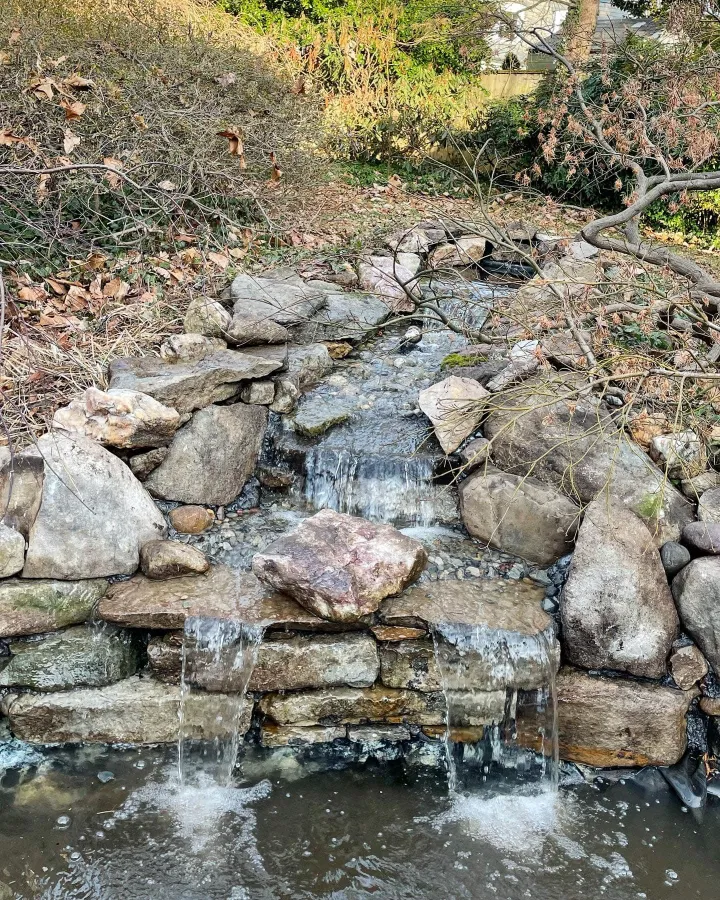
Credit: premierpond.com
Step 4: Creating the Waterfall Structure
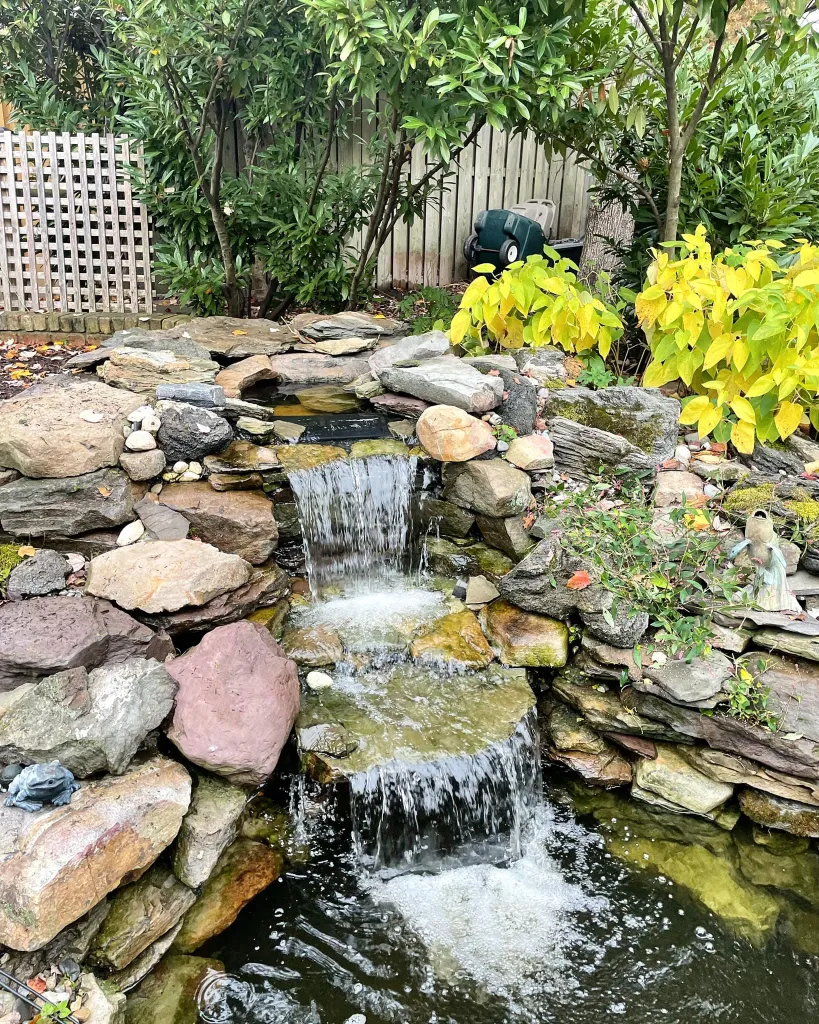
Use rocks or boulders to create the structure of your waterfall. Start stacking the rocks around the spillway to form a cascading effect. Ensure the rocks are arranged in a way that allows water to flow naturally over them, creating a picturesque waterfall.
Step 5: Installing the Pump and Tubing
Connect the pump to the tubing and place it in the pond. The pump will circulate water from the pond to the waterfall spillway, creating a continuous flow of water over the rocks. Position the tubing discreetly behind the rocks to maintain the natural look of the waterfall.
Step 6: Adding the Filtration System
Integrate a filtration system into your pond waterfall to keep the water clean and free of debris. The filtration system will help maintain the health of your pond ecosystem and ensure the water remains clear and fresh.

Credit: m.youtube.com
Step 7: Testing and Adjusting
Once you have completed the construction of your pond waterfall, test the pump and ensure that the water flows smoothly over the rocks. Make any necessary adjustments to the positioning of the rocks or the pump to achieve the desired flow and appearance of the waterfall.
Maintenance Tips
To keep your pond waterfall in top condition, follow these maintenance tips:
- Regularly clean the filter to prevent clogging.
- Check the pump and tubing for any blockages.
- Remove debris from the pond to maintain water quality.
- Monitor the water level and top up as needed.
- Inspect the rocks for stability and make adjustments if necessary.
Benefits of a Pond Waterfall
Adding a pond waterfall to your garden offers numerous benefits:
- Enhances the visual appeal of your outdoor space.
- Creates a relaxing and soothing atmosphere with the sound of flowing water.
- Attracts wildlife such as birds and butterflies to your garden.
- Improves the overall aesthetics of your landscape.
- Provides a focal point for your garden design.
In conclusion, constructing a pond waterfall in your backyard can be a rewarding project that adds beauty and serenity to your outdoor space. By following the steps outlined above and implementing proper maintenance practices, you can enjoy the sights and sounds of a stunning waterfall in your own garden.


