Closing your inground pool properly before the winter season is crucial to ensure it stays in good condition and is ready for use when the warmer months roll around again. Properly closing your pool can help prevent damage from freezing temperatures and save you time and money on repairs in the long run. In this comprehensive guide, we will walk you through the steps to effectively close your inground pool.
Step 1: Balance the Water Chemistry
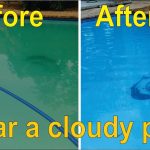
The first step in closing your inground pool is to balance the water chemistry. Test the water using a pool testing kit and adjust the pH, alkalinity, and calcium hardness levels as needed. It is important to ensure that the water is properly balanced to prevent corrosion and scale buildup during the winter months.

Credit: m.youtube.com
Step 2: Clean the Pool
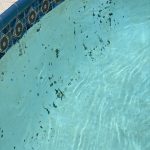
Thoroughly clean the pool by removing any debris, leaves, and dirt from the water. Use a pool skimmer and pool vacuum to clean the pool thoroughly. Brush the walls and floor of the pool to remove any algae or other buildup that may have accumulated during the swimming season.
Step 3: Lower the Water Level
Lower the water level in the pool to below the skimmer intake and return jets. This will help prevent damage to the plumbing lines from freezing water during the winter. Use a submersible pump or siphon to lower the water level to the appropriate level.
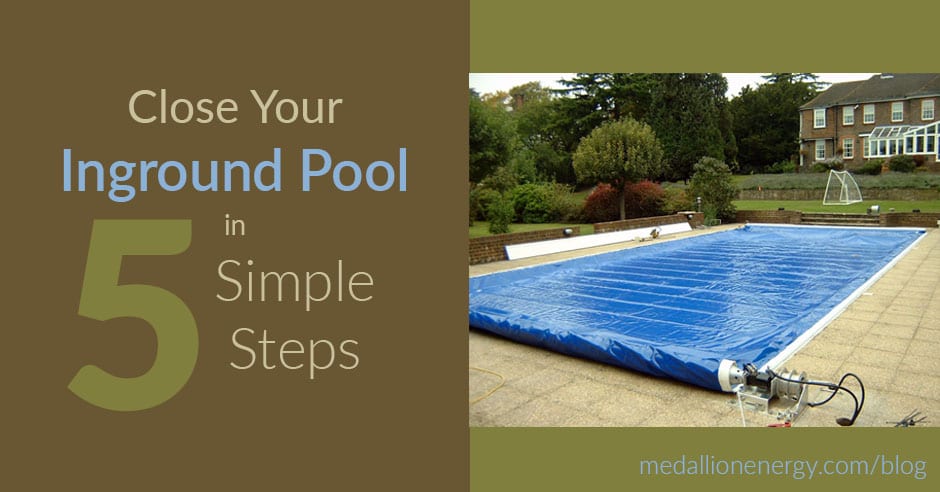
Credit: www.medallionenergy.com
Step 4: Winterize the Plumbing
Winterize the plumbing lines by blowing out the water from the pipes using a shop vac or air compressor. This will help prevent the pipes from freezing and cracking during the winter. You can also add pool antifreeze to the lines to provide an extra layer of protection against freezing temperatures.
Step 5: Remove Accessories
Remove any accessories such as ladders, handrails, and diving boards from the pool. Store these items in a dry, covered area to prevent damage during the winter months. You should also remove any pool toys, floats, and other items from the pool area.
Step 6: Cover the Pool
Finally, cover the pool with a durable and secure pool cover. Make sure the cover fits snugly over the pool and is securely fastened to prevent debris from getting into the water. A good quality pool cover will help protect the pool from dirt, leaves, and other debris during the winter.
Step 7: Monitor the Pool
Throughout the winter months, periodically check on the pool to ensure that the cover is secure and that there are no issues with the water level or equipment. Remove any debris that may have accumulated on the cover and make any necessary adjustments to keep the pool protected.
Step 8: Prepare for Spring Opening
As the winter season comes to an end, start preparing for the spring pool opening. Remove the pool cover and clean it thoroughly before storing it away. Test the water chemistry and adjust the levels as needed. Remove any winterizing plugs and fittings from the plumbing lines.
Conclusion
Closing your inground pool properly is essential to protect it from damage during the winter months and ensure it is ready for use when the warmer weather arrives. By following these steps to close your pool, you can help maintain its condition and extend its lifespan. Remember to always consult the manufacturer’s guidelines for your specific pool type and follow best practices for winterizing your inground pool.