Welcome to our comprehensive guide on how to change a pool pump motor. A pool pump is a crucial component of any swimming pool, as it circulates water, keeping it clean and safe for swimming. Over time, the motor of a pool pump may wear out or malfunction, necessitating a replacement. By following the steps outlined below, you can easily change the pool pump motor yourself and save money on professional installation costs.
Step 1: Gather the Necessary Tools and Materials
Before you begin the process of changing the pool pump motor, make sure you have all the required tools and materials on hand. You will need:
- Replacement pool pump motor
- Socket wrench set
- Adjustable wrench
- Screwdriver
- Thread sealant
- New gaskets or O-rings (if necessary)
Step 2: Turn Off Power to the Pool Pump
Prior to starting any work on the pool pump motor, ensure that the power to the pump is turned off. Locate the circuit breaker that controls the pump motor and switch it off to prevent any electrical accidents during the replacement process.
Step 3: Disconnect the Old Pool Pump Motor
Using the appropriate tools, disconnect the old pool pump motor from the pump housing. This may involve removing bolts, screws, or other fasteners that secure the motor in place. Take note of the wiring connections and how they are attached to the motor before disconnecting them.
Step 4: Remove the Old Motor and Inspect the Pump Housing
Once the old motor is detached, carefully remove it from the pump housing. Take this opportunity to inspect the pump housing for any signs of damage or wear that may have contributed to the motor failure. Clean the pump housing if necessary before proceeding with the installation of the new motor.
Step 5: Install the New Pool Pump Motor
Position the new pool pump motor in the pump housing, ensuring that it is securely in place. Reconnect the wiring following the same configuration as the old motor. Use thread sealant on any threaded connections to prevent leaks.
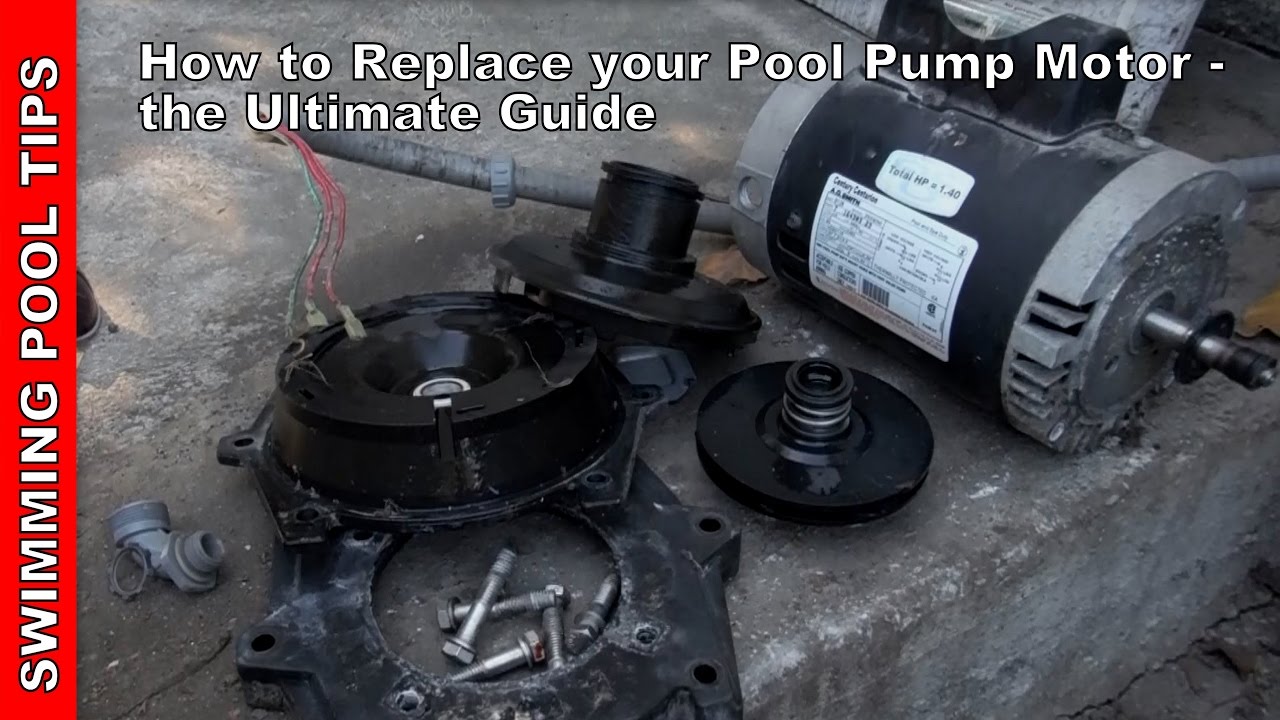
Credit: m.youtube.com
Step 6: Reassemble the Pump Components
Reassemble the pump components, including any gaskets or O-rings that were removed during the disassembly process. Tighten all fasteners securely to ensure a watertight seal and prevent any leaks.
Step 7: Test the Pool Pump Motor
Once the new motor is installed and all components are reassembled, turn the power back on to the pool pump. Run the pump and check for any unusual noises or vibrations that may indicate an issue with the installation. Ensure that water is circulating properly through the system.
Step 8: Monitor the Pool Pump Operation
Monitor the operation of the pool pump motor over the next few days to ensure that it is functioning correctly. Keep an eye out for any leaks, unusual sounds, or decreased water flow, which may indicate a problem with the installation.
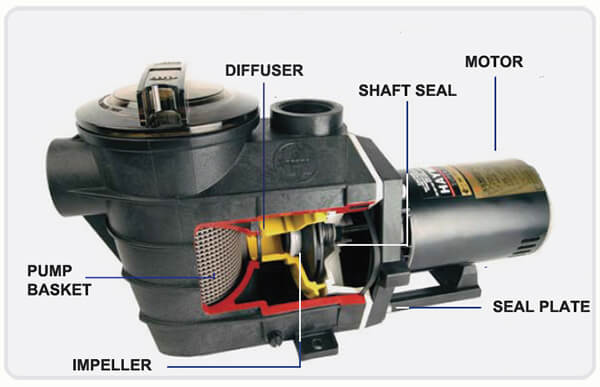
Credit: intheswim.com
Step 9: Maintenance and Care
Regular maintenance of your pool pump motor is essential to prolong its lifespan and ensure optimal performance. Clean the pump and filter regularly, check for any debris or blockages, and inspect the motor for signs of wear or damage. By maintaining your pool pump motor, you can prevent costly repairs and replacements in the future.
Conclusion
Changing a pool pump motor may seem like a daunting task, but with the right tools and knowledge, it can be a straightforward process. By following the step-by-step guide outlined above, you can replace your pool pump motor efficiently and effectively. Remember to prioritize safety by turning off the power before starting any work and monitoring the pump’s operation after installation. With proper care and maintenance, your pool pump motor will keep your pool clean and enjoyable for years to come.