Changing the light in your inground pool can enhance the overall look and safety of your pool area. Whether you are looking to replace a faulty light or simply want to upgrade to a more energy-efficient option, changing the light in your inground pool is a manageable task that you can do yourself with the right guidance.

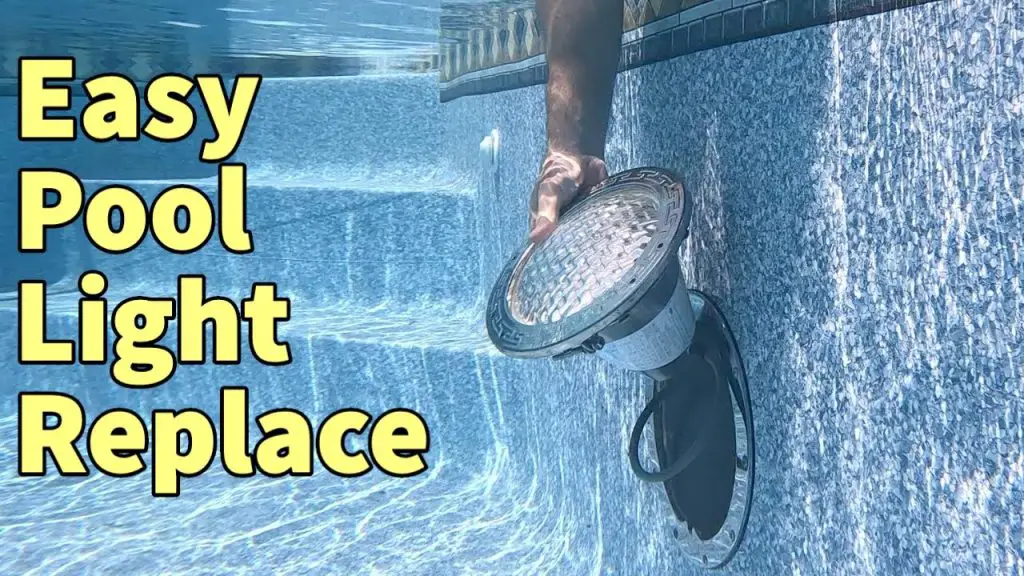
Credit: www.amazon.com
Step-by-Step Guide to Changing the Light in Your Inground Pool
Follow these steps to safely and effectively change the light in your inground pool:
Step 1: Gather The Necessary Tools
Before you begin, make sure you have all the tools you need for the job. You will typically require a screwdriver, a pair of pliers, a new pool light fixture, and a new gasket.
Step 2: Turn Off The Power
For safety reasons, always turn off the power to the pool light at the circuit breaker before attempting to replace it. This will prevent any electrical accidents during the process.
Step 3: Remove The Old Light Fixture
Use your screwdriver to remove the screws that hold the old light fixture in place. Once the screws are removed, carefully disconnect the wires from the old fixture using your pliers.
Step 4: Inspect And Clean The Area
Take this opportunity to inspect the area around the light fixture for any signs of damage or wear. Clean the area thoroughly to ensure a proper seal when installing the new light fixture.
Step 5: Install The New Gasket
Place the new gasket around the perimeter of the light niche to create a watertight seal. Make sure the gasket is properly aligned and seated before proceeding with the installation.
Step 6: Install The New Light Fixture
Connect the wires of the new light fixture to the corresponding wires in the pool’s electrical system. Secure the new light fixture in place using the screws and ensure it is tightly sealed with the gasket.
Step 7: Test The Light
Once the new light fixture is installed, turn the power back on at the circuit breaker to test the light. Ensure that the light is functioning correctly before proceeding with refilling the pool.
Step 8: Refill The Pool
If the light is working properly, you can proceed with refilling the pool to its normal water level. Monitor the area around the light fixture for any signs of leaks as the pool refills.
Benefits of Changing the Light in Your Inground Pool
There are several benefits to changing the light in your inground pool, including:
- Enhanced Safety: A well-lit pool area reduces the risk of accidents and improves visibility for swimmers.
- Aesthetic Appeal: Upgrading your pool light can enhance the overall look of your pool area, especially at night.
- Energy Efficiency: Newer pool lights are often more energy-efficient, helping you save on electricity costs in the long run.
- Increased Property Value: A well-maintained pool with a modern light fixture can increase the value of your property.
Credit: lesliespool.com
Conclusion
Changing the light in your inground pool is a relatively simple task that can have a significant impact on the safety and appearance of your pool area. By following the step-by-step guide outlined above, you can successfully replace your pool light fixture and enjoy the benefits of a well-lit and visually appealing pool environment.
Remember to always prioritize safety when working with electrical components and consult a professional if you are unsure about any aspect of the installation process.