If you own a Coleman pool, it’s essential to maintain the filter regularly to ensure clean and safe swimming water. Changing the filter is a crucial part of pool maintenance that should be done periodically. In this guide, we will walk you through the step-by-step process of changing the filter on your Coleman pool.
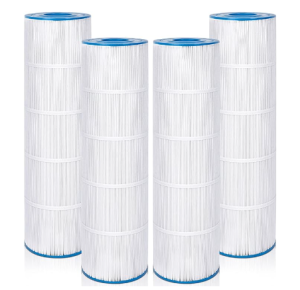
Best Pool Filter for Coleman Pool
Step 1: Gather the Necessary Supplies
Before you start changing the filter on your Coleman pool, make sure you have all the necessary supplies on hand. You will need a new filter cartridge that is compatible with your Coleman pool model, a pair of gloves to protect your hands, and a hose to rinse off the filter housing.
Step 2: Turn off the Pump
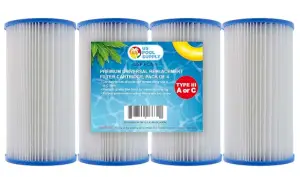
Cheapest Coleman Pool Filters
Before you begin changing the filter, turn off the pump to ensure there is no water flowing through the system. This will prevent any accidents or water spillage while you are working on the filter.
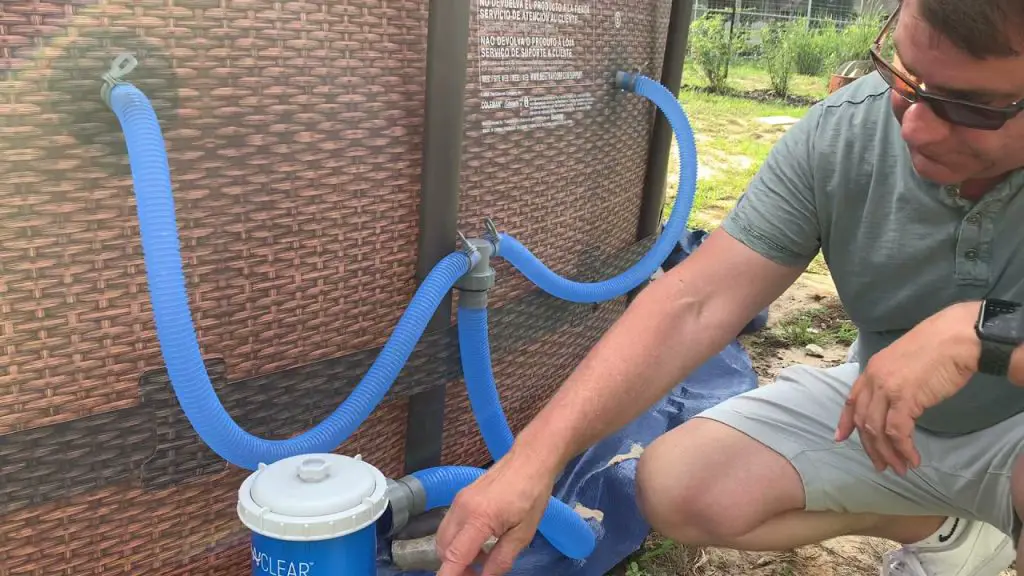
Step 3: Remove the Filter Housing Cover
Locate the filter housing cover on your Coleman pool. It is usually located near the pump and is secured with clips or screws. Use a screwdriver or your hands to remove the cover carefully.

Credit: www.amazon.com
Step 4: Take out the Old Filter Cartridge
Once the cover is removed, you will see the old filter cartridge inside the housing. Carefully remove the old filter cartridge and dispose of it properly. Be cautious not to spill any debris into the pool water.
Step 5: Clean the Filter Housing
After removing the old filter cartridge, take the time to clean the filter housing. Use a hose to rinse off any dirt or debris that may have accumulated inside the housing. This will ensure that the new filter cartridge works efficiently.
Step 6: Insert the New Filter Cartridge
Take the new filter cartridge and insert it into the filter housing. Make sure it is seated properly and securely in place. Double-check that there are no gaps or leaks around the cartridge.
Step 7: Replace the Filter Housing Cover
Once the new filter cartridge is in place, securely replace the filter housing cover. Make sure it is tightly sealed to prevent any water leakage during operation.
Step 8: Turn on the Pump and Check for Leaks
After replacing the filter cartridge and securing the housing cover, turn on the pump to circulate the water through the system. Keep an eye out for any leaks or unusual noises that may indicate a problem with the filter installation.
Step 9: Check Water Flow and Pressure
Observe the water flow and pressure to ensure that the new filter cartridge is working correctly. If you notice a significant decrease in water flow or pressure, there may be an issue with the filter installation that needs to be addressed.
Step 10: Monitor and Maintain
Regularly monitor the filter performance and water quality to ensure your Coleman pool remains clean and safe for swimming. It is recommended to change the filter cartridge every 2-4 weeks, depending on usage and water quality.
Conclusion
Changing the filter on your Coleman pool is a simple yet essential task that should be done regularly to maintain optimal water quality and a safe swimming environment. By following the step-by-step guide outlined in this article, you can easily change the filter cartridge and ensure your pool stays clean and enjoyable for all swimmers.