Welcome to our comprehensive guide on how to build your own pond! Whether you are looking to add a serene water feature to your backyard or create a habitat for aquatic plants and fish, building a pond can be a rewarding and enjoyable project. In this article, we will walk you through the step-by-step process of constructing your very own pond from start to finish.
Step 1: Planning and Design
The first step in building a pond is to carefully plan and design your pond. Consider the size and shape of the pond, its location in your yard, and the type of aquatic life you want to support. Take into account factors such as sunlight exposure, access to electricity for pumps and filters, and the proximity to trees that may shed leaves into the water.
Make a sketch of your pond design, including the depth of the pond, any shelves for plants, and the location of a waterfall or fountain if desired. Planning your pond thoroughly will help ensure a successful and visually appealing final result.

Credit: m.youtube.com
Step 2: Excavation
Once you have a clear plan in place, it’s time to start digging! Use a rope or garden hose to outline the shape of your pond on the ground. Begin excavating the area, making sure to create a gradual slope from the edge to the center to allow for easy access for wildlife and maintenance.
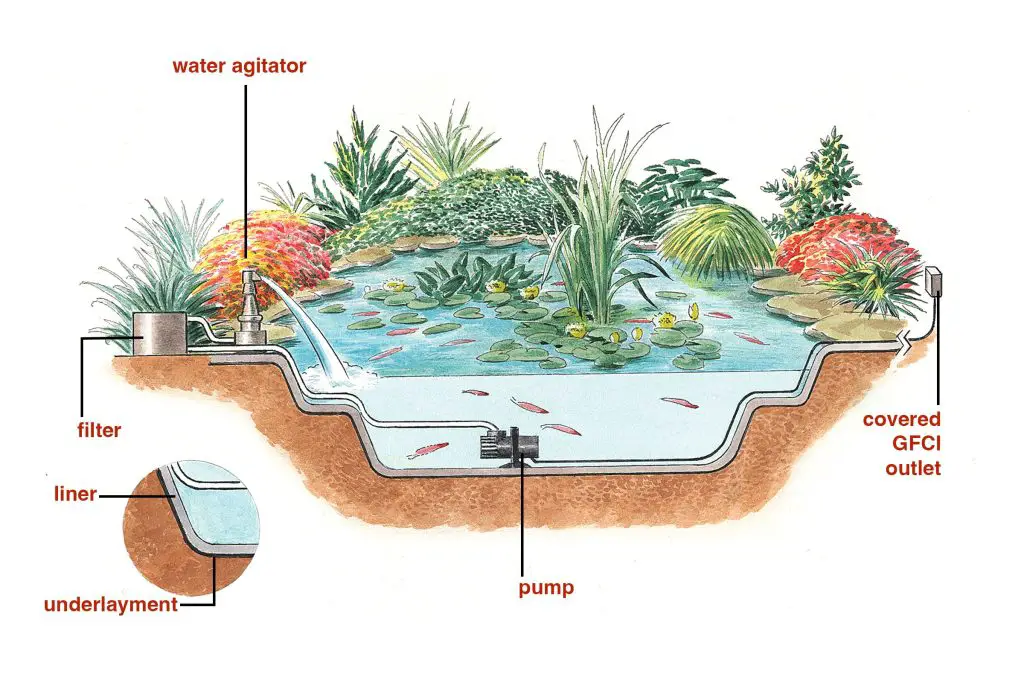
Keep in mind the depth of your pond – most ponds are at least 18 inches deep to support aquatic plants and fish. Consider the size of your pond liner and excavate accordingly, adding extra depth for rocks or gravel at the bottom.
Step 3: Installing the Pond Liner
Once the excavation is complete, it’s time to install the pond liner. Choose a high-quality, fish-safe liner that is durable and resistant to tears. Place the liner in the hole, making sure to smooth out any wrinkles or folds. Use rocks or bricks around the edges to hold the liner in place.
Ensure that the liner extends beyond the edge of the pond to create a secure barrier against leaks. Trim any excess liner, leaving a few inches to tuck under rocks or soil for a clean finish.
Step 4: Adding Water and Filtration
Now that your pond liner is in place, it’s time to fill your pond with water! Use a garden hose or a water truck to slowly fill the pond, allowing the liner to settle and conform to the shape of the hole. Once the pond is filled, add a dechlorinator to remove harmful chemicals from the water.
Consider installing a pump and filtration system to keep your pond clean and healthy. A pump will help circulate the water and prevent stagnation, while a filter will remove debris and maintain water quality. Position the pump and filter in a location that allows for easy access and maintenance.
Step 5: Landscaping and Finishing Touches
With the pond in place and the water flowing, it’s time to add the finishing touches to your pond. Consider planting aquatic plants around the edges of the pond to create a natural habitat for wildlife and improve water quality. Choose a variety of plants such as water lilies, irises, and water hyacinths for a beautiful and diverse ecosystem.
Add rocks, gravel, and driftwood around the pond to create a naturalistic look and provide hiding spots for fish and other aquatic creatures. Consider adding a waterfall or fountain for the soothing sound of running water and visual interest.
Step 6: Maintenance and Care
Once your pond is complete, it’s important to establish a regular maintenance routine to keep it healthy and thriving. Remove any debris such as leaves and algae from the surface of the water regularly to prevent buildup and maintain water quality.
Monitor the water level and top up as needed, especially during hot weather when evaporation rates are high. Check the pump and filter regularly to ensure they are functioning properly, and clean or replace them as needed to prevent clogs and ensure optimal water circulation.
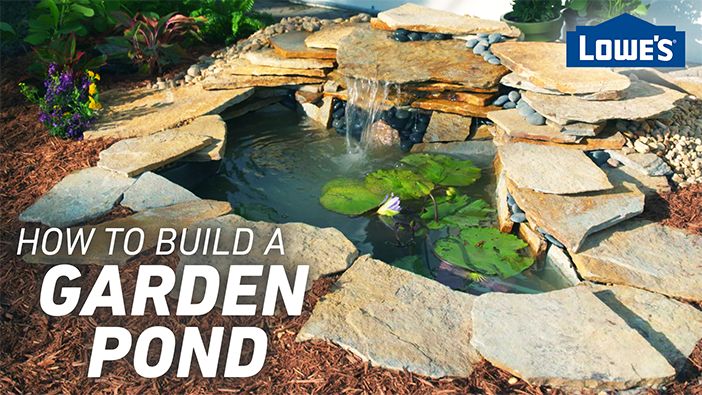
Credit: www.lowes.com
Conclusion
Building your own pond can be a fulfilling and enjoyable project that adds beauty and tranquility to your outdoor space. By following these steps and guidelines, you can create a stunning water feature that will provide a home for plants and wildlife while enhancing the overall aesthetic of your garden.
Remember to plan carefully, use high-quality materials, and establish a maintenance routine to keep your pond looking its best for years to come. So, roll up your sleeves, grab your shovel, and get ready to build your very own pond!