Are you looking to enhance the beauty of your pond and create a tranquil atmosphere in your outdoor space? Building a waterfall for your pond can be a rewarding and visually stunning project. Waterfalls not only add a touch of elegance to your pond but also provide a soothing sound of flowing water that can help you relax and unwind. In this guide, we will walk you through the step-by-step process of building a waterfall for your pond.
Materials Needed:
- Shovel
- Rocks of various sizes
- Pond liner
- Pond pump
- Tubing
- Waterfall spillway or weir
- Level
- Marker spray paint
- Sand
- Plants (optional)
Step 1: Planning
Before you start digging or purchasing materials, it’s essential to plan out your waterfall design. Consider the size of your pond, the desired height and width of the waterfall, and the placement of rocks for a natural look. Sketch out your design on paper to visualize the layout.
Step 2: Marking the Area
Using marker spray paint, outline the shape of your waterfall on the ground. This will help you visualize the actual size and shape of the waterfall before you start digging.
Step 3: Digging the Pond
Start digging the area where the waterfall will be located. Dig a shallow pond at the base of the waterfall to collect the water that flows down. Ensure that the slope is gradual to create a natural-looking waterfall.
Step 4: Installing the Pond Liner
Once the pond is dug, install the pond liner to prevent water leakage. Make sure the liner is large enough to cover the entire area of the waterfall and pond.
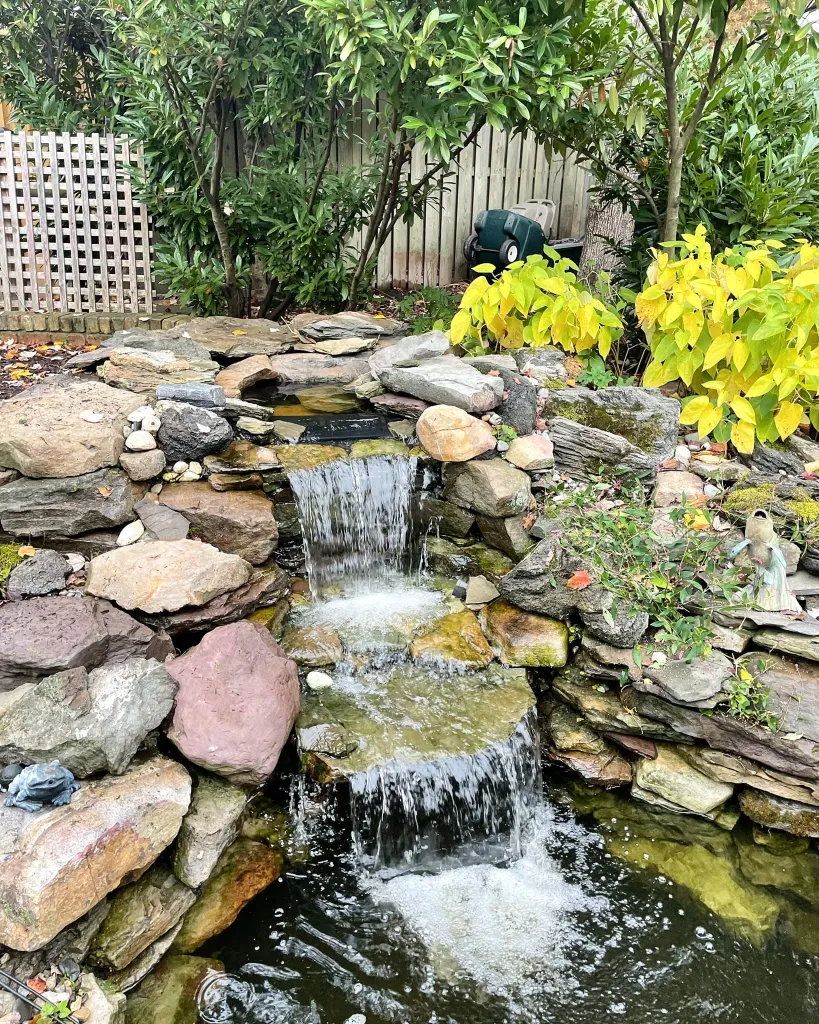
Step 5: Placing Rocks
Arrange rocks of various sizes around the waterfall area to create a natural-looking cascade. Start with larger rocks at the base of the waterfall and gradually work your way up with smaller rocks towards the top.

Credit: www.yardfocus.com
Step 6: Installing the Waterfall Spillway
Place the waterfall spillway or weir at the top of the waterfall area. This will help control the flow of water and create a smooth cascade down the rocks.
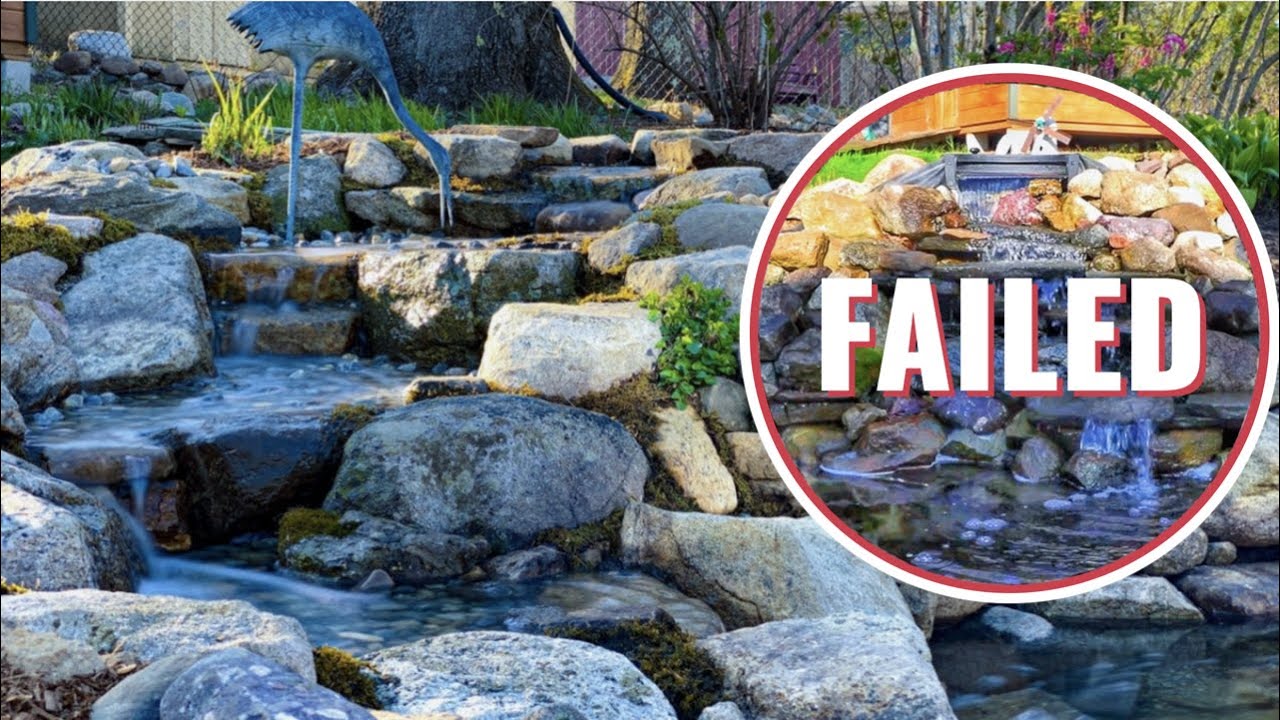
Credit: m.youtube.com
Step 7: Installing the Pond Pump
Connect the pond pump to the tubing and place it in the pond at the base of the waterfall. The pump will circulate the water from the pond to the top of the waterfall, creating a continuous flow of water.
Step 8: Testing the Waterfall
Fill the pond with water and turn on the pump to test the waterfall. Adjust the flow of water and the positioning of rocks to achieve the desired look and sound of the waterfall.
Step 9: Adding Plants (Optional)
If you want to further enhance the natural beauty of your waterfall, consider adding aquatic plants around the pond and waterfall area. Plants can help soften the look of rocks and create a more natural habitat for wildlife.
Step 10: Maintenance
Regular maintenance is essential to keep your waterfall running smoothly. Clean the pond and pump regularly, remove debris from the rocks, and ensure that the water flow is consistent.
By following these steps and putting in some time and effort, you can create a stunning waterfall for your pond that will enhance the aesthetics of your outdoor space and provide a peaceful retreat for you to enjoy.