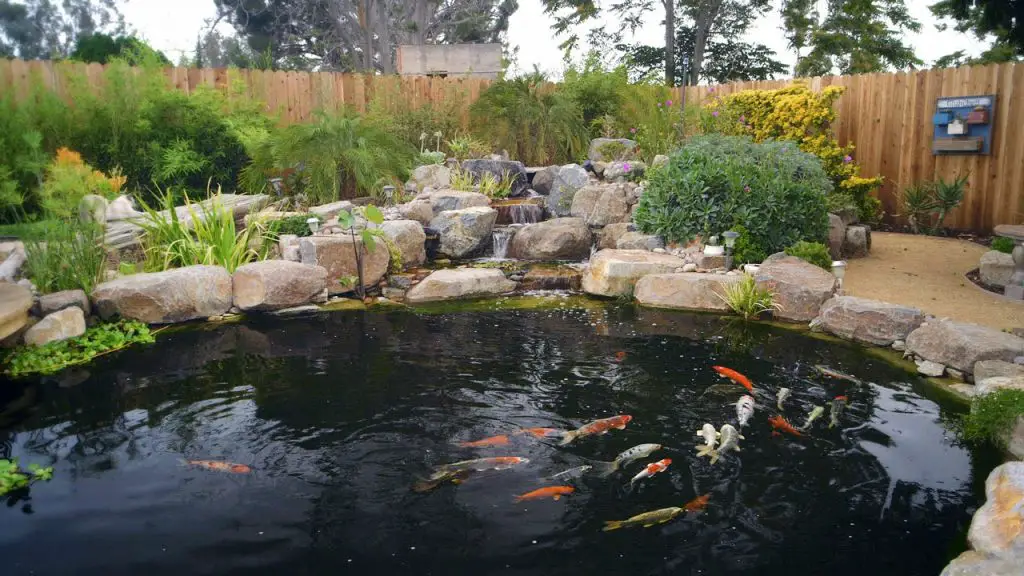
Building a simple koi pond in your backyard can add a touch of tranquility and beauty to your outdoor space. Koi ponds are not only visually stunning, but they also provide a serene environment for relaxation and can even increase the value of your property. In this guide, we will walk you through the step-by-step process of building a simple koi pond that you can enjoy for years to come.
Step 1: Planning and Design
Before you start digging, it’s important to carefully plan and design your koi pond. Consider the size and shape of the pond, as well as the location in your backyard. Take into account factors such as sunlight, access to electricity for pumps and filters, and proximity to trees that could shed leaves into the pond.
Make sure to check with your local authorities to see if there are any regulations or permits required for building a pond on your property. Once you have a clear plan in mind, you can move on to the next step.

Credit: russellwatergardens.com
Step 2: Excavation
With your plan in place, it’s time to start digging. Use a rope or hose to outline the shape of the pond on the ground. This will serve as a guide for excavation. Start digging the pond, making sure to create shelves at different depths to accommodate the needs of the koi. The depth of the pond should be at least 3 feet to provide adequate space for the koi to swim and thrive.
As you dig, be mindful of the soil you are removing. You can use this soil to create a berm around the pond, which will not only enhance the overall look of the pond but also provide additional space for planting around the pond.
:max_bytes(150000):strip_icc()/KoiPond-5fe8b3a605ef4743a55dba059cfb531b.jpg)
Credit: www.thespruce.com
Step 3: Lining and Plumbing
Once the excavation is complete, it’s time to line the pond. Use a durable pond liner that is specifically designed for koi ponds. Make sure to carefully smooth out any wrinkles or folds in the liner to prevent leaks. After the liner is in place, you can start installing the plumbing, including a pump and filter system. Proper circulation and filtration are essential for maintaining a healthy koi pond environment.
Step 4: Adding Water and Features
After the plumbing is installed, it’s time to fill the pond with water. Use a dechlorinator to remove any harmful chemicals from the water before introducing your koi. Consider adding features such as rocks, plants, and a waterfall to enhance the aesthetics of the pond and create a more natural habitat for the koi.
Step 5: Introducing Koi and Maintenance
Once the pond is filled and the water has been properly treated, it’s time to introduce your koi. When adding koi to the pond, make sure to acclimate them slowly to their new environment to reduce stress. Monitor the water quality regularly and perform routine maintenance, such as cleaning the filter and removing debris from the pond.
With proper care and maintenance, your simple koi pond can provide years of enjoyment and beauty in your backyard.
Conclusion
Building a simple koi pond can be a rewarding and enjoyable project that adds a touch of nature and serenity to your outdoor space. By following these steps and putting in the necessary care and maintenance, you can create a beautiful and thriving habitat for koi that you can enjoy for years to come.


