Building a raised pond with bricks can be a fantastic addition to your outdoor space. Not only does it provide a beautiful water feature, but it also adds a touch of elegance and tranquility to your garden. In this article, we will guide you through the step-by-step process of constructing a raised pond using bricks. Let’s get started!
Materials You Will Need
Before you begin building your raised pond, make sure you have all the necessary materials on hand. Here is a list of what you will need:
- Bricks
- Mortar
- Shovel
- Sand
- Pond liner
- Pond pump
- Water plants
- Water
Step 1: Choose the Location
The first step in building a raised pond with bricks is to choose the location. Select a spot in your garden that receives the right amount of sunlight and is easily accessible for maintenance.
Step 2: Mark the Area
Once you have chosen the location, use a rope or hose to outline the shape and size of your pond. This will help you visualize how the pond will fit into your garden space.
Step 3: Excavate the Area
With the area marked, start excavating the ground within the outlined shape. Dig down to the desired depth, making sure the edges are level and the base is flat.
Step 4: Lay the Bricks
Now it’s time to start laying the bricks. Begin by placing the first layer of bricks around the excavated area, ensuring they are level and securely positioned with mortar.
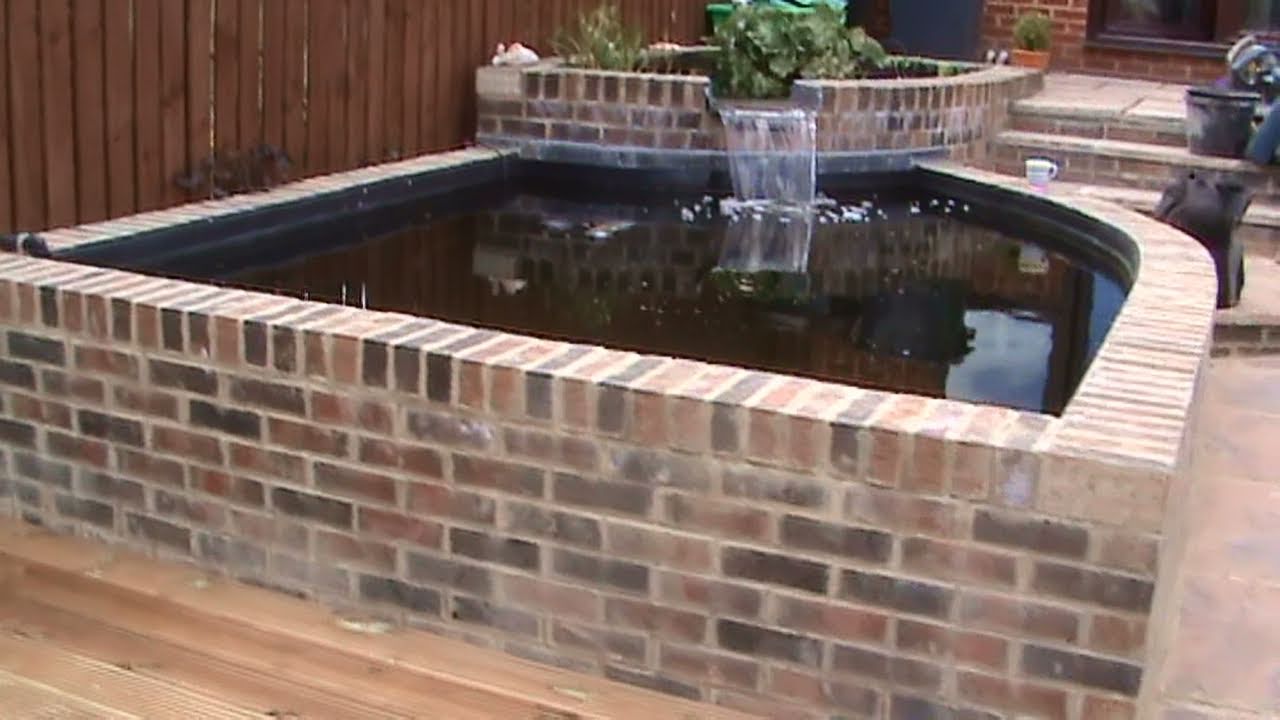
Credit: www.youtube.com
Step 5: Build Up the Walls
Continue stacking the bricks on top of each other to build up the walls of the pond. Make sure to leave gaps for the pond pump and any water plants you may want to add.
Step 6: Install the Pond Liner
Once the walls are built, carefully lay the pond liner inside the brick structure. Ensure the liner is securely in place and there are no wrinkles or folds.
Step 7: Add Water and Plants
Fill the pond with water using a hose or bucket. Add aquatic plants to create a natural and serene environment for your raised pond.
Step 8: Finish with Decorative Touches
To enhance the beauty of your raised pond, consider adding decorative elements such as stones, pebbles, or water features. These finishing touches will give your pond a polished look.

Credit: www.pinterest.com
Maintenance Tips
Once your raised pond is complete, it’s essential to maintain it properly to keep it looking its best. Here are some maintenance tips:
- Regularly check the water level and top up as needed.
- Clean the pond pump and filter regularly to prevent clogging.
- Trim and prune water plants to keep them healthy and vibrant.
- Remove any debris or fallen leaves from the water surface.
Benefits of a Raised Pond
Building a raised pond with bricks not only adds aesthetic appeal to your garden but also offers several benefits:
- Creates a focal point in your outdoor space.
- Provides a habitat for wildlife such as birds and insects.
- Enhances the overall ambiance and relaxation of your garden.
- Offers a therapeutic environment for stress relief and meditation.
Conclusion
Building a raised pond with bricks is a rewarding project that can transform your outdoor space into a tranquil oasis. By following the steps outlined in this guide and incorporating your creative ideas, you can create a beautiful and functional water feature that you can enjoy for years to come.