Building Your Own Pond Vacuum: A Step-by-Step Guide
Creating a beautiful and healthy pond requires regular maintenance, and one of the essential tools for keeping your pond clean is a pond vacuum. While there are many pond vacuums available for purchase, building your own can be a cost-effective and rewarding DIY project. In this step-by-step guide, we will walk you through the process of building your own pond vacuum, allowing you to keep your pond clean and pristine without breaking the bank.
You Can Use This Pond Vacuum For Your Pond

Materials You’ll Need
Before getting started, it’s important to gather all the necessary materials for your DIY pond vacuum. Here’s a list of the materials you’ll need for this project:
1. 5-gallon bucket
2. Wet/dry vacuum with a 2-3 horsepower motor
3. PVC pipe (1.5 inches in diameter, approximately 10 feet long)
4. PVC elbow joint
5. PVC T-joint
6. PVC cement
7. Mesh laundry bag or fine mesh netting
8. Hose clamp
9. Waterproof epoxy
10. Drill with a 1.5-inch hole saw attachment
11. Waterproof sealant
12. Duct tape
13. Nylon stocking or filter bag
14. Rubber gasket or O-ring
Step 1: Prepare the Bucket
Start by drilling a 1.5-inch hole near the bottom of the 5-gallon bucket. This hole will serve as the inlet for the vacuum, allowing debris and water to be suctioned into the bucket. Once the hole is drilled, apply waterproof sealant around the edges to ensure a watertight seal.
Step 2: Assemble the PVC Pipe
Cut the PVC pipe into two lengths – one approximately 3 feet long and the other 7 feet long. Using the PVC cement, attach the PVC elbow joint to one end of the shorter PVC pipe and the PVC T-joint to the other end. Then, attach the longer PVC pipe to the open end of the T-joint. This will create the suction wand for your pond vacuum.
Step 3: Attach the Suction Wand to the Bucket
Insert the suction wand assembly through the 1.5-inch hole in the bucket, ensuring a snug fit. Secure the wand in place by applying waterproof epoxy around the opening where the PVC pipe enters the bucket. This will prevent any water from leaking out during operation.
Step 4: Install the Wet/Dry Vacuum
Attach the wet/dry vacuum to the T-joint on the suction wand using duct tape to create a secure and airtight connection. Make sure the vacuum’s hose is securely attached to the T-joint, as this will be the source of suction for your pond vacuum.
Step 5: Create a Debris Collection Bag
Cut a piece of mesh laundry bag or fine mesh netting to size, ensuring it is large enough to line the interior of the 5-gallon bucket. Place the mesh bag inside the bucket, folding the excess material over the edges. Secure the mesh bag in place using a hose clamp around the top of the bucket.
Step 6: Add a Secondary Filter
To further filter out fine particles and debris, place a nylon stocking or filter bag over the end of the suction wand inside the bucket. This will help prevent small particles from entering the vacuum and potentially clogging the wet/dry vacuum.
Step 7: Add a Gasket or O-Ring
To ensure a watertight seal between the bucket and the suction wand, place a rubber gasket or O-ring around the opening where the PVC pipe enters the bucket. This will help prevent any leaks and ensure optimal suction during operation.
Step 8: Test Your Pond Vacuum
Before using your DIY pond vacuum in your pond, perform a test run by submerging the suction wand into a bucket of water. Turn on the wet/dry vacuum and ensure that the suction is strong and that water and debris are being collected into the bucket as intended.
Step 9: Use Your Pond Vacuum
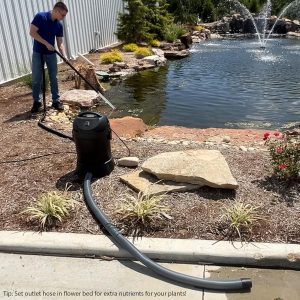
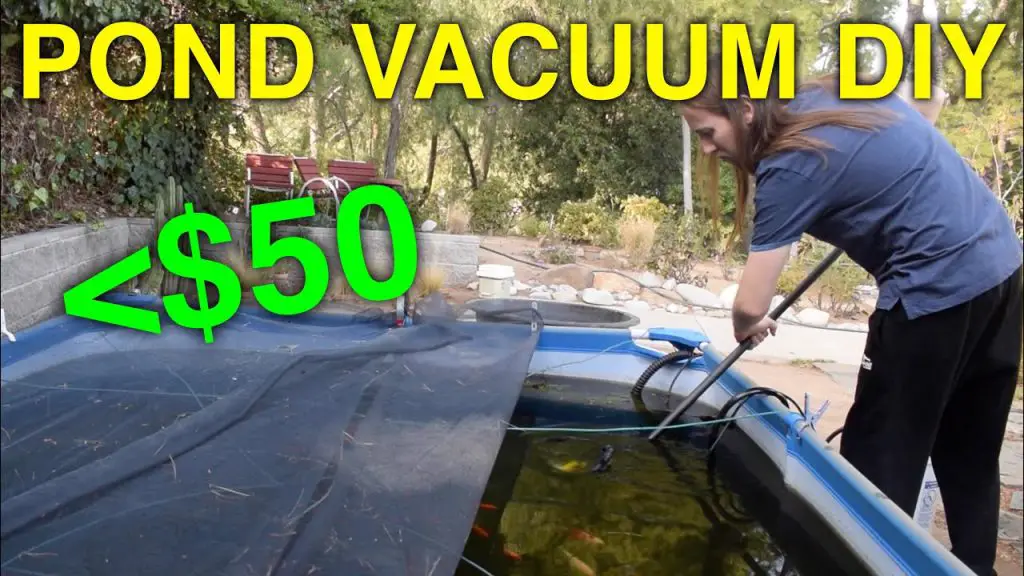
Once you have successfully tested your DIY pond vacuum, it’s time to put it to use in your pond. Submerge the suction wand into the water and turn on the wet/dry vacuum, moving the wand across the bottom of the pond to remove debris and sediment. As the bucket fills with water and debris, simply empty it as needed and continue the cleaning process until your pond is sparkling clean.
Benefits of Building Your Own Pond Vacuum
Building your own pond vacuum offers several benefits, including cost savings, customization options, and the satisfaction of completing a DIY project. By using readily available materials and simple construction techniques, you can create a highly effective pond vacuum that meets your specific needs and allows you to maintain a healthy and beautiful pond environment.
Conclusion
Maintaining a clean and healthy pond is essential for the well-being of your aquatic ecosystem, and a pond vacuum is a valuable tool for achieving this goal. By following the step-by-step guide outlined in this article, you can build your own pond vacuum and enjoy the benefits of a cleaner, more beautiful pond without the need for expensive commercial equipment. With a little creativity and DIY spirit, you can take on this project and create a pond vacuum that meets your unique requirements while saving money in the process.


