Are you looking to enhance the beauty of your property and create a tranquil oasis right in your backyard? Building a pond can be a rewarding project that adds value to your home while providing a peaceful retreat for relaxation and enjoyment. In this comprehensive guide, we will walk you through the step-by-step process of building a pond on your property.
1. Planning
Before you start digging, it’s essential to carefully plan out your pond project. Consider the size and shape of the pond, its location in your yard, and the overall design aesthetic you want to achieve. Take into account factors such as sunlight exposure, drainage, and proximity to trees that could shed leaves into the pond.
2. Choosing the Right Location
Find a suitable location for your pond that receives a good amount of sunlight but is not fully exposed all day long. Make sure the area is level and free from any underground utilities. Avoid placing the pond under trees to minimize leaf litter that can fall into the water.
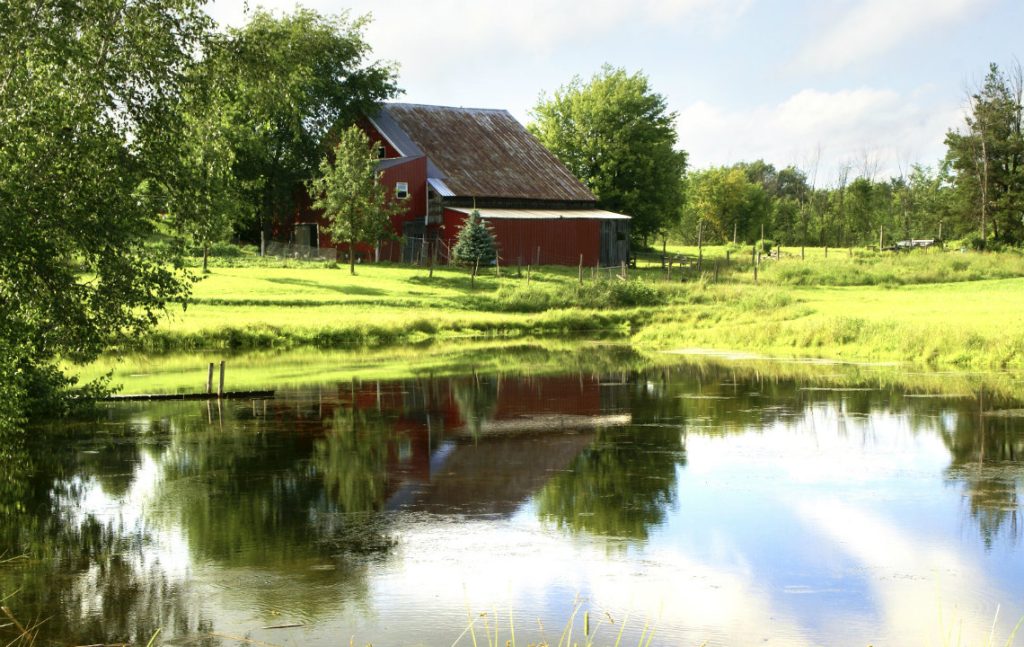
Credit: rethinkrural.raydientplaces.com
3. Digging the Pond
Once you have marked out the area for your pond, it’s time to start digging. Use a shovel or rent a small excavator to dig out the shape of the pond. Consider the depth of the pond based on the types of plants and fish you plan to have. Create shelves at varying depths to accommodate different aquatic plants.
4. Installing a Pond Liner
After digging the pond, install a pond liner to prevent water from seeping into the ground. Choose a high-quality, durable liner that is the right size for your pond. Make sure to carefully smooth out any wrinkles or folds in the liner to avoid leaks.
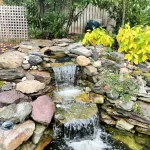
5. Adding Rocks and Gravel
Enhance the natural look of your pond by adding rocks and gravel around the edges. This will not only provide a decorative touch but also help to secure the liner in place. Arrange the rocks and gravel in a visually pleasing way to create a naturalistic effect.
6. Filling the Pond with Water
Once the liner is in place and the rocks and gravel are arranged, it’s time to fill the pond with water. Use a garden hose to slowly fill the pond, allowing the water to settle and the liner to conform to the shape of the pond. Fill the pond to the desired depth, keeping in mind the needs of your aquatic plants and fish.

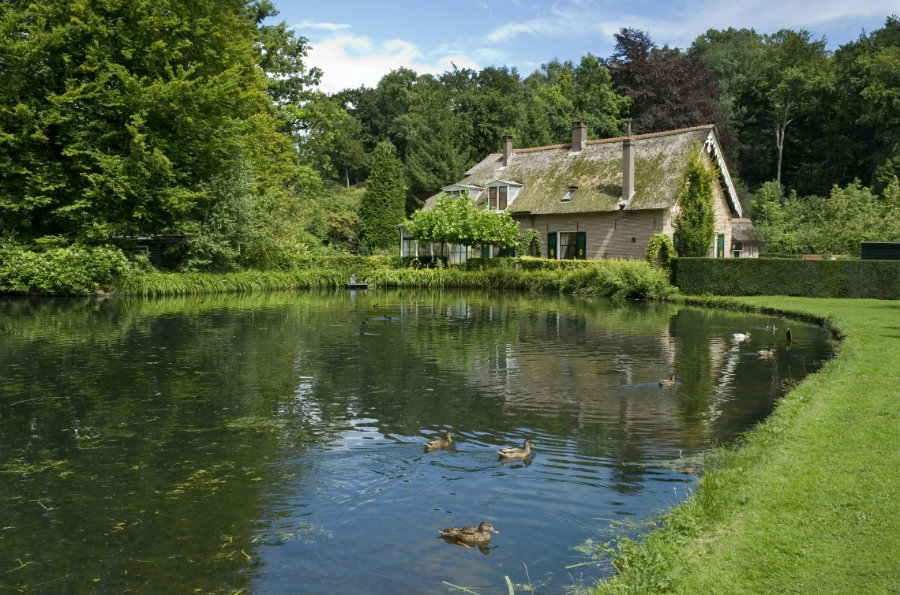
Credit: lonestarbarite.com
7. Adding Plants and Fish
Introduce aquatic plants and fish to your pond to create a thriving ecosystem. Choose a variety of water plants such as lilies, lotus, and water hyacinth to add color and texture to the pond. Consider adding fish like koi or goldfish to help maintain the balance of the pond ecosystem.
8. Maintenance and Care
Regular maintenance is key to keeping your pond healthy and beautiful. Monitor water quality, remove debris, and trim plants as needed. Consider investing in a pond pump and filter to help circulate and clean the water. In winter, make sure to protect your pond from freezing temperatures.
9. Enjoying Your Pond
Once your pond is complete and thriving, take the time to sit back, relax, and enjoy the beauty and tranquility it brings to your property. Whether you’re reading a book by the water’s edge or simply listening to the soothing sounds of a waterfall, your pond will become a favorite spot for relaxation and reflection.
Building a pond on your property is a fulfilling project that can transform your outdoor space into a peaceful retreat. By following these steps and dedicating time to maintenance and care, you can create a beautiful pond that enhances the natural beauty of your property and provides a serene environment for years to come.