Building a pond dock can be a rewarding project that enhances the beauty and functionality of your pond. Whether you want a spot for fishing, relaxing, or simply enjoying the view, a well-built dock can provide the perfect platform. In this comprehensive guide, we will walk you through the steps to build a pond dock from start to finish.
Step 1: Planning and Preparation
Before you start building your pond dock, you need to carefully plan and prepare for the project. Here are some key considerations:
- Determine the location and size of the dock based on your pond’s layout and your intended use.
- Check local regulations and obtain any necessary permits before starting construction.
- Gather all the materials and tools you will need for the project, such as lumber, screws, nails, and a hammer.
Step 2: Building the Frame
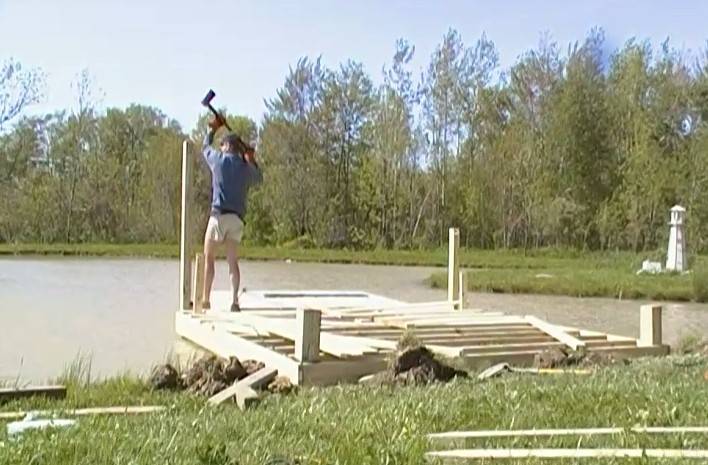
The frame is the foundation of your pond dock and provides support for the decking. Follow these steps to build the frame:
- Measure and mark the dimensions of the dock on the shoreline.
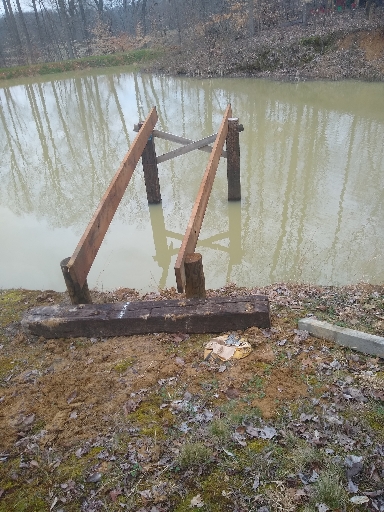
- Dig holes for the support posts and set them in place using concrete for stability.
- Attach the horizontal beams to the support posts to create the frame structure.
Step 3: Installing the Decking
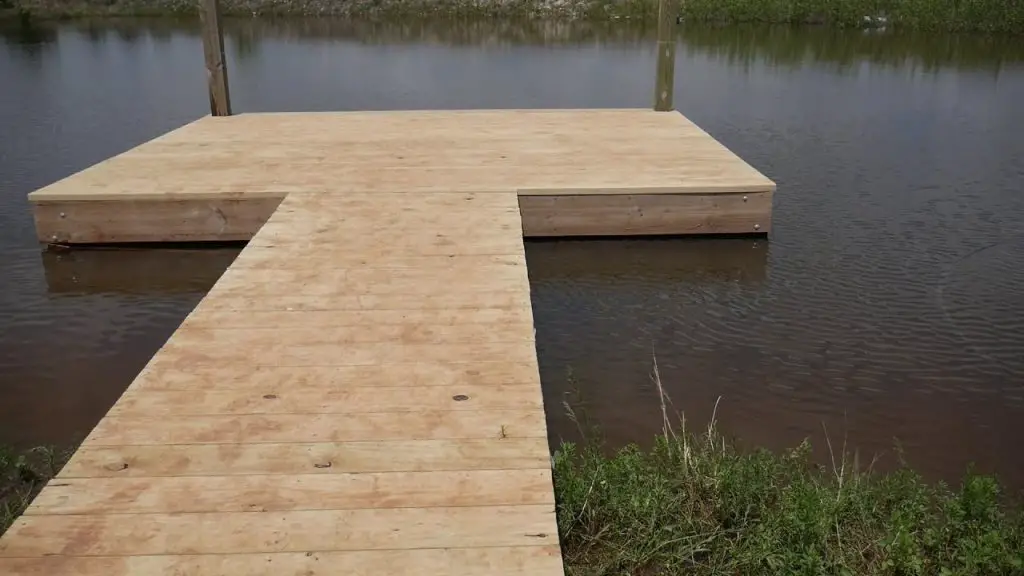
Once the frame is in place, it’s time to install the decking, which is the surface you will walk on. Here’s how to do it:
- Measure and cut the decking boards to fit the dimensions of the frame.
- Secure the decking boards to the frame using screws or nails, ensuring they are evenly spaced.
- Treat the decking with a sealant to protect it from water damage and prolong its lifespan.

Credit: www.whatpond.com
Step 4: Adding the Railing
To enhance the safety and aesthetics of your pond dock, consider adding a railing. Follow these steps to install the railing:
- Measure and cut the railing posts to the desired height.
- Attach the railing posts to the frame of the dock using screws or nails.
- Add the railing balusters or panels between the posts to create a secure barrier.
Step 5: Finishing Touches
Once the basic structure of the pond dock is complete, you can add some finishing touches to make it truly shine. Here are a few ideas:
- Add a bench or seating area for relaxation and enjoyment.
- Install solar lights along the dock for evening ambiance and safety.
- Add a ladder or steps for easy access in and out of the water.
Step 6: Maintenance and Care
After completing your pond dock, it’s important to perform regular maintenance to ensure its longevity and safety. Here are some tips:
- Inspect the dock regularly for any signs of wear or damage.
- Stain or seal the wood every few years to protect it from the elements.
- Remove debris and algae buildup to prevent slips and falls.

Credit: deerhunterforum.com
Conclusion
Building a pond dock can be a fun and rewarding project that adds value to your property and enhances your outdoor space. By following this step-by-step guide, you can create a beautiful and functional dock that you can enjoy for years to come. Remember to plan carefully, use quality materials, and prioritize safety throughout the construction process. With a little time and effort, you can create the pond dock of your dreams!


