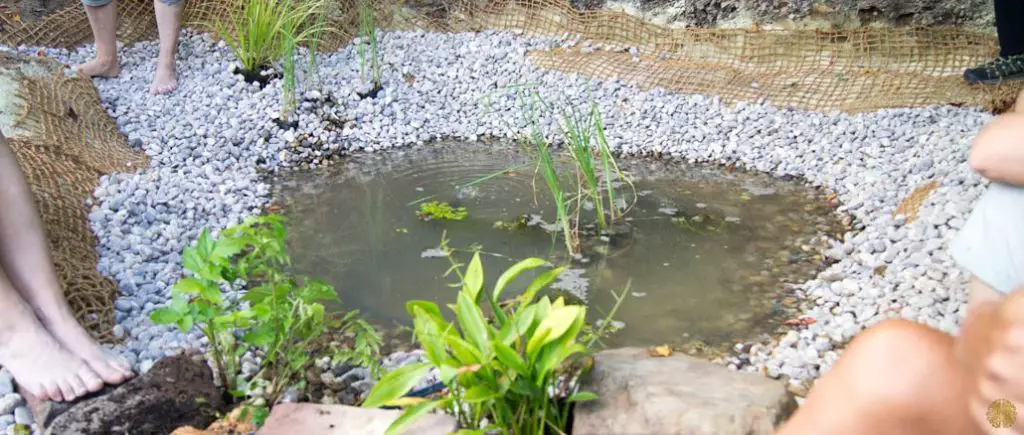
Creating a natural pond in your backyard can significantly enhance the beauty of your landscape and provide a tranquil space for relaxation. With the right approach and materials, you can build a stunning natural pond that will become a focal point of your outdoor space. One of the key components in constructing a natural pond is the use of a liner, which helps to retain water and create a suitable environment for aquatic life. In this comprehensive guide, we will walk you through the steps to build a natural pond using a liner, ensuring a successful and visually appealing result.
1. Planning and Design
Before embarking on the construction of your natural pond, it’s crucial to plan and design the layout. Consider the size and shape of the pond, taking into account the surrounding landscape and any existing features. Determine the location of the pond, ensuring it receives adequate sunlight and is away from overhanging trees to minimize debris. Additionally, consider the depth of the pond, as this will impact the types of aquatic plants and animals that can thrive in the ecosystem.
2. Selecting the Right Liner
Choosing the appropriate liner for your natural pond is essential for its long-term success. There are various options available, including rubber liners, PVC liners, and EPDM liners. Each type of liner has its own advantages and considerations, so it’s important to research and select a high-quality liner that is durable, flexible, and resistant to UV rays and punctures. EPDM liners are often favored for natural ponds due to their longevity and flexibility, making them an ideal choice for creating a seamless and natural-looking water feature.
3. Excavation and Shaping
Once you have determined the dimensions and location of your pond, it’s time to start the excavation process. Use a rope or hose to outline the shape of the pond, ensuring smooth curves and natural contours. Begin digging within the outlined area, gradually shaping the pond to the desired depth. Create shelves or varying depths within the pond to accommodate different types of aquatic plants and provide shelter for fish and wildlife.
4. Underlayment Installation
Before laying the liner, it’s essential to install an underlayment to protect the liner from potential damage. Underlayment materials such as geotextile fabric or old carpeting provide a cushioning layer that prevents the liner from being punctured by rocks and roots. Carefully lay the underlayment over the excavated pond area, ensuring complete coverage and smoothing out any wrinkles or folds.
5. Installing the Liner
With the underlayment in place, it’s time to position and install the selected liner. Unroll the liner over the pond, allowing for overhang around the edges to ensure complete coverage. Smooth out any wrinkles and adjust the position of the liner to conform to the shape of the pond, ensuring a snug fit. Be mindful of any folds or creases, as these can trap debris and compromise the integrity of the liner over time.
6. Securing the Liner
To prevent the liner from shifting or floating, secure the edges with rocks, bricks, or other heavy materials. Create a secure perimeter around the pond, ensuring the liner remains in place during the filling process. Pay close attention to the corners and curves, as these areas are prone to lifting and require additional anchoring to maintain the desired shape of the pond.

Credit: www.instructables.com

Credit: www.btlliners.com
7. Filling the Pond
Once the liner is securely in place, it’s time to fill the pond with water. Use a garden hose or a suitable water source to gradually fill the pond, allowing the liner to settle and conform to the contours of the excavated area. As the water level rises, continue to adjust the liner to minimize any wrinkles or folds, ensuring a smooth and natural appearance.
8. Landscaping and Finishing Touches
With the pond filled, it’s time to add the finishing touches to complete the natural look. Consider adding decorative rocks and gravel around the edges of the pond to create a seamless transition between the water and the surrounding landscape. Incorporate aquatic plants such as water lilies, rushes, and irises to enhance the visual appeal and provide habitat for aquatic life. Additionally, consider adding a small waterfall or fountain feature to introduce movement and a soothing sound to the pond environment.
9. Maintenance and Care
Once your natural pond is complete, it’s important to establish a regular maintenance routine to ensure its longevity and health. Monitor the water quality, remove debris, and perform routine cleaning to prevent the buildup of algae and sediment. Additionally, consider introducing beneficial bacteria and aquatic organisms to maintain a balanced ecosystem and support the health of fish and plants within the pond.
10. Enjoying Your Natural Pond
With proper construction and maintenance, your natural pond will become a captivating centerpiece of your outdoor space, providing a serene environment for relaxation and enjoyment. Spend time observing the diverse plant and animal life that will inhabit the pond, and take pride in creating a sustainable and visually stunning water feature that adds value to your property.
By following these steps and guidelines, you can successfully build a natural pond using a liner, creating a harmonious and captivating addition to your outdoor landscape. Whether you’re a seasoned gardener or a first-time pond enthusiast, the process of building a natural pond with a liner is both rewarding and fulfilling, offering a unique opportunity to connect with nature and create a thriving aquatic ecosystem in your own backyard.


