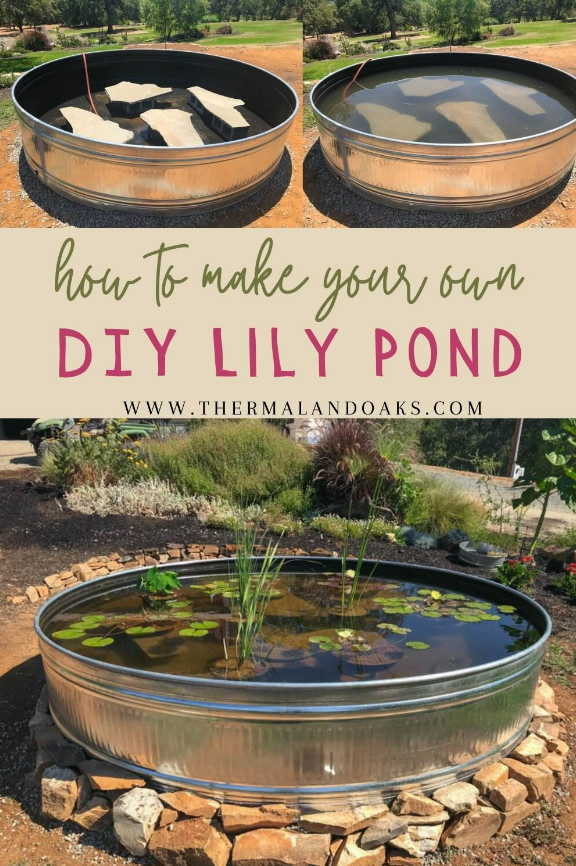
Are you looking to add a touch of tranquility and beauty to your outdoor space? Building a lily pond can be a rewarding and therapeutic project that will not only enhance the aesthetics of your garden but also attract wildlife and create a peaceful environment. In this guide, we will take you through the step-by-step process of building your own lily pond.

Credit: thermalandoaks.com
Step 1: Planning and Design
Before you start digging, it’s important to plan and design your lily pond. Consider the size of your garden, the location of the pond, and the type of lilies you want to plant. Sketch out a design that includes the shape and dimensions of the pond, as well as any additional features such as waterfalls or rocks.
Step 2: Choosing the Right Location
Find a location in your garden that receives a good amount of sunlight but also has some shade to prevent the water from overheating. Make sure the area is level and free from overhanging trees or roots that could puncture the pond liner.
Step 3: Digging the Pond
Once you have planned the design and chosen the location, it’s time to start digging. Use a shovel or a mini excavator to dig out the shape of your pond, making sure to create shelves at different depths to accommodate different types of aquatic plants.
Step 4: Installing the Pond Liner
After you have dug out the pond, it’s time to install the pond liner. Choose a high-quality pond liner that is durable and puncture-resistant. Carefully place the liner in the hole, making sure to smooth out any wrinkles or folds.

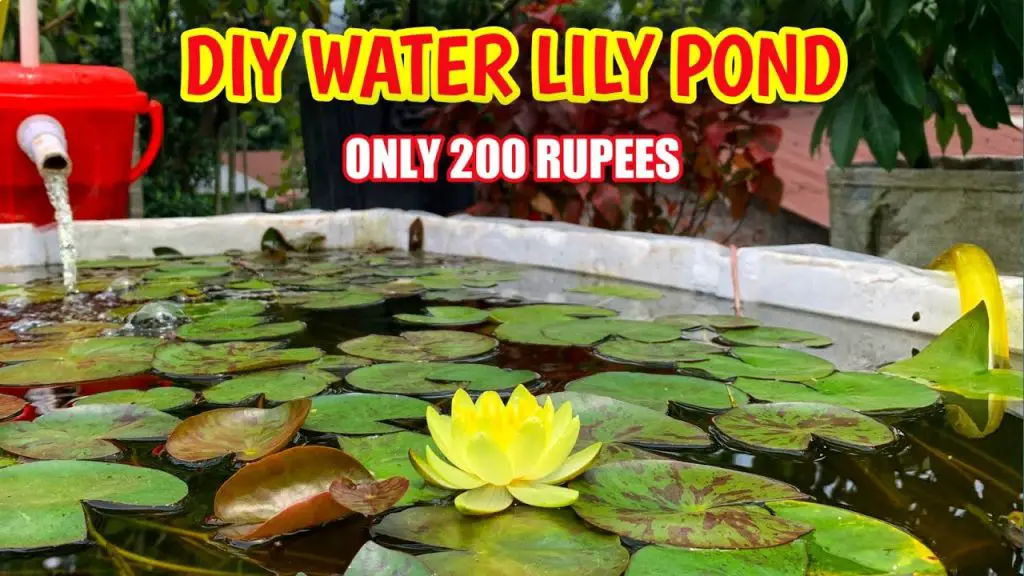
Credit: www.youtube.com
Step 5: Adding Rocks and Gravel
Enhance the natural look of your lily pond by adding rocks and gravel around the edges. This will not only provide a decorative touch but also help to secure the pond liner in place and create habitats for beneficial bacteria.
Step 6: Filling the Pond with Water
Once the pond liner is in place and the rocks and gravel have been added, it’s time to fill the pond with water. Use a garden hose to slowly fill the pond, allowing the water to settle and the liner to conform to the shape of the pond.
Step 7: Planting Lily and Aquatic Plants
Now comes the fun part – planting your lilies and other aquatic plants. Choose a variety of lilies that bloom at different times to enjoy continuous color throughout the growing season. Plant the lilies in pots or baskets filled with aquatic soil and place them on the shelves in the pond.
Step 8: Adding Fish and Wildlife
To further enhance the ecosystem of your lily pond, consider adding fish such as koi or goldfish. These fish will help to control algae and mosquito larvae while adding movement and life to the pond. You can also attract wildlife such as frogs and dragonflies by providing hiding spots and shallow areas for them to breed.
Step 9: Maintenance and Care
Once your lily pond is up and running, it’s important to maintain it properly to ensure the health of your plants and fish. Regularly check the water quality, remove any debris or dead leaves, and trim back overgrown plants to keep the pond looking its best.
Step 10: Enjoying Your Lily Pond
Congratulations! You have successfully built your own lily pond. Sit back, relax, and enjoy the sights and sounds of nature in your own backyard oasis. Whether you’re sipping your morning coffee by the pond or hosting a garden party, your lily pond will surely be a focal point of your outdoor space.
Building a lily pond is a fulfilling and creative endeavor that will bring beauty and serenity to your garden for years to come. By following these steps and putting in a little effort, you can create a stunning water feature that will be the envy of your neighbors and a haven for local wildlife.


