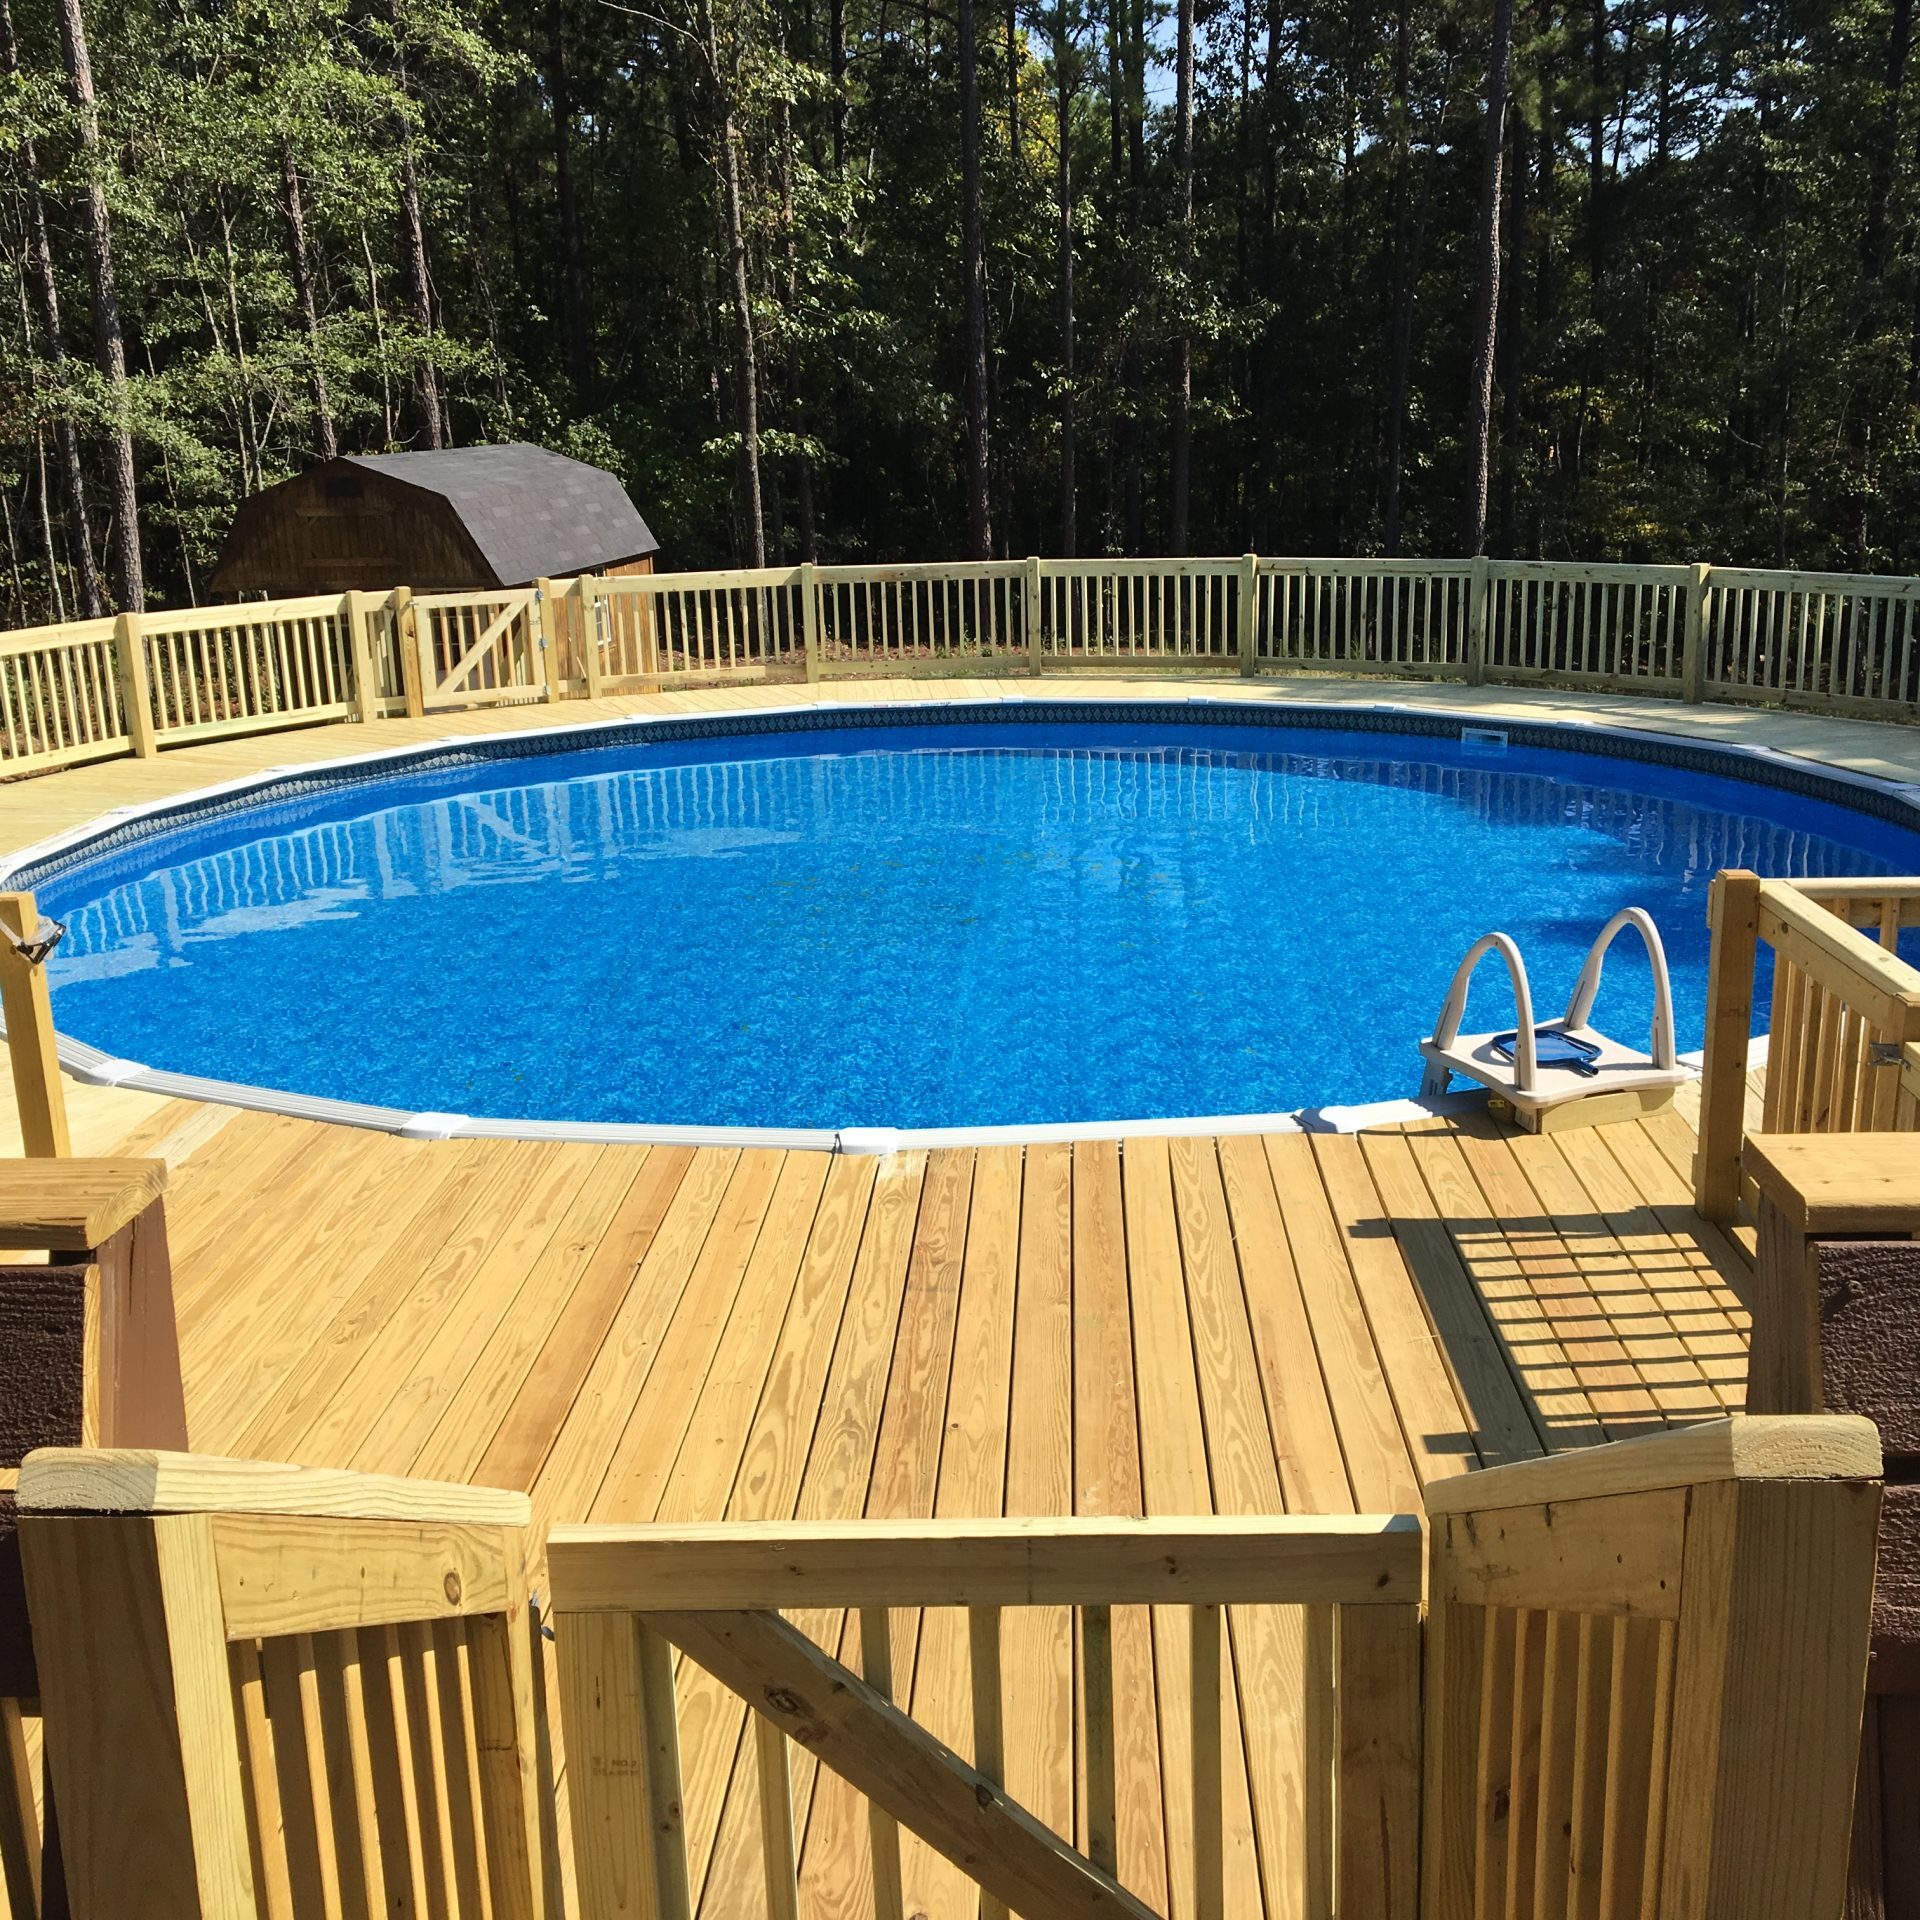
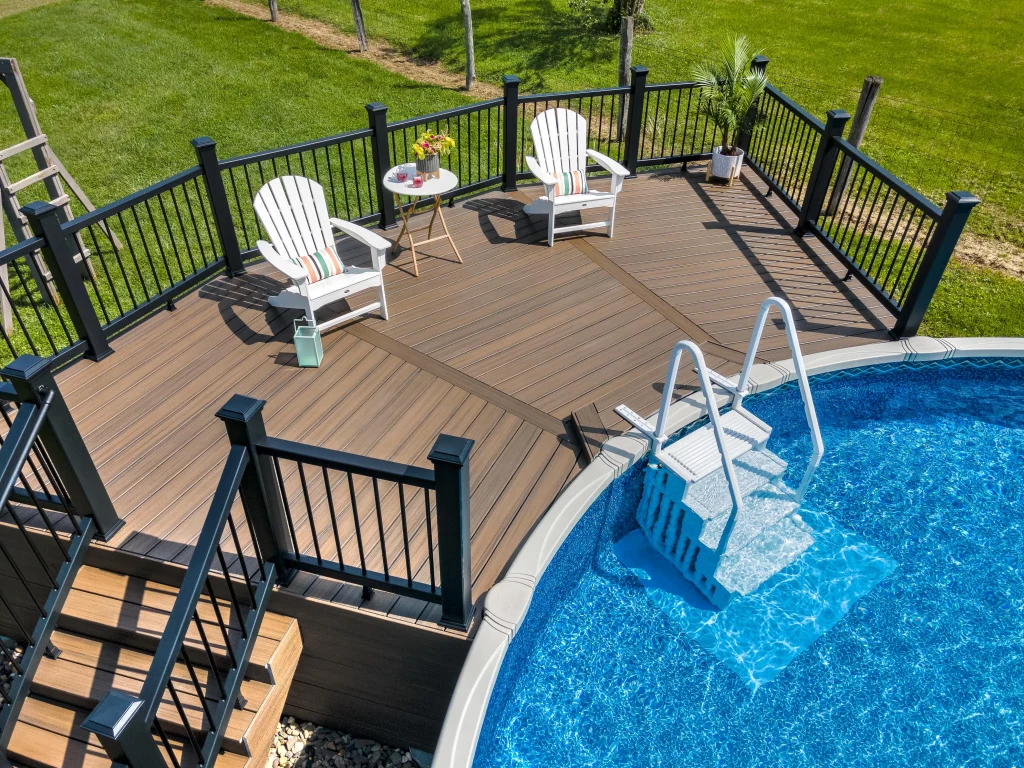
Welcome to our comprehensive guide on how to build a deck for your above ground swimming pool! Adding a deck around your pool not only enhances the aesthetics of your outdoor space but also provides a functional area for lounging, sunbathing, and hosting poolside gatherings. In this article, we will walk you through the step-by-step process of constructing a deck that complements your above ground pool perfectly.

Credit: www.popularmechanics.com
Materials and Tools You Will Need
Before you begin building your pool deck, it’s essential to gather all the necessary materials and tools. Here’s a list of what you will need:
- Pressure-treated lumber
- Concrete footings
- Deck screws
- Joist hangers
- Post anchors
- Circular saw
- Drill
- Tape measure
- Level
- String
- Hammer
- Protective gear
Step-by-Step Guide to Building a Deck for Your Above Ground Pool
Now that you have all the necessary materials and tools, let’s dive into the step-by-step process of building a deck for your above ground swimming pool:
1. Planning And Design
The first step in building a pool deck is to plan and design the layout. Consider factors such as the size and shape of your pool, the desired deck size, and any additional features you want to incorporate, such as seating areas or stairs. Create a detailed blueprint of your deck layout before proceeding to the next step.
2. Prepare The Site
Clear the area around your pool where the deck will be constructed. Ensure the ground is level and free of any debris. Mark the outline of the deck using string and stakes to guide the construction process.
3. Install The Footings
Begin by installing concrete footings to support the deck posts. Dig holes for the footings according to your deck design and local building codes. Place the footings in the holes and fill them with concrete. Allow the concrete to cure before proceeding.
4. Build The Frame
Once the footings are in place, it’s time to build the frame of the deck. Use pressure-treated lumber to construct the frame, ensuring it is level and square. Attach joist hangers to the frame to support the deck joists.
5. Install Decking Boards
With the frame in place, you can now install the decking boards. Choose a durable, weather-resistant material for your deck boards. Secure the boards to the joists using deck screws, spacing them evenly to create a uniform surface.
6. Add Railing and StairsFor safety and aesthetics, consider adding railing around the perimeter of your deck. You can also incorporate stairs to provide easy access to the pool area. Ensure that the railing meets local building codes for height and spacing.
7. Apply Finish And Sealant
Once the deck is built, apply a finish or sealant to protect the wood from the elements. Choose a product specifically designed for outdoor use to ensure the longevity of your deck. Regular maintenance, such as cleaning and resealing, will help preserve the deck’s appearance.
Tips for Building a Deck for Above Ground Pool
Building a deck for your above ground swimming pool can be a rewarding project. Here are some tips to help you achieve the best results:
- Consult local building codes and regulations before starting construction.
- Use high-quality materials that are designed for outdoor use and can withstand exposure to water and sunlight.
- Consider adding features such as built-in seating, storage benches, or a pergola to enhance the functionality of your deck.
- Regularly inspect and maintain your deck to ensure its safety and longevity.
- Seek professional assistance if you encounter any challenges during the construction process.

Credit: greateratlantadecks.com
Conclusion
Building a deck for your above ground swimming pool is a fantastic way to create a functional and stylish outdoor space. By following the steps outlined in this guide and incorporating our tips, you can construct a deck that enhances the beauty and enjoyment of your pool area. Remember to plan carefully, use quality materials, and adhere to safety guidelines throughout the construction process. With a well-built deck, you can relax, entertain, and make the most of your above ground pool for years to come!


