Building a concrete pond can be a rewarding and enjoyable project that adds beauty and tranquility to your outdoor space. Whether you want to create a pond for fish, water plants, or simply for aesthetic purposes, a concrete pond provides a durable and long-lasting option. In this guide, we will take you through the step-by-step process of building a concrete pond.
Materials Needed:
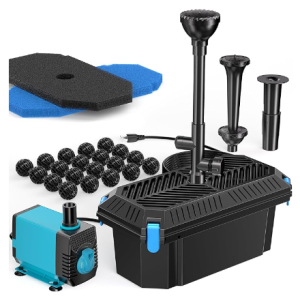
Pond Setup Kits
| Materials | Tools |
|---|---|
| Concrete mix | Shovel |
| Rebar | Trowel |
| Gravel | Level |
| Pond liner | Rubber mallet |
| Water pump | Bucket |
| Water filter | Measuring tape |
Step 1: Planning
Start by planning the size and shape of your concrete pond. Consider the location, sunlight exposure, and accessibility for maintenance. Once you have a clear idea of where you want the pond, mark the outline with spray paint or a hose.
Step 2: Excavation
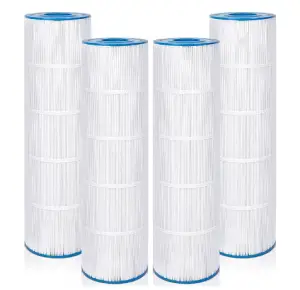
Pool Filters
Use a shovel to dig out the area marked for the pond. Make sure to create a depth that accommodates the size of the pond liner and allows for the desired water depth. Remove any rocks or debris from the excavation site.
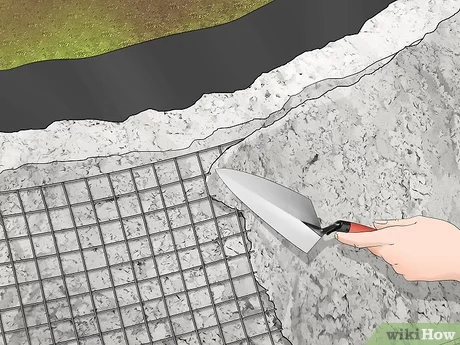
Step 3: Reinforcement
Place rebar in the excavation site to provide structural support for the concrete. The rebar should be positioned in a grid pattern to ensure the concrete is reinforced evenly throughout the pond.

Credit: www.youtube.com
Step 4: Gravel Base
Add a layer of gravel to the bottom of the excavation site. The gravel will help with drainage and prevent the concrete from cracking. Use a level to ensure the gravel is evenly distributed.
Step 5: Mixing and Pouring Concrete
Prepare the concrete mix according to the manufacturer’s instructions. Once mixed, pour the concrete into the excavation site, making sure to spread it evenly with a trowel. Smooth out the surface of the concrete to create a flat base for the pond.

Credit: www.motherearthnews.com
Step 6: Curing
Allow the concrete to cure for the recommended time as per the product instructions. This will ensure that the concrete sets properly and provides a strong foundation for the pond liner.
Step 7: Installing Pond Liner
Once the concrete has cured, lay the pond liner over the surface of the concrete. Use a rubber mallet to gently press the liner into place, ensuring it conforms to the shape of the pond.
Step 8: Adding Water
Fill the pond with water using a bucket or a water pump. Check for any leaks in the pond liner and make adjustments as needed. Allow the pond to fill completely before adding any fish or water plants.
Step 9: Adding Accessories
Install a water filter to keep the pond clean and maintain water quality. You can also add rocks, plants, and other decorative elements to enhance the beauty of the pond and create a natural habitat for fish and wildlife.
Step 10: Maintenance
Regular maintenance is essential to keep your concrete pond in top condition. Clean the pond regularly, remove debris, and check the water quality to ensure a healthy environment for fish and plants.
By following these steps, you can successfully build a concrete pond that will provide years of enjoyment and beauty in your outdoor space. Remember to plan carefully, follow the instructions, and enjoy the process of creating your own piece of aquatic paradise!