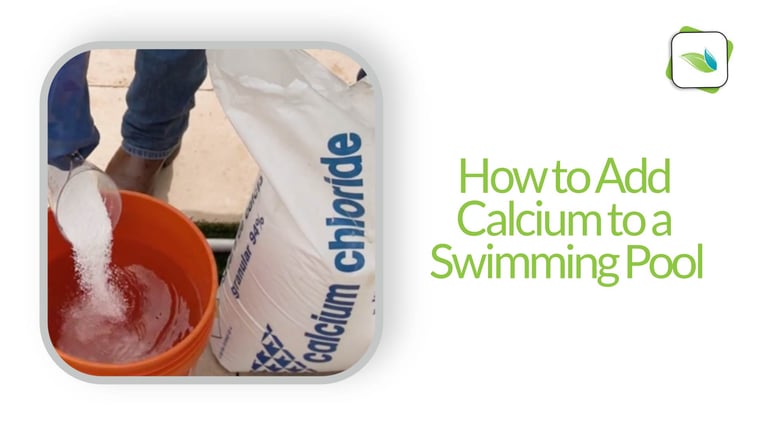
Welcome to our comprehensive guide on how to add calcium hardness to a pool. Maintaining proper calcium levels is crucial for the health and longevity of your pool. In this article, we will walk you through the importance of calcium hardness, how to test the levels, and the step-by-step process of adding calcium to your pool.
The Importance of Calcium Hardness
Calcium hardness refers to the amount of dissolved calcium in your pool water. Proper calcium levels are essential for preventing corrosion of metal fixtures, scaling on pool surfaces, and maintaining overall water balance. Low calcium hardness can lead to the water becoming aggressive and causing damage to the pool structure.
Credit: procedures.orendatech.com
Testing Calcium Hardness Levels
Before adding calcium to your pool, it is important to test the current calcium hardness levels. You can use a pool water test kit to measure the calcium hardness. The ideal range for calcium hardness in a pool is typically between 200 and 400 parts per million (ppm).
Step-by-step Guide To Adding Calcium Hardness
Once you have determined that your pool water requires additional calcium hardness, follow these steps to add it effectively:
- Calculate the Amount Needed: Based on your pool size and the current calcium hardness levels, calculate the amount of calcium chloride needed to raise the levels to the desired range.
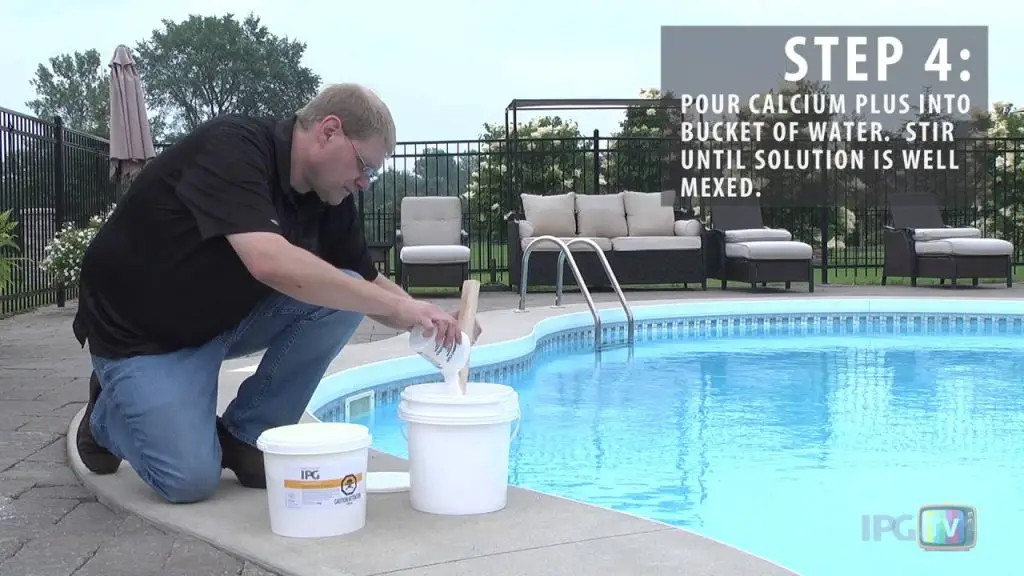
- Pre-Dissolve Calcium Chloride: Fill a bucket with water and slowly add the calculated amount of calcium chloride while stirring continuously to dissolve it completely.
- Turn on the Pool Pump: Ensure that the pool pump is running to circulate the water and distribute the calcium evenly throughout the pool.
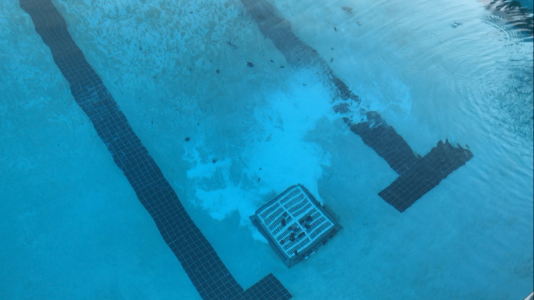
- Pour the Solution: Slowly pour the pre-dissolved calcium chloride solution around the perimeter of the pool while walking around the pool to ensure even distribution.
- Test the Levels: After 24 hours, retest the calcium hardness levels to confirm that they have reached the desired range. If needed, repeat the process until the levels are within the recommended range.
Credit: blog.orendatech.com
Precautions to Consider
While adding calcium hardness to your pool, there are a few precautions to keep in mind:
- Avoid adding large amounts of calcium chloride at once, as it can lead to cloudiness or scaling in the pool water.
- Always follow the manufacturer’s instructions when adding chemicals to your pool to prevent overcorrection of calcium levels.
- Regularly monitor the calcium hardness levels to ensure they remain within the recommended range.
Conclusion
Adding calcium hardness to your pool is a crucial part of pool maintenance to prevent damage and ensure water balance. By following the steps outlined in this guide and taking necessary precautions, you can maintain optimal calcium levels in your pool for a safe and enjoyable swimming experience.