Adding a pond filter waterfall to your backyard pond not only enhances its aesthetic appeal but also improves the overall water quality. The soothing sound of cascading water and the natural filtration process can create a tranquil environment for both you and your aquatic friends. In this comprehensive guide, we will walk you through the step-by-step process of building a pond filter waterfall.

Credit: m.youtube.com
Step 1: Planning and Design
Before you begin construction, it’s essential to have a clear plan and design in mind. Consider the size and layout of your pond, the desired location for the waterfall, and the overall aesthetic you wish to achieve. Take into account the natural slope of your backyard and ensure that the waterfall’s design complements the existing landscape.
Make a rough sketch or use a design software to visualize the placement and shape of the waterfall. Consider incorporating natural elements such as rocks, boulders, and aquatic plants to create a harmonious blend with the surroundings.
Step 2: Gathering Materials
Once you have a solid plan in place, it’s time to gather the necessary materials for building the pond filter waterfall. Here’s a basic list of materials you’ll need:
- Flexible pond liner
- Pond pump
- Filter box or filter media
- Rocks and boulders
- Tubing
- Waterfall spillway
- Shovel
- Level
- Utility knife
- Measuring tape
These are the fundamental materials, but you may need additional items depending on the specific design and size of your waterfall.
Step 3: Excavation and Placement
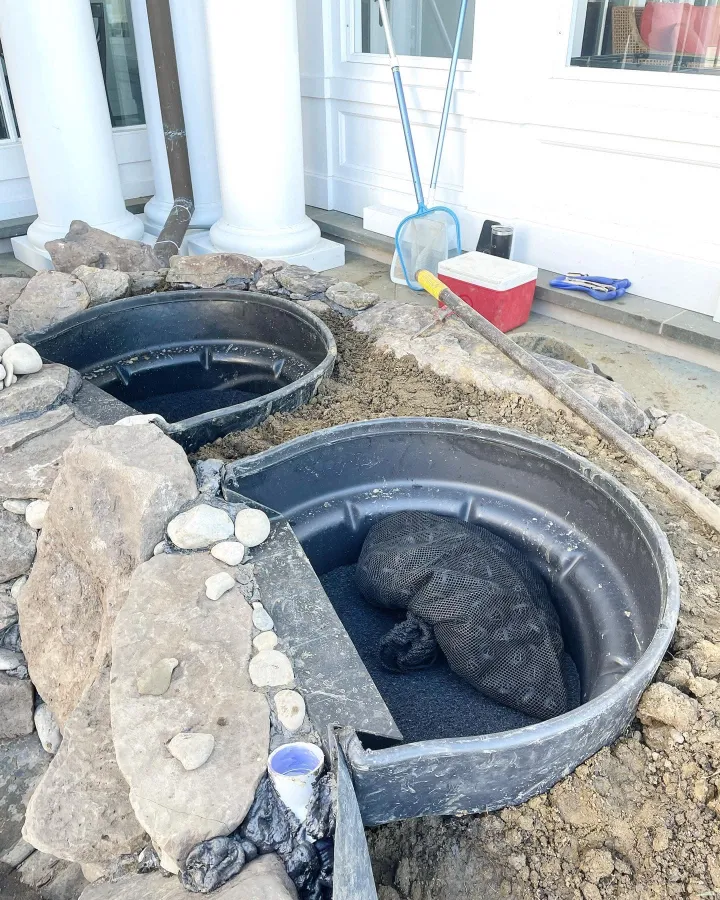
With your materials at the ready, it’s time to begin the excavation process. Start by outlining the shape of the waterfall using a garden hose or spray paint. Use a shovel to dig out the defined area, creating a basin for the pond filter waterfall. Ensure that the depth and width of the basin align with your planned design.
Once the excavation is complete, place the flexible pond liner into the basin, ensuring that it overlaps the edges and extends beyond the waterfall area. This will create a watertight seal and prevent leakage.
Step 4: Installing the Pond Pump and Filter
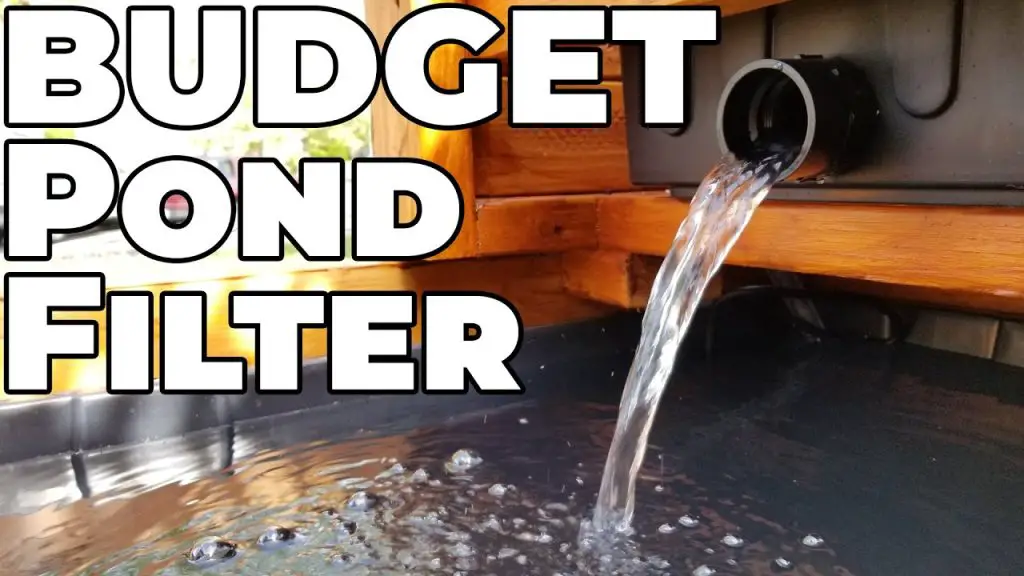
The next step involves installing the pond pump and filter system. Position the pump at the bottom of the pond, ensuring that it is securely placed and adequately submerged. Connect the tubing to the pump and run it up to the location of the waterfall. This tubing will be responsible for transporting the water from the pond to the top of the waterfall.
Install the filter box or filter media at the top of the waterfall, where the water will be discharged. This will help remove debris and impurities from the water, ensuring that only clean water cascades down the waterfall.
Step 5: Creating the Waterfall Structure
Now comes the fun part – creating the actual waterfall structure. Begin by strategically placing rocks and boulders to form the cascading effect. Start from the top and work your way down, ensuring that the rocks are securely positioned and allow for water to flow freely between them.
Consider varying the size and shape of the rocks to create a natural and visually appealing waterfall. Incorporate smaller stones and gravel to fill in gaps and crevices, further enhancing the aesthetic and functional aspects of the waterfall.
Step 6: Testing and Adjusting
Once the pond filter waterfall is constructed, it’s crucial to test the system and make any necessary adjustments. Fill the pond with water and turn on the pump to observe the flow of water over the waterfall. Check for any leaks, unusual noises, or uneven flow patterns.
Make adjustments as needed, such as repositioning rocks, altering the flow rate of the pump, or fine-tuning the filter system. It may take some trial and error to achieve the perfect balance and aesthetic appeal, so be patient and attentive during this phase.
Step 7: Adding the Finishing Touches
With the pond filter waterfall in place and functioning smoothly, it’s time to add the finishing touches. Consider planting aquatic vegetation around the waterfall area to further integrate it with the surrounding landscape. Water lilies, lotus, and various types of grasses can enhance the natural beauty of the waterfall and provide additional filtration benefits.
Additionally, you may choose to incorporate lighting elements to highlight the waterfall at night, creating a captivating visual display. Underwater LED lights or strategically placed spotlights can add a dramatic effect to the overall ambiance of the pond filter waterfall.
Step 8: Maintenance and Care
Once your pond filter waterfall is complete, it’s essential to establish a regular maintenance routine to ensure its longevity and optimal performance. This includes periodic cleaning of the filter media, removing debris from the waterfall structure, and monitoring the pump for any signs of wear or malfunction.
Keep an eye on the water quality and conduct regular tests to assess the pH levels, ammonia, and nitrate concentrations. Performing partial water changes and adding beneficial bacteria can help maintain a healthy aquatic ecosystem within your pond.

Credit: premierpond.com
Conclusion
Building a pond filter waterfall is a rewarding and enriching experience that can transform your backyard pond into a captivating oasis. By following these step-by-step guidelines and infusing your creativity into the design, you can create a stunning waterfall feature that not only enhances the visual appeal of your pond but also promotes a healthy and thriving aquatic environment.
Remember to plan carefully, gather the necessary materials, and pay attention to detail during the construction process. With proper maintenance and care, your pond filter waterfall will be a source of joy and tranquility for years to come.


