Adding a mini pond to your backyard can create a tranquil oasis and attract wildlife to your outdoor space. Whether you have a small or large yard, building a mini pond is a rewarding and relatively simple project that can be completed in a weekend. In this article, we will guide you through the step-by-step process of creating a beautiful mini pond in your backyard.

Credit: myfarmlife.com
Step 1: Choose the Location
The first step in building a mini pond is to select the perfect location in your backyard. Look for an area that receives a good balance of sunlight and shade throughout the day. Avoid placing the pond directly under trees, as falling leaves can create maintenance challenges. Additionally, ensure that the location is easily visible from your outdoor living spaces so you can enjoy the sight and sounds of the mini pond.
Step 2: Gather Materials
Next, gather the materials needed to construct your mini pond. You will need a flexible pond liner, a pump and filter system, aquatic plants, decorative stones, and a few basic tools such as a shovel and a level. Consider the size of your backyard when selecting the materials to ensure that the mini pond complements the overall landscape.
Step 3: Excavate the Area
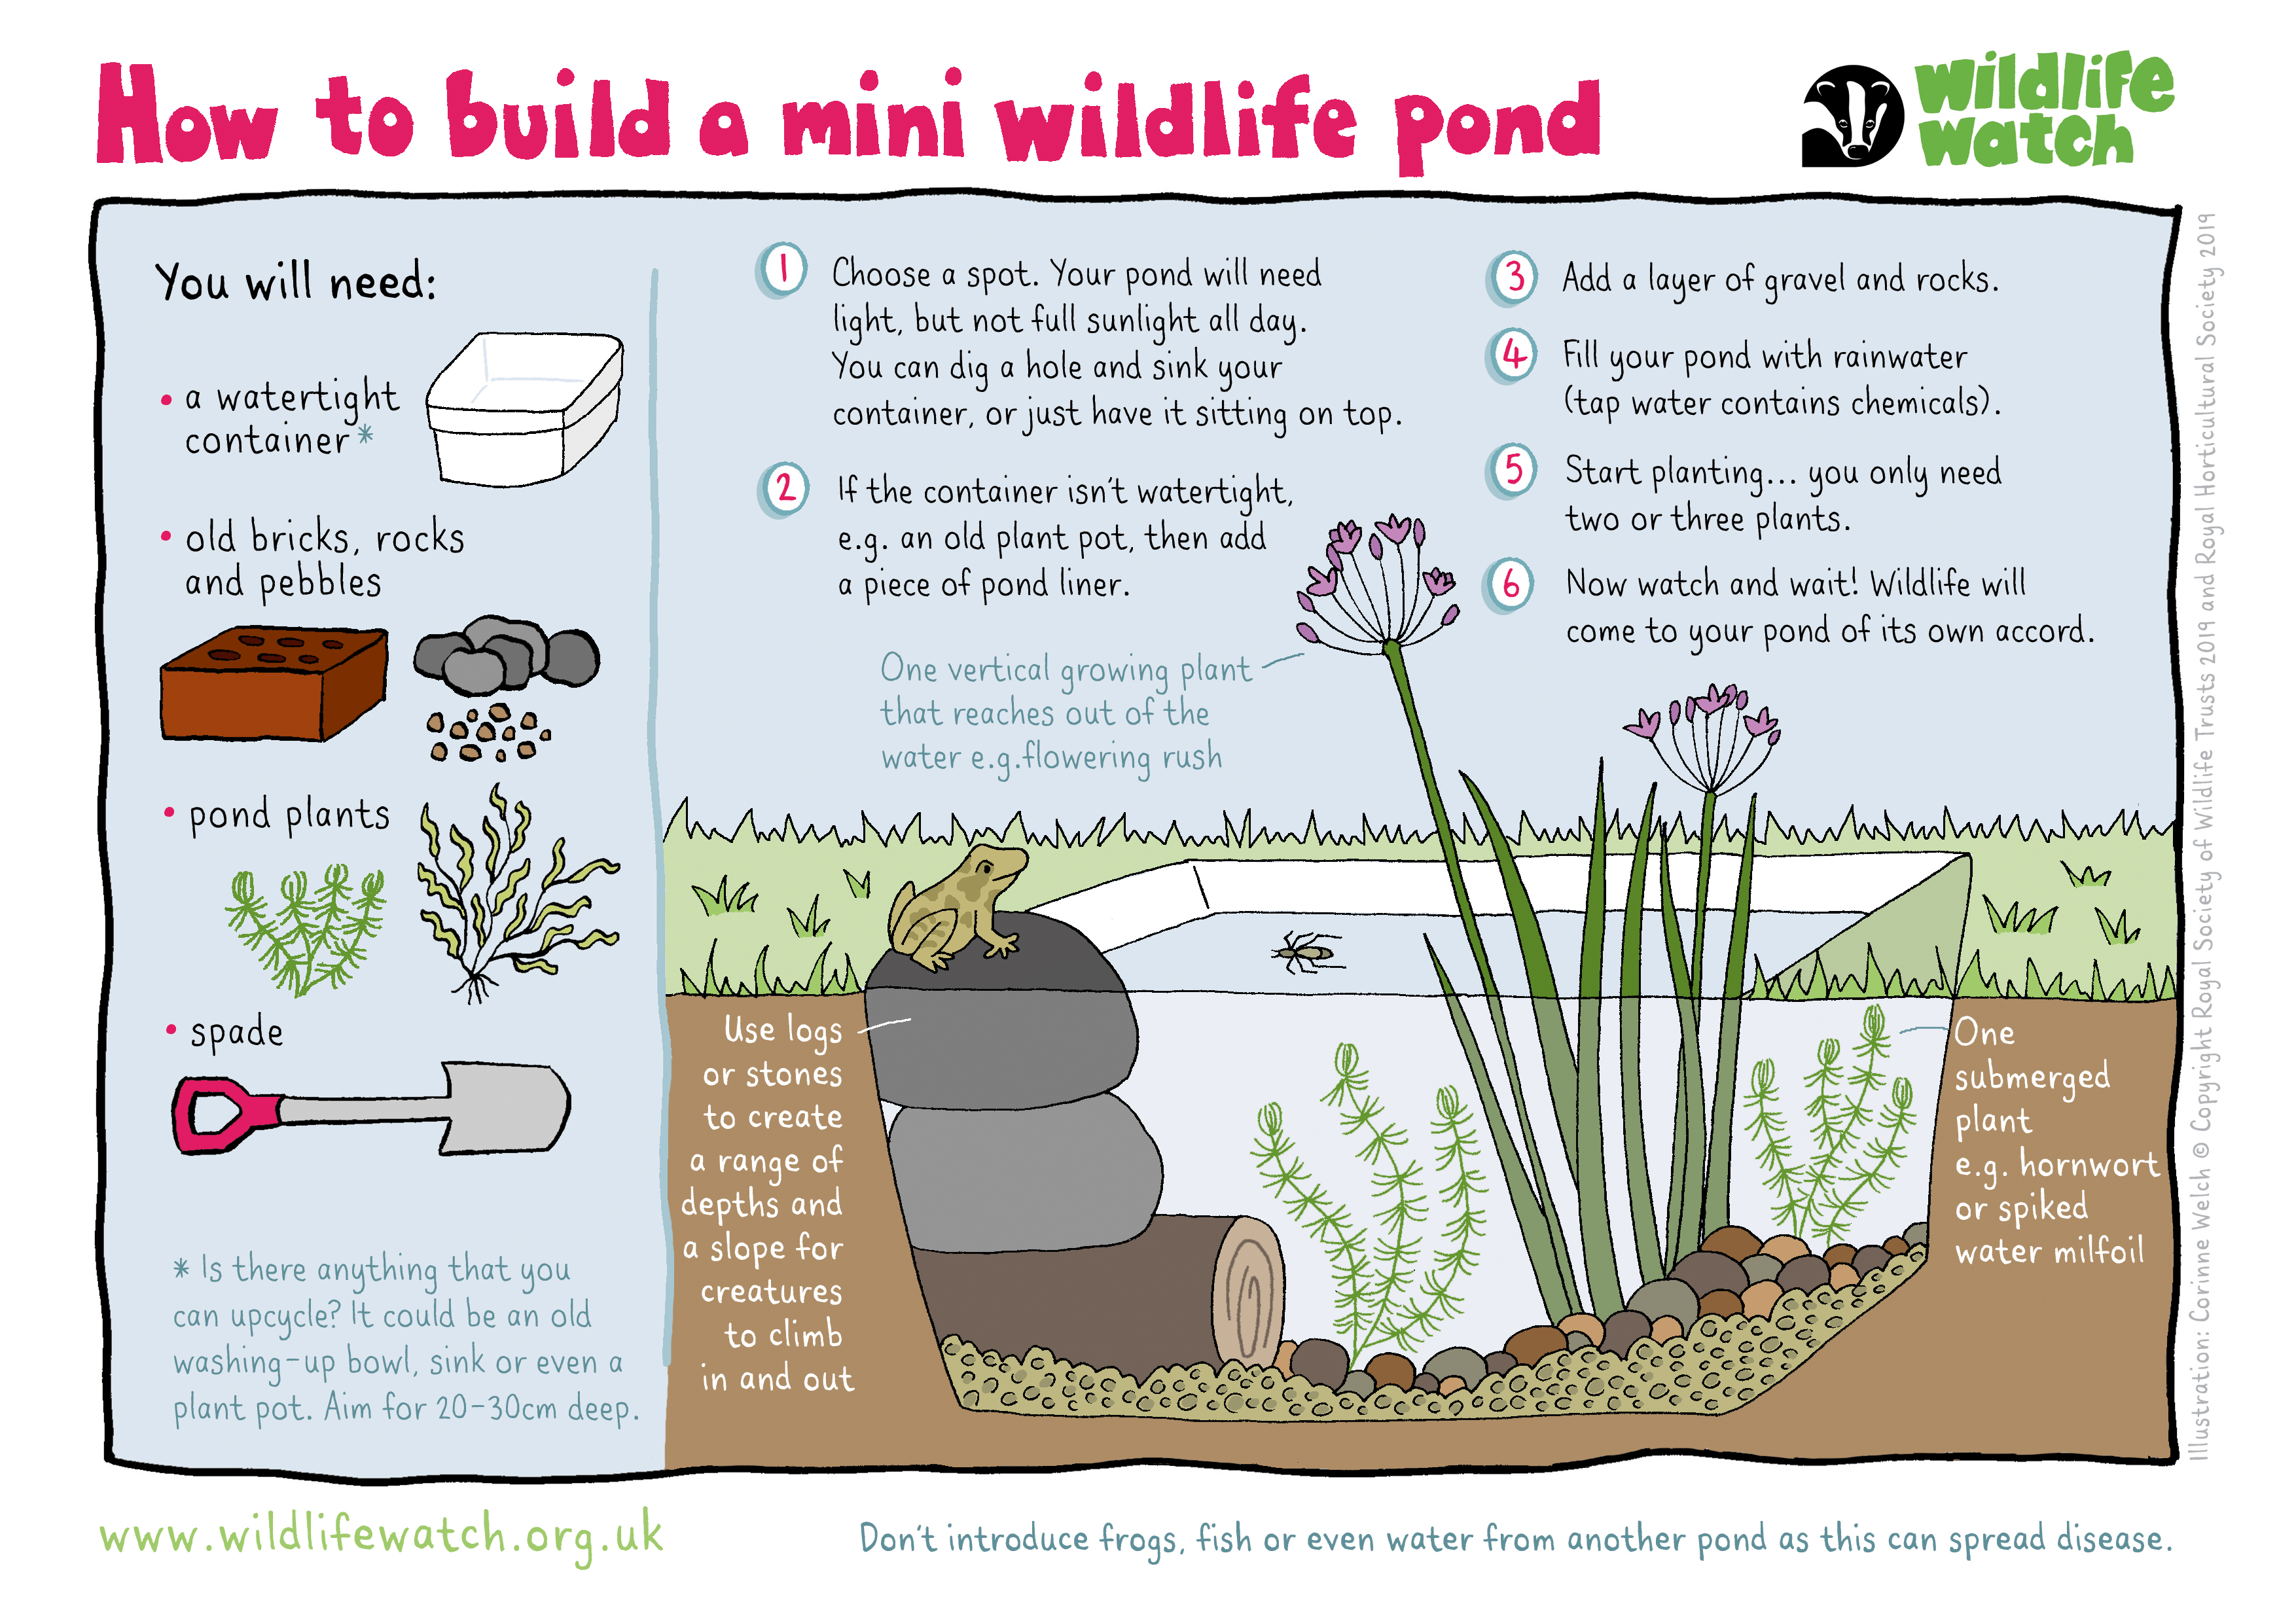
Using a shovel, excavate the area in your backyard that will house the mini pond. Dig a hole that is slightly larger than the dimensions of the pond liner to allow space for the liner and decorative stones. Use a level to ensure that the excavated area is even and well-suited for the pond liner.
Step 4: Install the Pond Liner
Once the area is excavated, carefully lay the pond liner in place. Be sure to smooth out any wrinkles or folds in the liner to prevent leaks. Gently push the liner into the contours of the hole, ensuring that it fits snugly. Trim any excess liner, leaving a few inches of overhang to secure the edges later on.
Step 5: Add the Pump and Filter
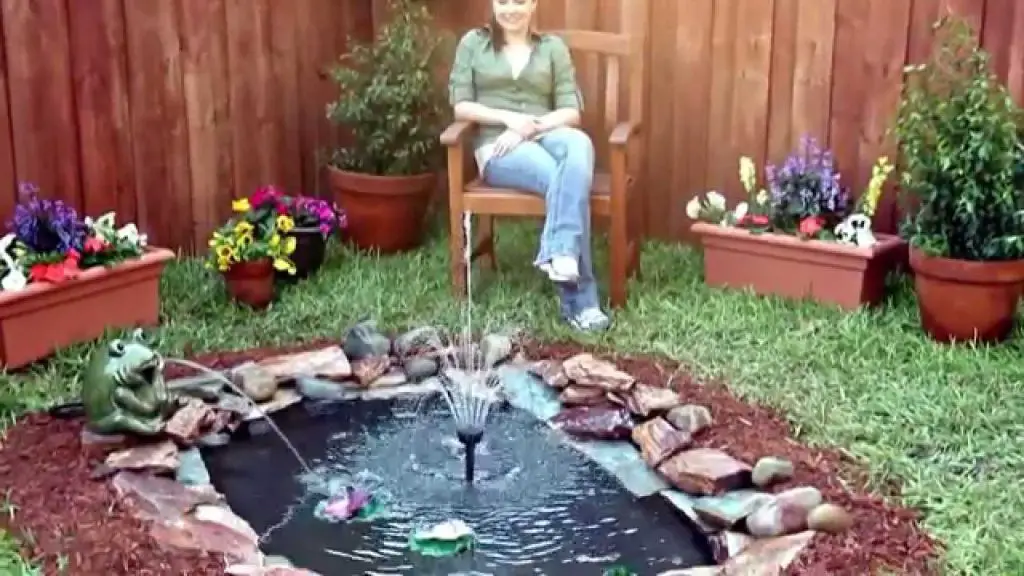
Install the pump and filter system according to the manufacturer’s instructions. This will help keep the water in your mini pond clean and aerated, creating a healthy environment for aquatic plants and wildlife. Conceal the pump and filter with rocks or other decorative elements to maintain the natural appearance of the mini pond.
Step 6: Add Aquatic Plants
Introduce a variety of aquatic plants to your mini pond to enhance its visual appeal and provide habitat for wildlife. Water lilies, lotus, and floating plants like water lettuce and water hyacinth are excellent choices for a mini pond. These plants not only add beauty to the pond but also help to oxygenate the water and provide shelter for fish and other aquatic creatures.
Step 7: Decorate the Surrounding Area
Once the pond is in place and the plants are added, it’s time to enhance the surrounding area. Use decorative stones, pebbles, or bricks to create a border around the pond. This will not only improve the aesthetic appeal of the mini pond but also help to secure the edges of the pond liner and prevent it from shifting.
Step 8: Fill the Pond with Water
Fill the mini pond with water, taking care to de-chlorinate it if you are using tap water. Allow the water to settle and the pond to establish its natural balance before introducing any fish or other wildlife. This may take a few days, so be patient and resist the urge to add inhabitants too quickly.
Step 9: Maintain the Mini Pond
Regular maintenance is essential to keep your mini pond looking its best. Remove any debris that may accumulate on the surface, such as leaves or twigs, and monitor the water quality to ensure that it remains clear and healthy for the plants and wildlife. Occasional pruning of aquatic plants may also be necessary to prevent overgrowth.

Credit: www.wildlifetrusts.org
Step 10: Enjoy Your Mini Pond
With the mini pond completed and thriving, take the time to sit back, relax, and enjoy the peaceful ambiance it brings to your backyard. The soothing sounds of trickling water, the sight of colorful aquatic plants, and the possibility of spotting visiting wildlife make the mini pond a delightful addition to any outdoor space.
Building a mini pond in your backyard is a rewarding and enjoyable project that can be tailored to suit your personal style and preferences. Whether you have a green thumb and want to showcase a variety of aquatic plants or prefer a minimalist design with a focus on the tranquil sound of water, a mini pond offers endless possibilities for creativity and relaxation in your outdoor living space.
By following these step-by-step instructions and investing a little time and effort, you can create a mini pond that will be a source of joy and beauty for years to come. So, roll up your sleeves, gather your materials, and get ready to bring the serenity of a mini pond to your backyard!


