When it comes to setting up a festive Christmas village display, adding a frozen pond can bring a touch of winter magic to your scene. The glistening ice, snow-covered banks, and miniature skaters can create a charming and picturesque setting that captures the essence of the holiday season. In this guide, we will walk you through the steps to create your own DIY frozen pond for your Christmas village.

Credit: m.youtube.com
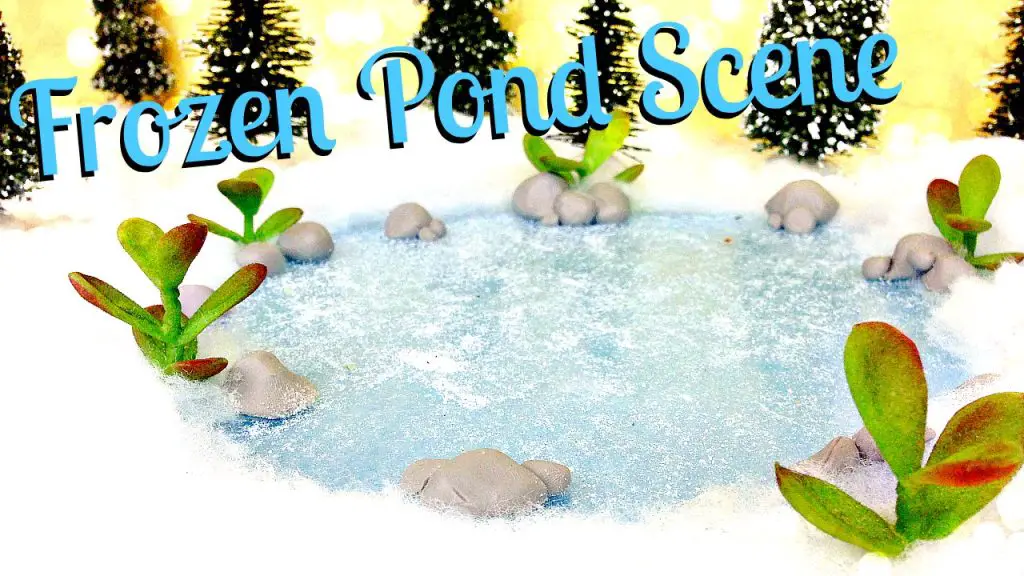
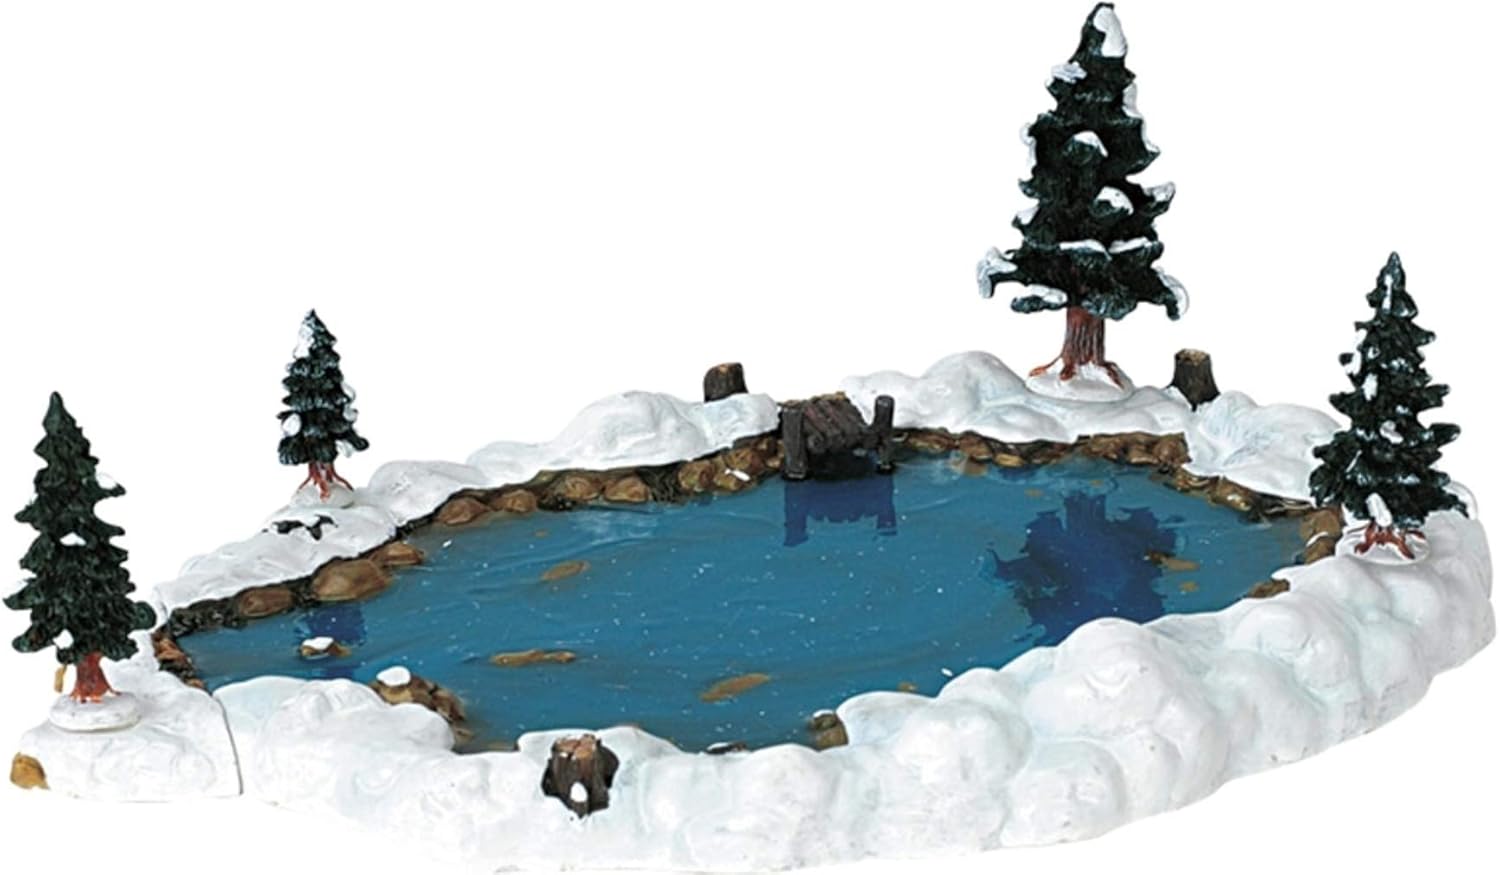
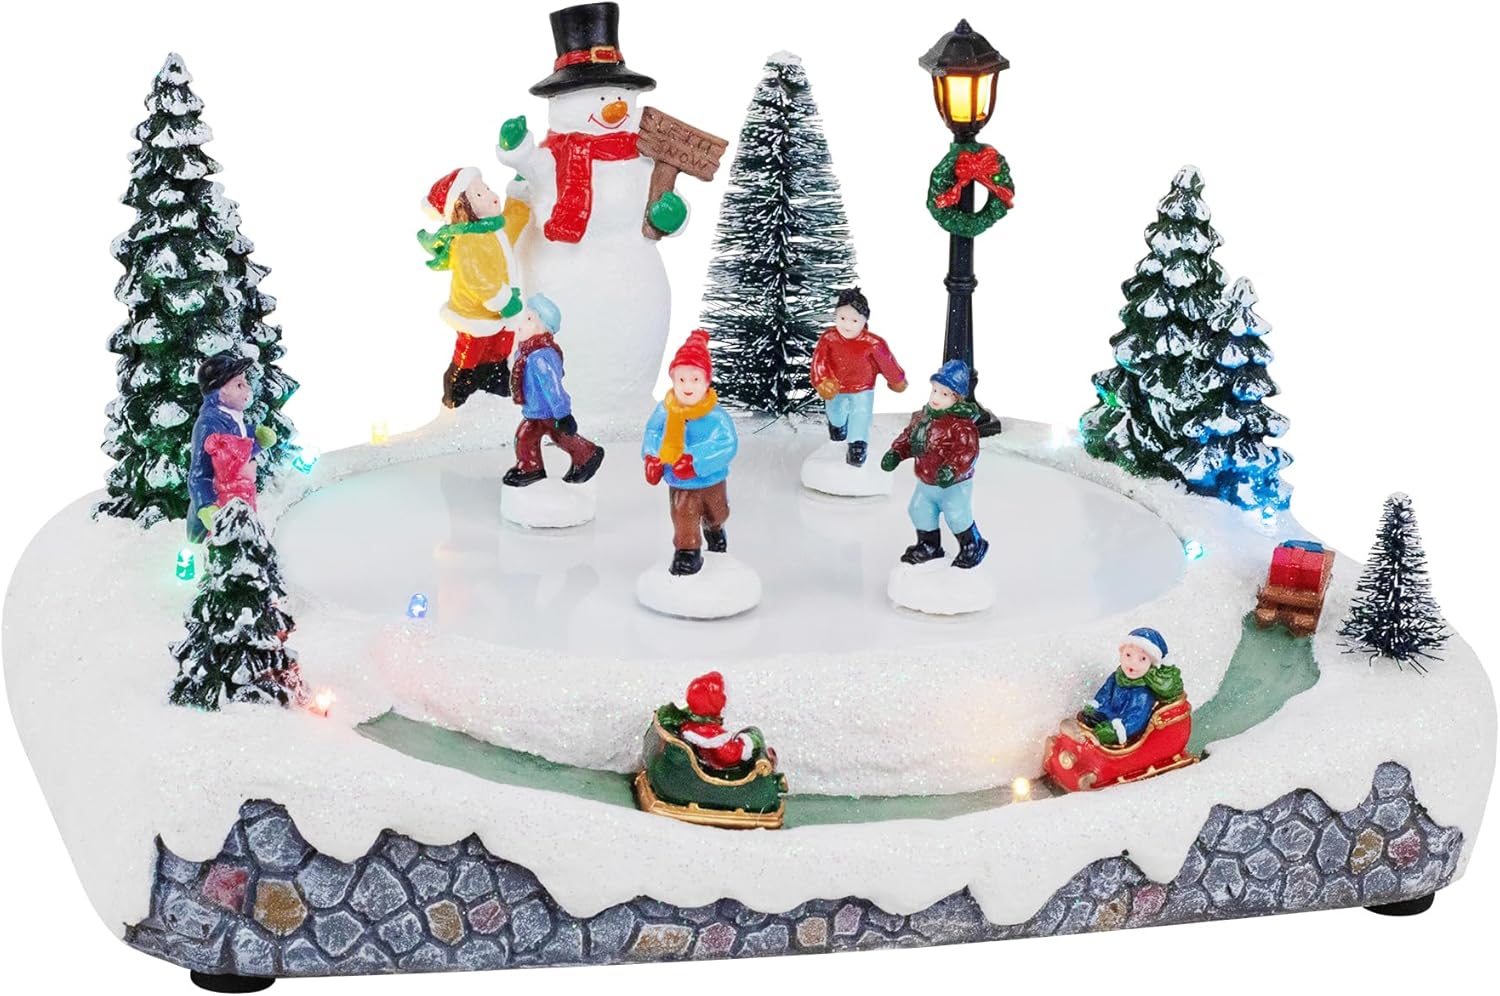
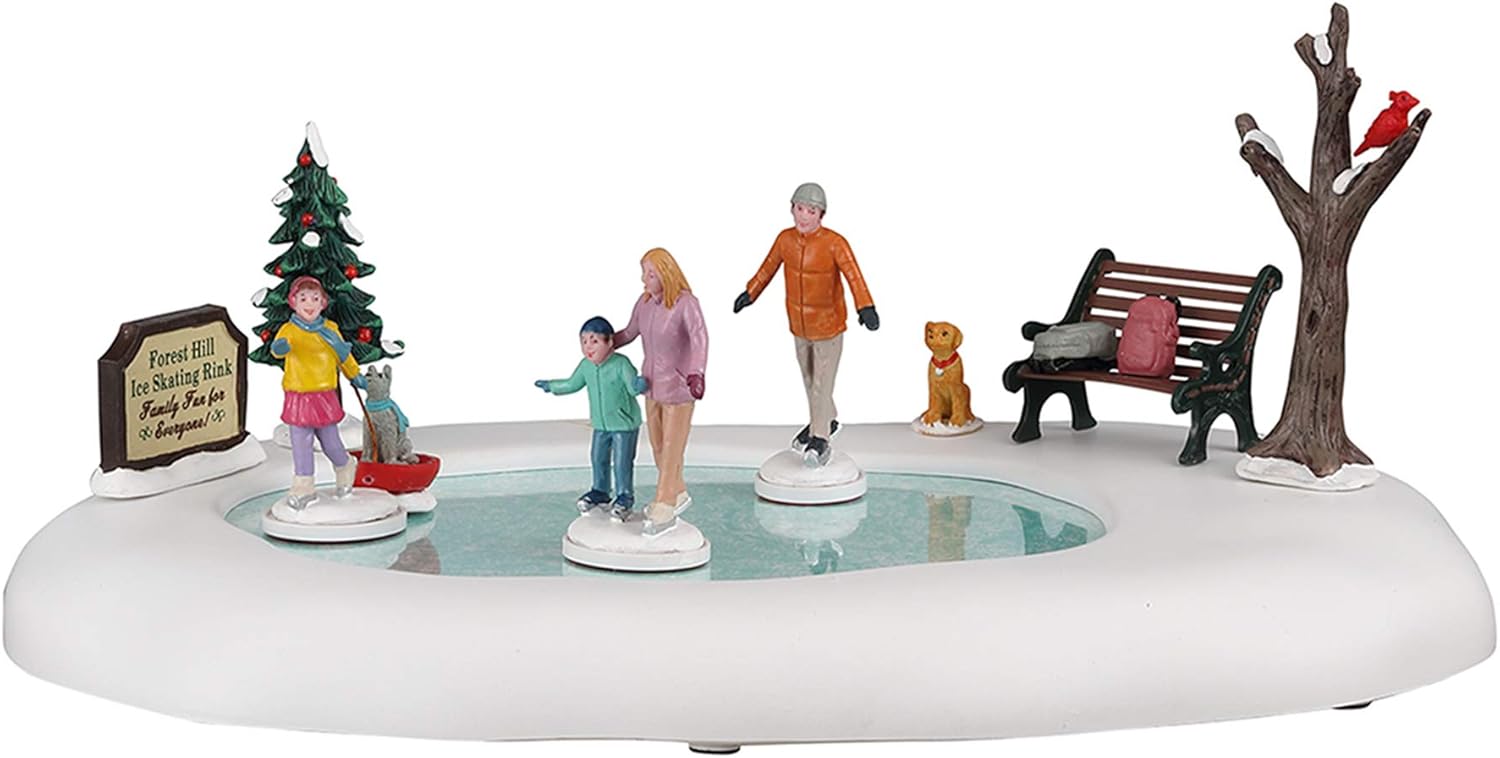
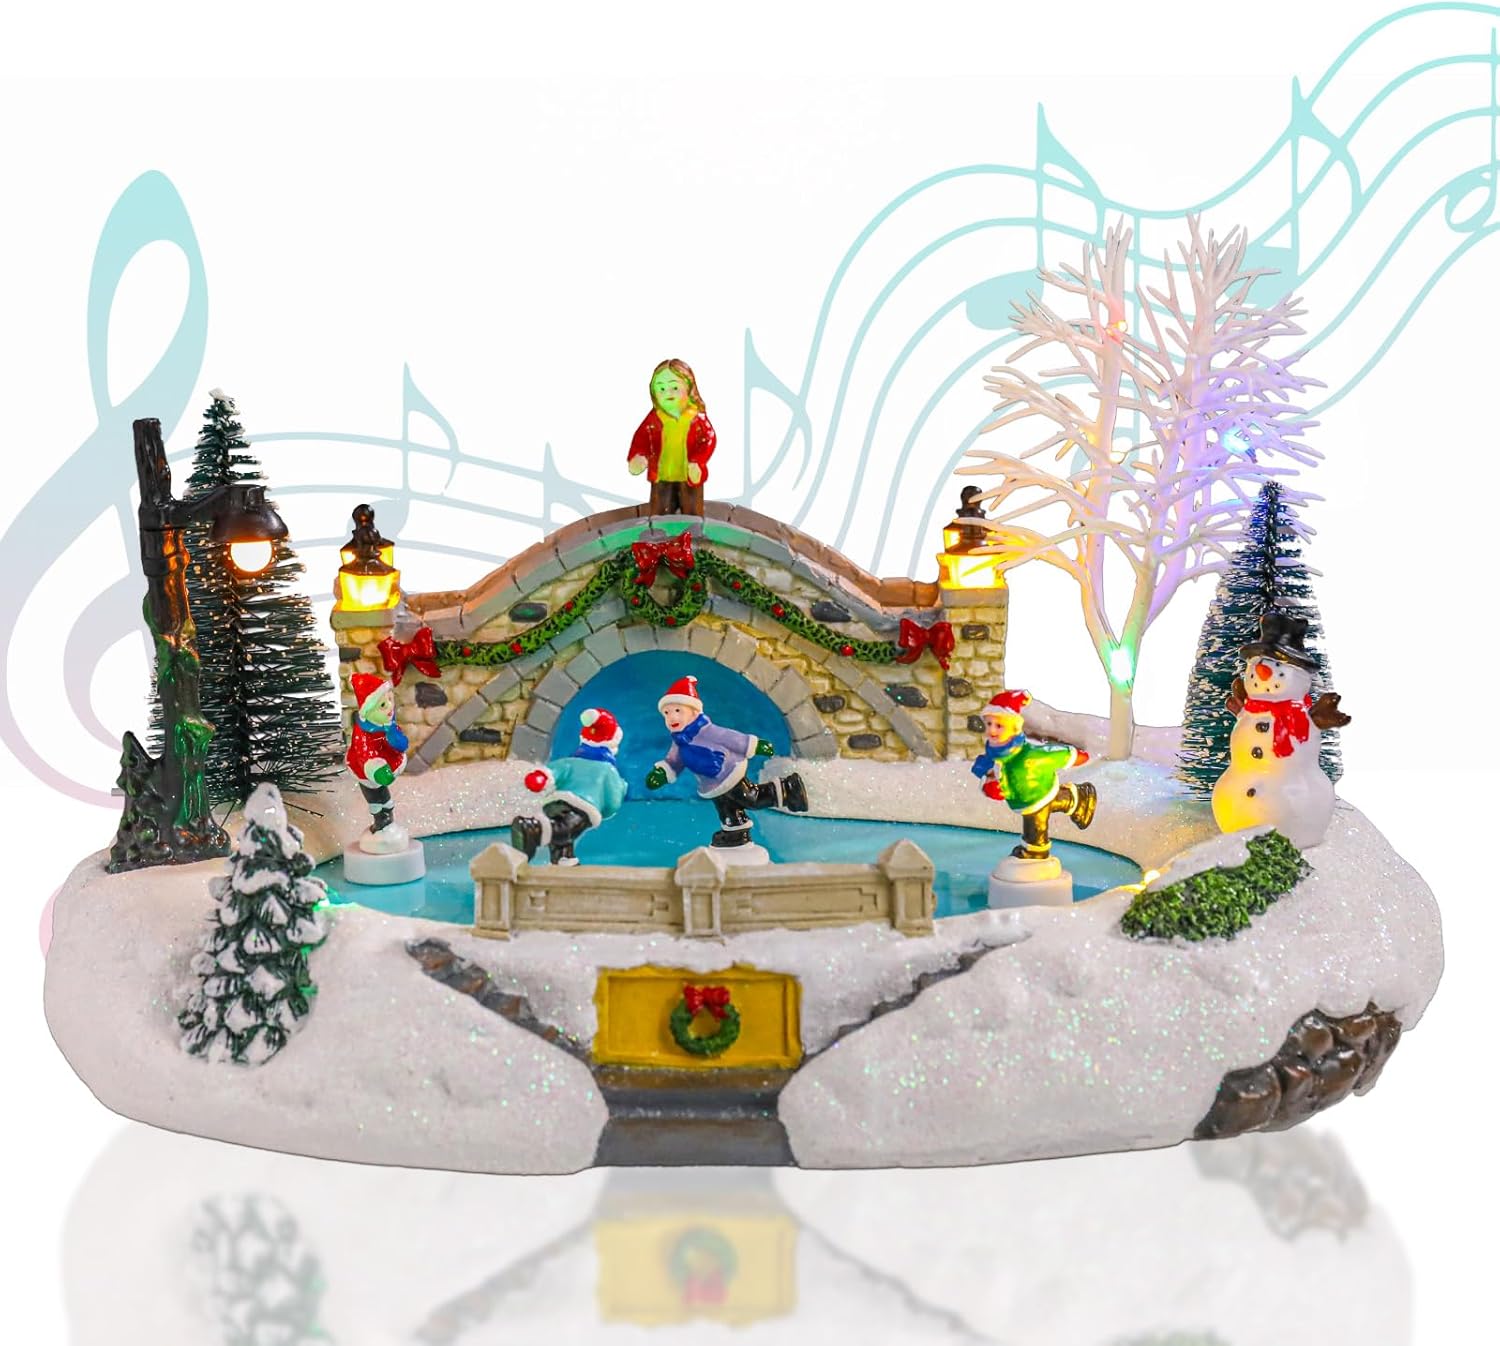
5 Best Christmas Decor Frozen/ Skating Ponds, Best Selling Items
 |
 |
 |
 |
 |
Materials You Will Need
To get started on your frozen pond project, gather the following materials:
- Large shallow container or tray
- Blue and white acrylic paint
- Clear resin or epoxy
- Miniature figurines (skaters, snowmen, etc.)
- Small pebbles or rocks
- Fake snow or glitter
- Paintbrushes
- Hot glue gun
Step-by-Step Guide
1. Prepare The Container
Start by selecting a large, shallow container or tray that will serve as the base for your frozen pond. Make sure the container is clean and free of any debris. You can use a plastic or glass container depending on the size of your Christmas village.
2. Paint The Base
Using blue and white acrylic paint, create a wintery scene on the base of the container. Start by painting the bottom with a layer of blue paint to represent the frozen water of the pond. Add streaks of white paint to mimic snow-covered banks around the edges of the pond.
3. Add Texture
To add texture and depth to your frozen pond, sprinkle fake snow or glitter along the banks of the pond. You can also use small pebbles or rocks to create a more realistic shoreline. Be creative and experiment with different materials to enhance the overall look of your winter scene.
4. Seal With Resin Or Epoxy
Once you are satisfied with the painting and texture, it’s time to seal the pond with clear resin or epoxy. This will give the illusion of a frozen surface and add a glossy finish to your creation. Follow the manufacturer’s instructions for mixing and applying the resin, and allow it to dry completely.
5. Decorate with Miniature Figurines
Add charm to your frozen pond by incorporating miniature figurines such as skaters, snowmen, or even a tiny Christmas tree. Arrange the figurines strategically around the pond to bring your winter village to life. Use a hot glue gun to secure the figurines in place.
6. Enhance With Lighting
For a magical touch, consider adding LED lights around the perimeter of the pond to create a warm and inviting glow. The soft lighting will enhance the overall ambiance of your Christmas village display and highlight the beauty of your frozen pond.
Tips for Maintenance and Care
Once you have set up your frozen pond, here are some tips to ensure its longevity and keep it looking its best:
- Avoid placing the pond in direct sunlight to prevent the resin from yellowing over time.
- Store the pond in a cool, dry place when not in use to protect it from dust and debris.
- Regularly clean the pond with a soft cloth to remove any dirt or fingerprints.
- Check the figurines and decorations for any damage and make repairs as needed to keep your display looking pristine.

Credit: www.pinterest.com
In Conclusion
Creating a frozen pond for your Christmas village can be a fun and rewarding DIY project that adds a festive touch to your holiday decor. By following these steps and incorporating your own creative ideas, you can bring a winter wonderland to life right in your own home. So gather your materials, unleash your imagination, and get ready to enjoy the magic of the holiday season with your very own frozen pond display.