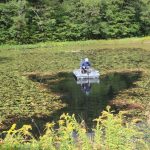
Welcome to our comprehensive guide on creating your very own pond! Whether you want to add a serene water feature to your backyard or create a habitat for aquatic plants and wildlife, building a pond can be a rewarding and enjoyable project. In this article, we will provide you with step-by-step instructions on how to make your own pond from start to finish.
Step 1: Planning and Preparation
Before you start digging, it’s essential to carefully plan out your pond to ensure its success. Consider the following factors:
- Location: Choose a spot that receives a good amount of sunlight but is also partially shaded to prevent excessive algae growth.
- Size and Shape: Determine the size and shape of your pond based on the available space and your preferences.
- Depth: A pond should have varying depths to accommodate different aquatic plants and provide shelter for fish.
- Materials: Decide on the materials you will need, such as a pond liner, rocks, and aquatic plants.
Step 2: Digging the Pond
Once you have planned out the details, it’s time to start digging! Follow these steps to create the basic shape of your pond:
- Mark the outline of your pond using spray paint or a garden hose.
- Start digging from the center and work your way out, creating shelves for plants and wildlife.
- Remove any sharp objects or roots from the hole to prevent damage to the pond liner.
- Smooth out the bottom of the pond to ensure the liner sits flat and securely.
Step 3: Installing the Pond Liner
The next step is to install the pond liner, which will hold the water and prevent leaks. Follow these guidelines for a successful installation:
- Choose a high-quality pond liner that is durable and resistant to UV rays.
- Place the liner in the hole and carefully smooth out any wrinkles or folds.
- Secure the edges of the liner with rocks or soil to keep it in place.
- Add a layer of protective underlayment before filling the pond with water.
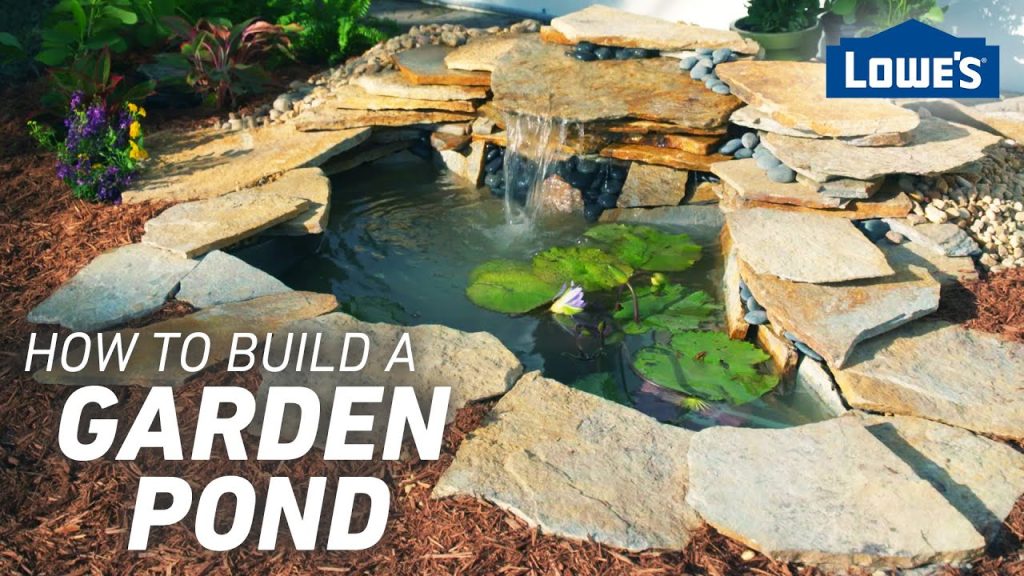
Credit: www.gameandfishmag.com
Step 4: Adding Water and Filtration
Now that the pond liner is in place, it’s time to fill your pond with water and set up a filtration system to keep it clean and healthy:
- Fill the pond with water from a clean water source, such as a hose or rainwater collection system.
- Install a pump and filter to circulate and clean the water, ensuring a balanced ecosystem.
- Add beneficial bacteria to help break down organic matter and maintain water clarity.
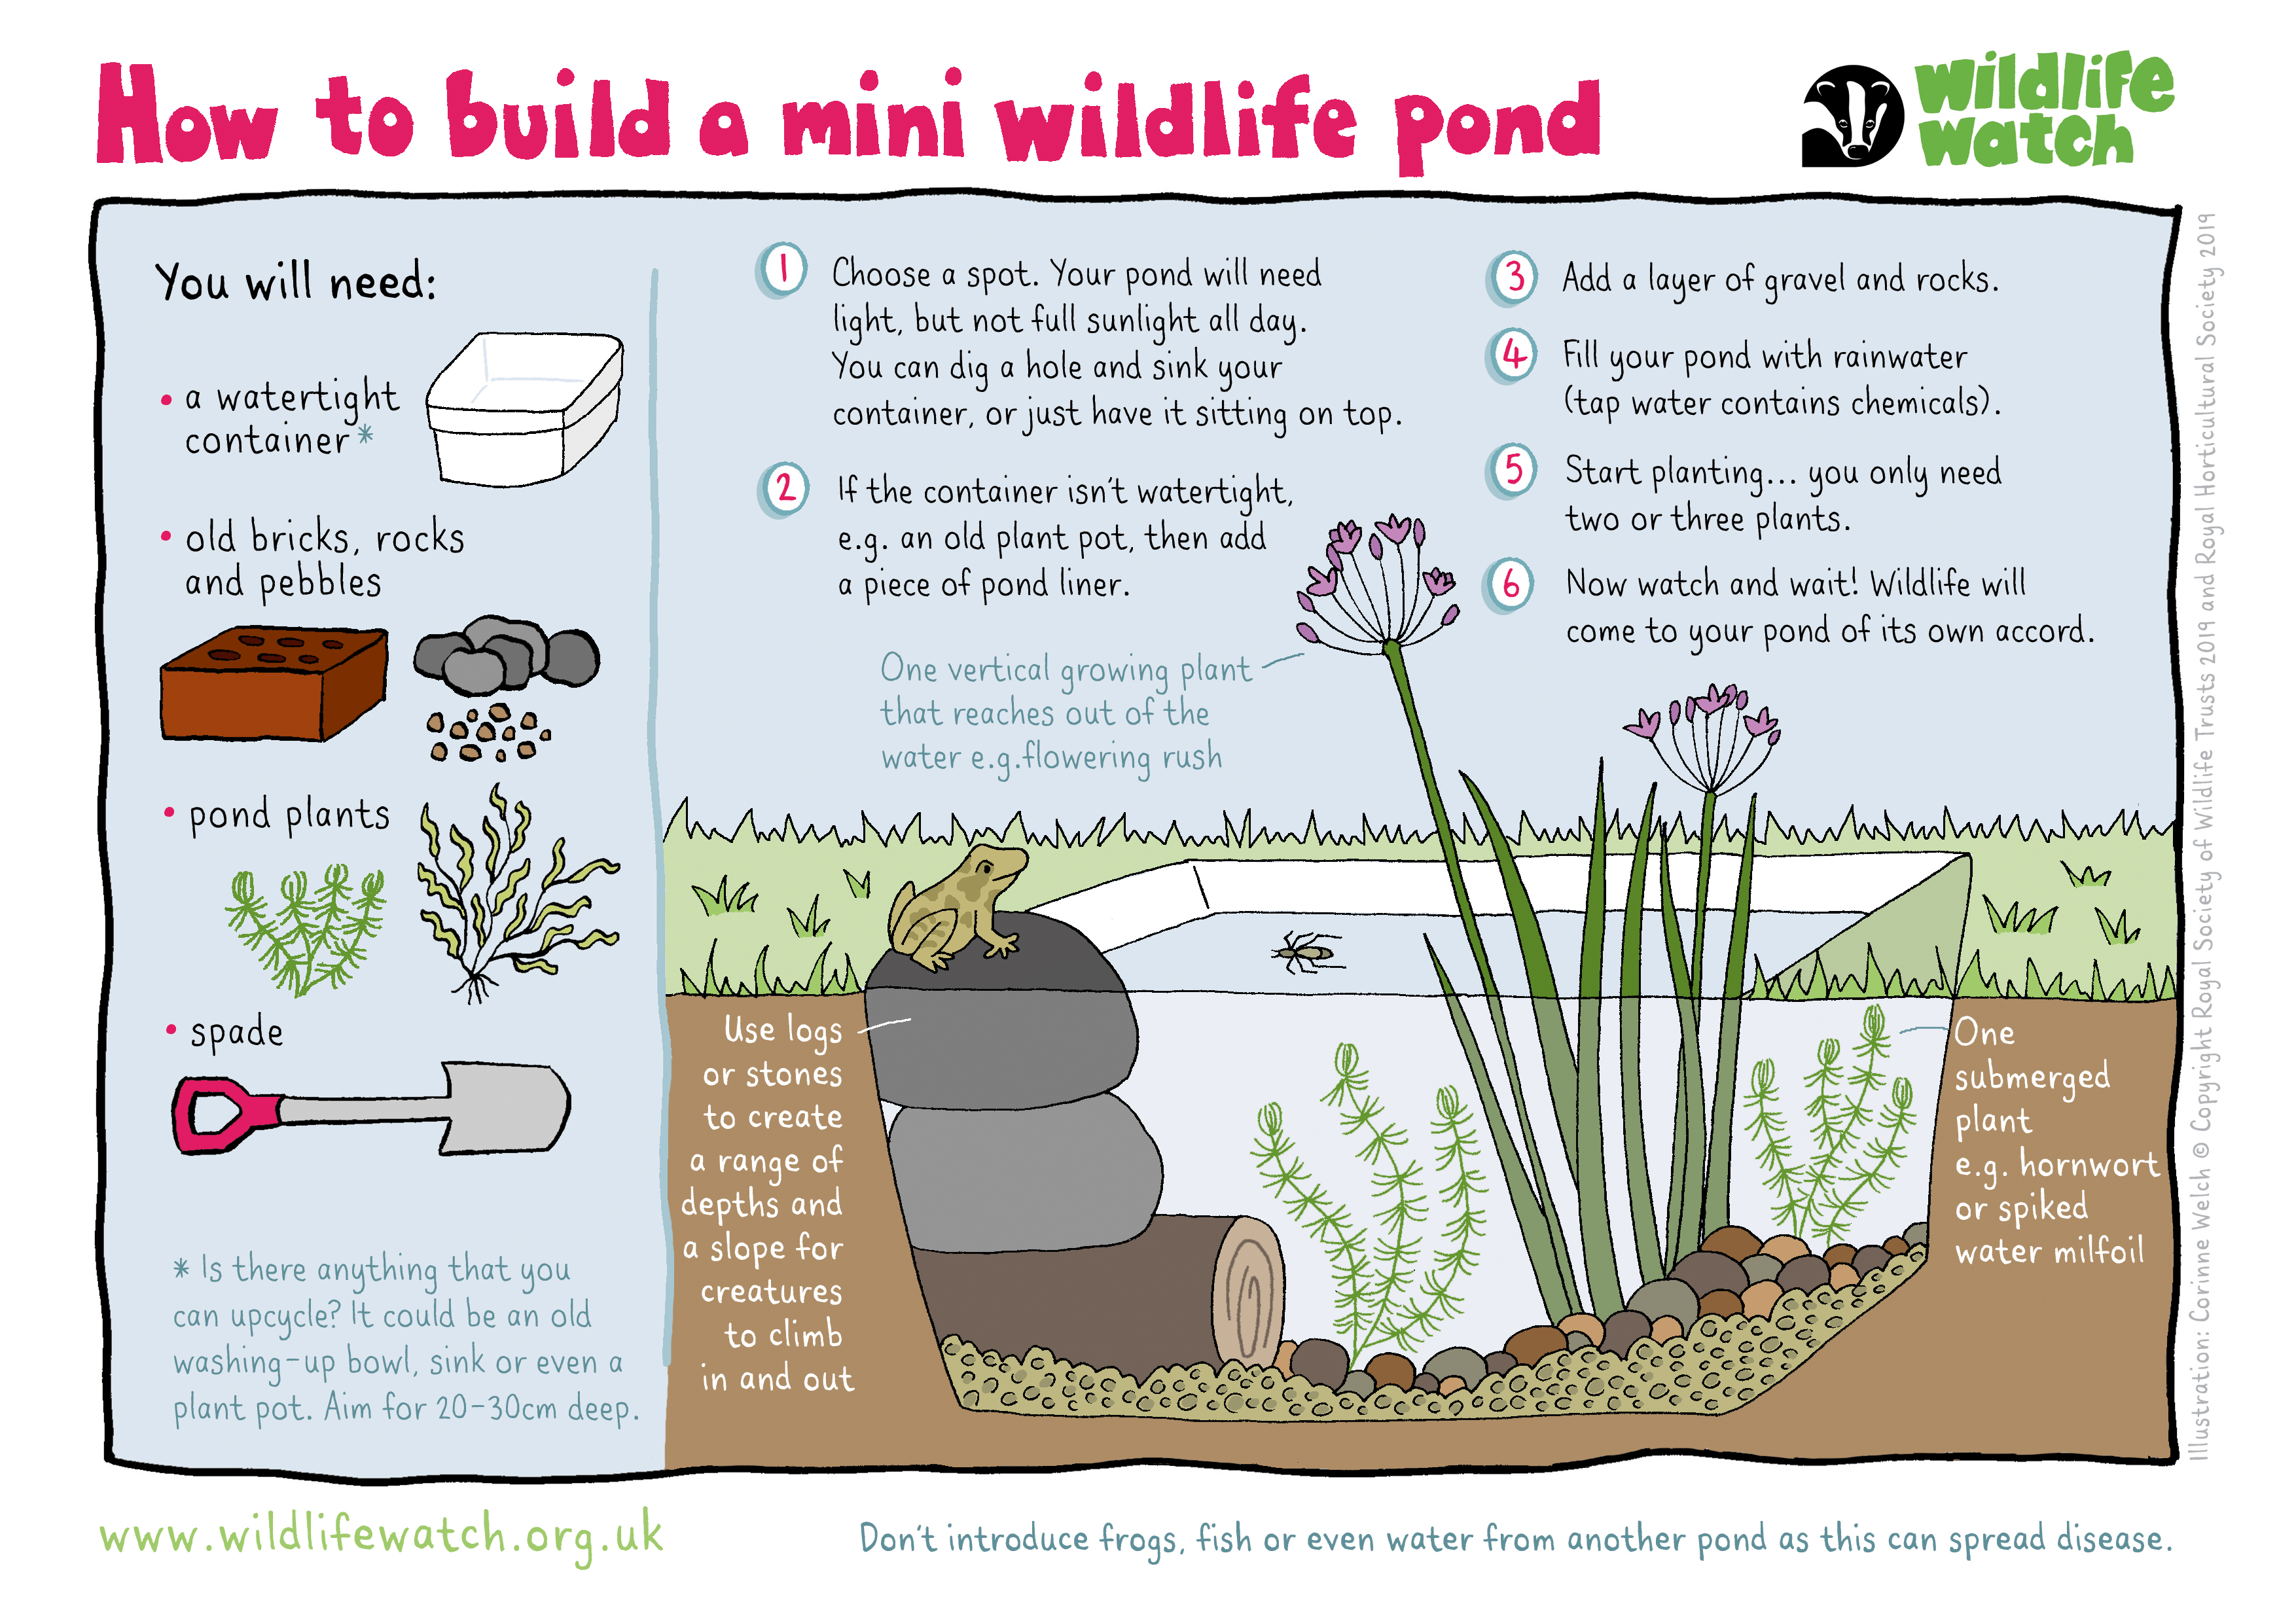
Credit: www.wildlifetrusts.org
Step 5: Landscaping and Decoration
Once the basic structure of your pond is complete, it’s time to add the finishing touches with landscaping and decoration:
- Plant aquatic plants around the edges and shelves of the pond to create a natural habitat for wildlife.
- Add rocks, driftwood, and other decorative elements to enhance the aesthetic appeal of your pond.
- Consider installing a fountain or waterfall feature for a soothing sound and visual interest.
Step 6: Maintenance and Care
To ensure your pond remains healthy and beautiful, regular maintenance is essential. Here are some tips for caring for your pond:
- Monitor water quality regularly and test for pH, ammonia, and nitrate levels.
- Remove debris, fallen leaves, and algae to prevent water stagnation and maintain clarity.
- Trim and prune aquatic plants as needed to prevent overgrowth and ensure a balanced ecosystem.
- Winterize your pond by removing sensitive plants and installing a heater or de-icer to prevent freezing.
Conclusion
Building your own pond can be a fulfilling and enjoyable project that adds beauty and tranquility to your outdoor space. By following the steps outlined in this guide and dedicating time to maintenance and care, you can create a stunning water feature that will bring joy for years to come.