Welcome to our comprehensive guide on how to create your very own above ground pond! Whether you want to add a touch of tranquility to your backyard or enhance your garden’s aesthetic appeal, building an above ground pond can be a rewarding and relatively simple DIY project. In this article, we will walk you through the step-by-step process of creating a beautiful and functional above ground pond that you can enjoy for years to come.
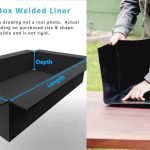
Pool Liner Pad for Above Ground Swimming Ponds And Pools
Materials You Will Need:
Before you start building your above ground pond, gather the following materials:
- Pond liner
- Shovel
- Sand or underlayment
- Water pump and filter
- Rocks or stones for decoration
- Plants and fish (optional)
- Measuring tape
- Level
- Edging material (wood, bricks, or stones)

Credit: plantpostings.blogspot.com
Step 1: Choose a Location
First, select a suitable location in your yard for the above ground pond. Ensure the area is level and receives adequate sunlight for any aquatic plants you plan to include.
Step 2: Mark the Pond Area
Use the measuring tape to outline the shape and size of the pond on the ground. You can choose any shape that fits your space and design preferences.
Step 3: Dig the Hole
Start digging the hole according to the dimensions you marked. The depth of the hole will depend on the size of the pond liner and the desired depth of the water in your pond.
Step 4: Add Sand or Underlayment
Once the hole is dug, spread a layer of sand or underlayment to cushion the pond liner and protect it from sharp objects that may puncture it.
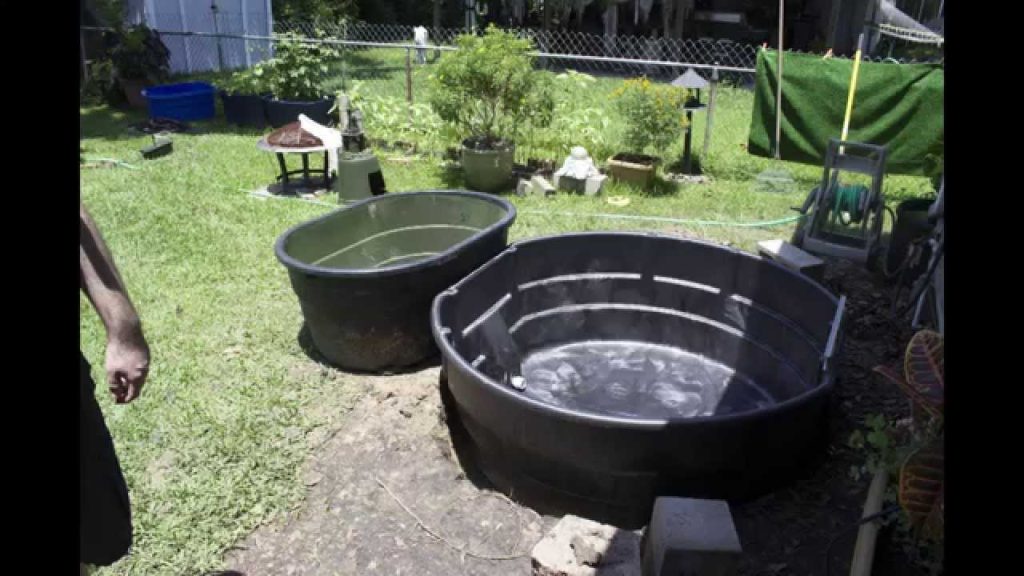
Step 5: Install the Pond Liner
Carefully place the pond liner in the hole, ensuring it is centered and free of any wrinkles or folds. Smooth out the liner and press it into place.
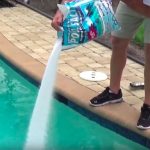
Step 6: Fill the Pond with Water
Slowly fill the pond with water, adjusting the liner as needed to prevent any sagging or bulging. Allow the water to settle and the liner to conform to the shape of the pond.

Credit: m.youtube.com
Step 7: Add Decorative Rocks and Stones
Enhance the appearance of your above ground pond by adding decorative rocks and stones around the edges. This will give your pond a natural and polished look.
Step 8: Install Water Pump and Filter
For a healthy and thriving pond ecosystem, install a water pump and filter to keep the water clean and aerated. Position the pump and filter according to the manufacturer’s instructions.
Step 9: Add Plants and Fish
If desired, introduce aquatic plants and fish to your above ground pond. Water lilies, lotus plants, and koi fish are popular choices that can enhance the beauty and ecological balance of your pond.
Step 10: Create Edging
To complete the look of your above ground pond, create an edging using wood, bricks, or stones. This will provide a finished appearance and help secure the pond liner in place.
Maintenance Tips:
- Regularly check the water level and top up as needed.
- Clean the pump and filter regularly to prevent clogging.
- Remove debris and fallen leaves from the pond surface.
- Trim and prune aquatic plants as necessary to maintain a healthy ecosystem.
- Monitor water quality and test for pH and ammonia levels periodically.
By following these steps and maintenance tips, you can create a stunning above ground pond that will bring beauty and serenity to your outdoor space. Get creative with your design and personalize your pond to reflect your style and preferences. Enjoy the sights and sounds of nature right in your own backyard with your newly built above ground pond!
Thank you for reading our guide on how to make an above ground pond. We hope you found this information helpful and inspiring. Happy pond building!