Adding a waterfall to your pond can create a beautiful and tranquil focal point in your outdoor space. The sight and sound of water cascading down rocks can enhance the overall ambiance and attract wildlife to your pond. In this guide, we will walk you through the steps to create a stunning waterfall for your pond that will elevate your backyard oasis.
Step 1: Planning and Design
Before you start building your waterfall, it’s essential to plan and design the layout. Consider the size of your pond, the available space, and the natural slope of the land. Determine the desired height and width of the waterfall to ensure it complements the overall aesthetics of your pond.
Key Points:
- Choose a location that allows for easy access to electricity and water source.
- Consider the visual impact of the waterfall from different angles.
- Sketch out a rough design to visualize the placement of rocks and water flow.
Step 2: Gathering Materials
Once you have finalized the design, it’s time to gather the necessary materials for building your waterfall. Here’s a list of essential materials you will need:
| Materials | Tools |
|---|---|
| Flat rocks of various sizes | Shovel |
| Pond liner | Level |
| Pump and tubing | Wheelbarrow |
| Aquatic plants | Work gloves |
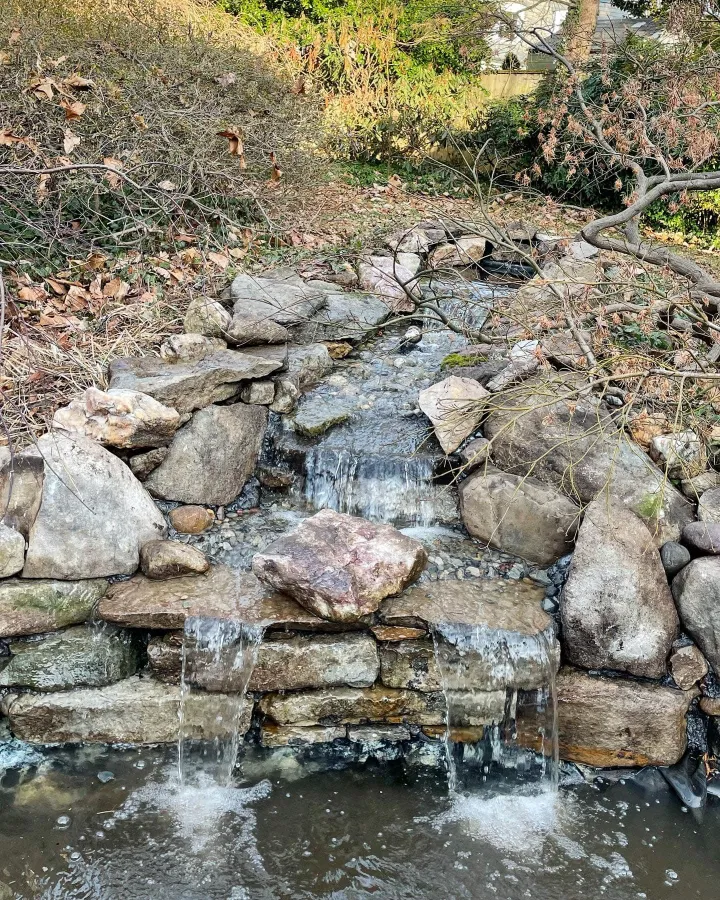
Step 3: Excavation and Placement
Start by excavating the area where the waterfall will be located. Dig a shallow trench for the pond liner to sit in and create a reservoir for the water to collect. Use the level to ensure the ground is even and the waterfall will flow smoothly.
Pro Tips:
- Place larger rocks at the base of the waterfall to create a natural look.
- Position the pump at the bottom of the reservoir for optimal water circulation.
- Add plants around the waterfall to soften the edges and create a more natural environment.
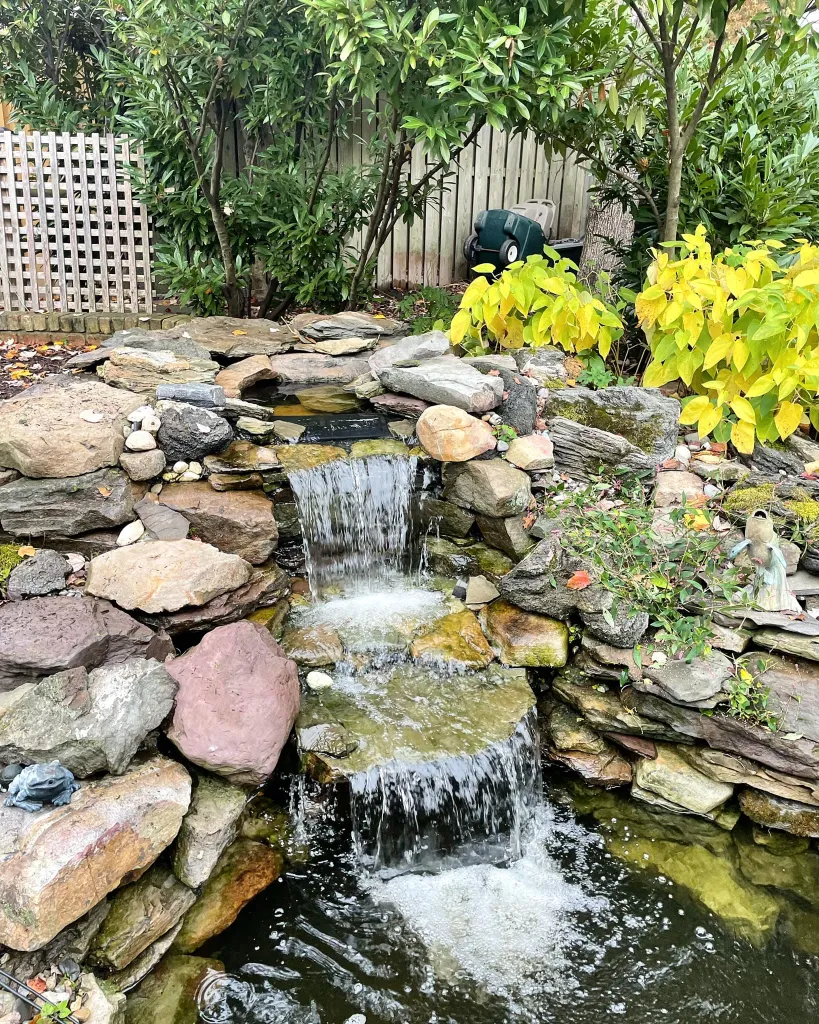
Credit: www.pondtrademag.com
Step 4: Installing the Waterfall
Once the excavation is complete, it’s time to install the waterfall components. Lay the pond liner in the trench, ensuring it is securely in place and free of any wrinkles. Arrange the rocks in a cascading pattern, starting from the top and working your way down.
Quick Tips:
- Use a combination of flat and rounded rocks for a more natural appearance.
- Test the pump to ensure proper water flow before finalizing the rock placement.
- Adjust the rocks as needed to create the desired waterfall effect.
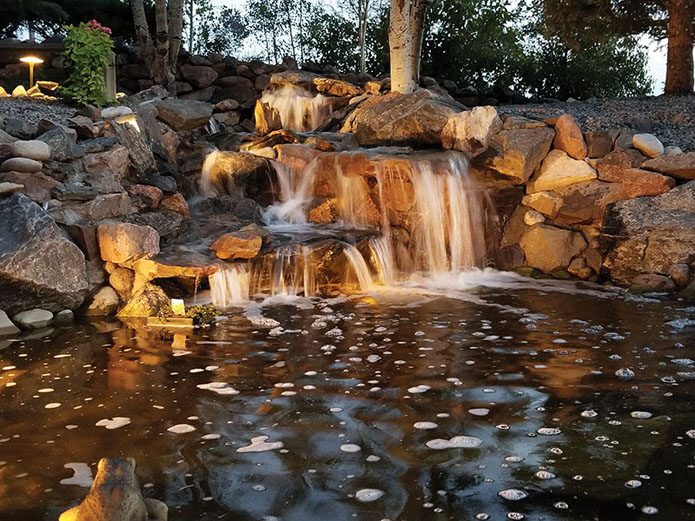
Credit: premierpond.com
Step 5: Finishing Touches
With the rocks in place and the pump running smoothly, it’s time to add the finishing touches to your waterfall. Fill in any gaps between the rocks with smaller stones or gravel to create a seamless look. Add aquatic plants around the waterfall to enhance the overall beauty and provide a natural habitat for wildlife.
Final Thoughts:
- Regularly clean and maintain the waterfall to prevent debris buildup and algae growth.
- Consider adding lighting to showcase the waterfall at night and create a magical ambiance.
- Enjoy the sights and sounds of your new waterfall, and watch as it transforms your pond into a peaceful retreat.
By following these steps and incorporating your creativity, you can create a stunning waterfall for your pond that will become a focal point in your outdoor space. Whether you’re looking to add a touch of nature or create a relaxing oasis, a waterfall is a fantastic addition to any pond. Embrace the soothing sounds of flowing water and the beauty of natural rocks as you embark on this rewarding DIY project.