Welcome to our comprehensive guide on how to make a pond filter! If you have a pond in your backyard, you know the importance of keeping the water clean and clear for your aquatic plants and fish. A pond filter is an essential component to maintain the water quality and ensure a healthy ecosystem in your pond. In this article, we will walk you through step-by-step instructions on how to create your very own pond filter using simple materials that you can easily find at your local hardware store. Let’s get started!

Credit: pondsguide.com
Materials Needed:
Before we dive into the construction process, let’s first gather all the materials you will need to make your DIY pond filter:
| Materials | Quantity |
|---|---|
| Plastic bucket or container | 1 |
| PVC pipe | 1 |
| Pond filter media (such as filter foam or bio-balls) | 1 pack |
| Pump | 1 |
| Silicone sealant | 1 tube |
| Mesh screen | 1 |
| Scissors | 1 pair |
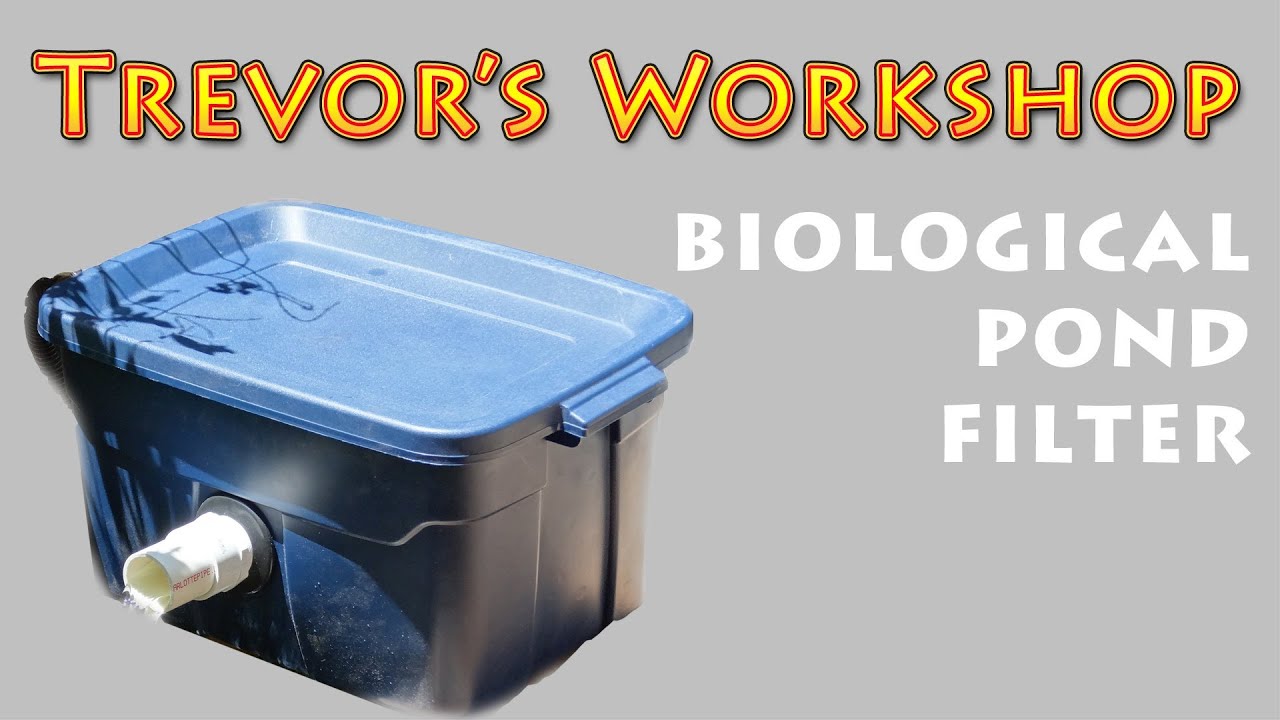
Credit: m.youtube.com
Step-by-Step Instructions:
Now that you have all the necessary materials, let’s begin constructing your very own pond filter:
Step 1: Prepare The Bucket
- Take the plastic bucket and drill a hole near the bottom of the bucket.
- Insert the PVC pipe into the hole, ensuring a snug fit.
- Apply silicone sealant around the pipe to prevent water leakage.
Step 2: Create The Filter Chamber
- Cut the mesh screen to fit inside the bucket, creating a barrier between the pump and filter media.
- Place the mesh screen inside the bucket, a few inches above the PVC pipe.
Step 3: Add The Filter Media
- Fill the bottom of the bucket with pond filter media, such as filter foam or bio-balls.
- Ensure the filter media covers the entire bottom of the bucket evenly.
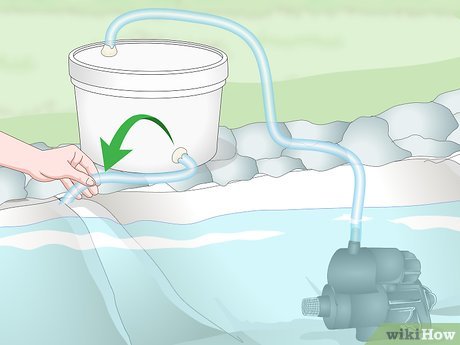
Step 4: Install The Pump
- Place the pump at the bottom of the bucket, below the filter media.
- Connect the pump to the PVC pipe to allow water circulation through the filter.
Step 5: Test Your Pond Filter
- Fill the bucket with water and turn on the pump to test the filtration system.
- Observe the flow of water through the filter media and adjust the pump as needed.
Benefits of a DIY Pond Filter:
Creating your own pond filter offers several advantages, including:
- Cost-effectiveness: DIY pond filters are budget-friendly and can be made using affordable materials.
- Customization: You can tailor the size and design of the filter to suit your pond’s specific needs.
- Enhanced water quality: A well-maintained pond filter helps keep the water clean and clear for your aquatic life.
- Satisfaction of DIY: Building your own pond filter can be a rewarding and fulfilling experience.
Maintenance Tips:
To ensure the efficiency of your DIY pond filter, follow these maintenance tips:
- Regularly clean the filter media to prevent clogging and maintain water flow.
- Check the pump for debris and ensure it is functioning properly.
- Monitor the water quality and adjust the filter as needed based on the clarity of the water.
Conclusion:
By following our step-by-step guide on how to make a pond filter, you can create a cost-effective and efficient filtration system for your pond. Enjoy the benefits of clean and clear water while providing a healthy environment for your aquatic plants and fish. Remember to regularly maintain your DIY pond filter to ensure optimal performance. Start your DIY project today and enhance the beauty of your backyard pond!