Having a dock on a pond can enhance the beauty of your property and provide a relaxing spot to enjoy the water. Whether you want to fish, paddle around, or simply sit and take in the view, a dock can be a great addition to your outdoor space. Building a dock for a pond can be a rewarding DIY project that is both functional and aesthetically pleasing.

Credit: www.youtube.com
Materials Needed
Before you start building your pond dock, you will need to gather the necessary materials. Here is a list of the basic materials you will need:
- Pressure-treated lumber for the frame
- Decking boards
- Galvanized screws or nails
- Joist hangers
- Concrete footings or dock floats
- Post caps
- Waterproof sealant or paint
- Tools such as a saw, drill, hammer, and measuring tape
Step-by-Step Guide
Follow these steps to build a sturdy and attractive dock for your pond:
Step 1: Obtain Permits
Before you start construction, check with your local authorities to see if you need any permits to build a dock on your pond. Compliance with regulations is essential.
Step 2: Design Your Dock
Decide on the size and shape of your dock. Consider the purpose of the dock and how you plan to use it. Sketch out a design to serve as a blueprint.
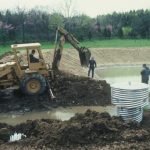
Step 3: Prepare The Site
Clear the area where you plan to build the dock. Make sure the ground is level and stable. If needed, install concrete footings or dock floats to provide support.
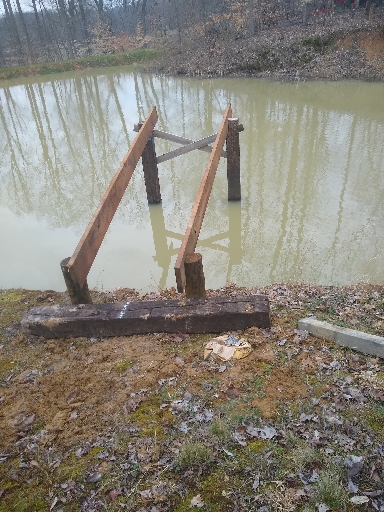
Step 4: Build The Frame
Construct the frame of the dock using pressure-treated lumber. Use joist hangers to secure the joists in place. Make sure the frame is square and level.
Step 5: Install Decking Boards
Attach the decking boards to the frame using galvanized screws or nails. Leave small gaps between the boards to allow for water drainage.
Step 6: Add Railing (optional)
If desired, add railing to your dock for safety and aesthetics. Make sure the railing is securely attached to the frame.
Step 7: Apply Finish
Protect your dock from the elements by applying a waterproof sealant or paint. This will help extend the life of your dock and keep it looking great.
Step 8: Install Post Caps
For a finishing touch, add post caps to the tops of the dock posts. This will not only enhance the appearance of your dock but also help protect the wood.
Tips for Maintenance
Once your dock is built, proper maintenance is essential to ensure its longevity. Here are some tips for maintaining your pond dock:
- Regularly inspect the dock for any damage or wear and tear.
- Replace any rotten or damaged boards promptly to prevent further deterioration.
- Reapply sealant or paint every few years to protect the wood from water damage.
- Remove debris such as leaves and branches from the dock to prevent buildup and potential damage.
- Consider adding solar lights for evening enjoyment and added safety.

Credit: www.jlconline.com
Benefits of Having a Pond Dock
Having a dock on your pond offers a range of benefits, including:
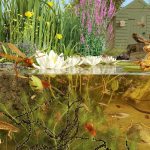
- Provides a designated space for fishing, boating, or simply relaxing by the water.
- Enhances the visual appeal of your pond and property.
- Creates a focal point for outdoor gatherings and entertaining.
- Increases the value of your property by adding a desirable feature.
- Encourages outdoor activities and enjoyment of nature.
Conclusion
Building a dock for a pond can be a fun and rewarding project that adds both functionality and beauty to your outdoor space. By following the steps outlined in this guide and properly maintaining your dock, you can enjoy a peaceful and picturesque setting right in your own backyard. So, roll up your sleeves, gather your materials, and start constructing your very own pond dock today!