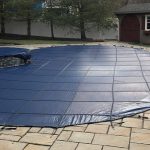
Installing an above ground pool liner may seem like a daunting task, but with the right tools and a clear plan, it can be a manageable DIY project. Whether you’re replacing an old liner or installing a new one for the first time, this step-by-step guide will walk you through the process, ensuring that your pool will be ready for summer fun in no time.
Step 1: Gather Your Materials
Before you begin, make sure you have all the necessary materials and tools on hand. You will need a new pool liner, adhesive or coping strips, a pool vacuum or pump, a shop vacuum, a utility knife, and a measuring tape. Additionally, having a few helping hands can make the installation process much smoother.
Step 2: Drain the Pool
Before you can install the new liner, you’ll need to drain the pool completely. Use a pool vacuum or pump to remove the water, and then use a shop vacuum to remove any remaining moisture from the bottom of the pool.
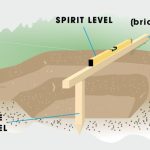
Step 3: Measure and Prep the Pool
Measure the dimensions of your pool to ensure that the new liner will fit properly. Take accurate measurements of both the length and width, as well as the depth of the pool. Once you have the measurements, inspect the pool walls and bottom for any sharp edges, debris, or rough spots that could potentially damage the new liner. Smooth out any imperfections and make any necessary repairs before proceeding.
Credit: www.theswimmingpoolstore.com
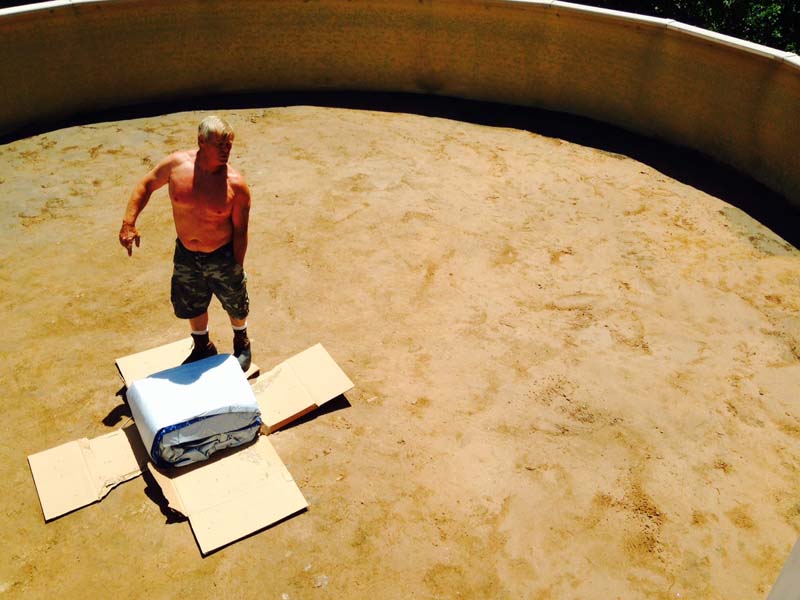
Step 4: Lay Out the New Liner
Unfold the new liner and lay it out in the sun for a few hours to help remove any wrinkles and make it more pliable for installation. This step will also make it easier to fit the liner into the pool’s contours.
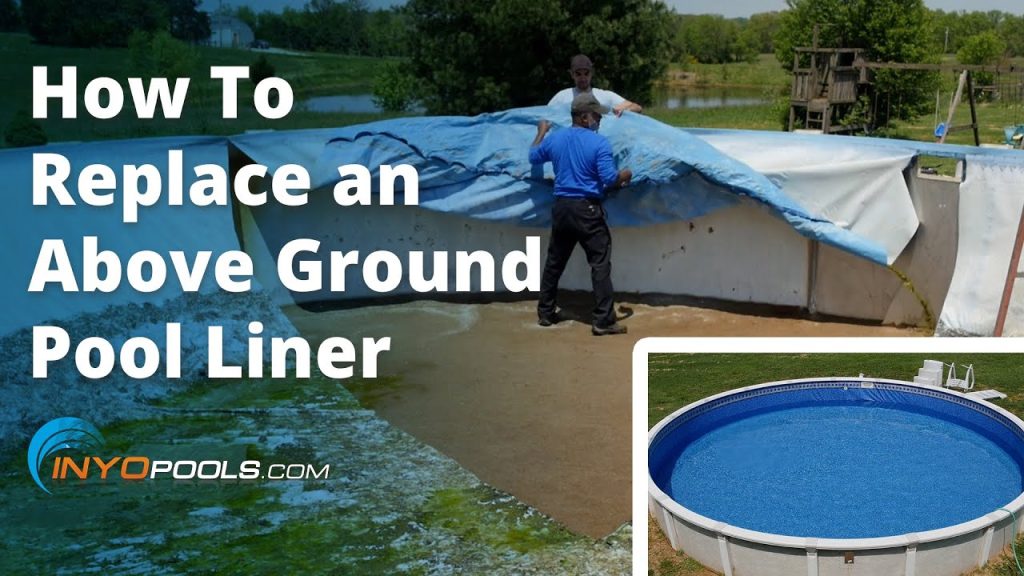
Step 5: Install the Liner
With the help of a friend, carefully place the new liner into the pool, making sure it is centered and even on all sides. Start at the top of the pool wall and work your way around, smoothing out any wrinkles or creases as you go. It’s important to take your time with this step to ensure a smooth and wrinkle-free installation.
Step 6: Secure the Liner
Depending on the type of pool you have, you will need to secure the liner using either adhesive or coping strips. If your pool uses coping strips, carefully snap them into place around the top edge of the pool, securing the liner in the process. If adhesive is required, follow the manufacturer’s instructions for applying it to the pool walls and securing the liner in place.

Credit: www.youtube.com
Step 7: Fill the Pool
Once the liner is securely in place, begin filling the pool with water. As the water level rises, continue to smooth out any wrinkles or air pockets that may form. This step will ensure that the liner fits snugly against the walls and bottom of the pool.
Step 8: Trim the Excess Liner
As the pool fills with water, you may notice some excess liner hanging over the edges. Use a utility knife to carefully trim away any excess material, leaving a clean and tidy edge around the top of the pool.
Step 9: Finish and Enjoy
Once the pool is filled with water and the liner is secure, take the time to inspect the installation and make any final adjustments as needed. Now that your new liner is in place, it’s time to enjoy your above ground pool and make lasting memories with family and friends all summer long!
Conclusion
Installing an above ground pool liner is a rewarding project that can be completed with the right tools, preparation, and patience. By following these step-by-step instructions, you can confidently install a new liner and have your pool ready for a season of fun and relaxation. Remember to take your time, enlist the help of a friend or two, and enjoy the satisfaction of a job well done as you dive into your sparkling new pool.