Are you considering adding a beautiful and serene koi pond to your backyard? Installing a koi pond can bring a sense of tranquility and beauty to your outdoor space. However, creating a koi pond requires careful planning and execution to ensure the health and well-being of your fish. In this comprehensive guide, we will walk you through the step-by-step process of installing a koi pond.
Step 1: Planning
Before you start digging, it’s essential to carefully plan out your koi pond. Consider the size of the pond, location, depth, and surrounding landscape. Make sure to choose a spot that receives a good balance of sunlight and shade to promote healthy plant growth and provide a comfortable environment for your koi.
Key Considerations:
- Size of the pond
- Location and sunlight exposure
- Depth of the pond
- Access to electricity for pumps and filters
Step 2: Digging the Pond
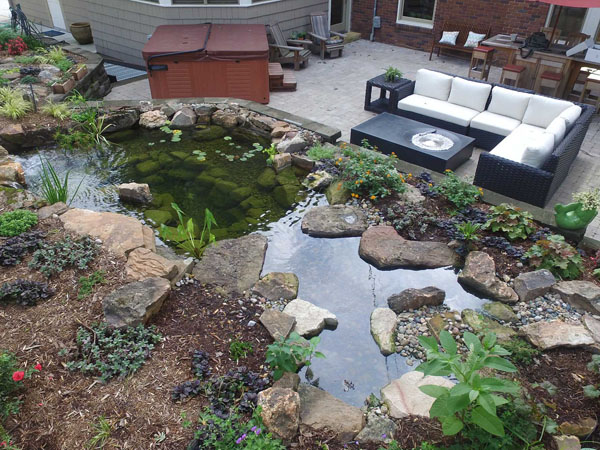
Once you have planned out the details of your koi pond, it’s time to start digging. Use a rope or hose to outline the shape of your pond on the ground. Start digging the pond, making sure to create shelves at different depths to provide varying environments for your koi. The depth of the pond should be at least 3 feet to ensure the fish have enough space to swim and thrive.

Credit: iowawaterscapes.com
Step 3: Installing the Pond Liner
After you have finished digging the pond, it’s time to install the pond liner. Choose a high-quality pond liner that is durable and puncture-resistant. Carefully lay the liner in the pond, making sure to smooth out any wrinkles or folds. Trim the excess liner, leaving a few inches of overhang to secure the edges.
Step 4: Adding Filtration and Pumps
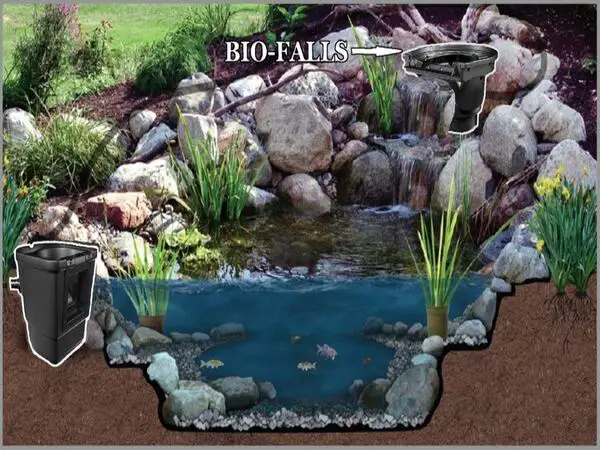
Proper filtration and aeration are essential for maintaining a healthy koi pond. Install a high-quality filtration system that can handle the size of your pond. Position the pump and filter in a central location to ensure proper circulation of water. Consider adding a UV clarifier to help control algae growth and maintain water clarity.
Step 5: Filling the Pond
Once the pond liner and filtration system are in place, it’s time to fill the pond with water. Use a garden hose to slowly fill the pond, taking care not to disturb the liner or create any ripples in the water. Allow the water to sit for a few days to let any chlorine evaporate and the temperature to stabilize before adding your koi.
Step 6: Adding Plants and Decorations
Enhance the beauty of your koi pond by adding aquatic plants and decorations. Choose plants that provide shade, oxygenate the water, and offer hiding spots for your koi. Consider adding rocks, driftwood, and other decorations to create a natural and inviting environment for your fish.

Credit: www.youtube.com
Step 7: Introducing Your Koi
Now that your koi pond is set up and ready, it’s time to introduce your koi fish. Carefully acclimate the fish to the water temperature by floating the bag in the pond for about 15-20 minutes. Release the fish into the pond gently, allowing them to explore their new home at their own pace.
Step 8: Maintenance and Care
Regular maintenance is key to keeping your koi pond healthy and thriving. Monitor water quality parameters such as pH, ammonia levels, and temperature regularly. Perform routine water changes, clean the filter system, and remove any debris or algae buildup to maintain a clean and balanced ecosystem for your koi.
Quick Tips For Koi Pond Maintenance:
- Check water quality parameters weekly
- Perform partial water changes every few weeks
- Clean the filter system monthly
- Remove any debris or dead plants promptly
Conclusion
Installing a koi pond can be a rewarding and enjoyable project that adds a touch of nature and tranquility to your outdoor space. By following these step-by-step guidelines for planning, digging, installing, and maintaining your koi pond, you can create a beautiful and healthy environment for your koi fish to thrive. Remember to enjoy the process and take the time to appreciate the beauty and serenity that a koi pond can bring to your home.


