Are you looking to fill in a pond in your yard or property? Whether you’re planning to repurpose the space, create a new landscaping feature, or simply eliminate the pond altogether, the process of filling in a pond requires careful planning and execution. In this guide, we will walk you through the steps involved in filling in a pond effectively and responsibly.
5 Best Durable Pond Liners For Outdoor Ponds, Garden Fountain, And Waterfall
Step 1: Drain the Pond
The first step in filling in a pond is to drain the water completely. This can be done using a pump or by allowing the water to naturally drain out over time. Make sure to remove any fish or plants from the pond before draining the water.
Step 2: Remove Debris
Once the pond is drained, it’s important to remove any debris such as rocks, plants, or other materials that may be present at the bottom of the pond. This will ensure a smooth and even fill once the process is complete.
Step 3: Determine the Fill Material
Before filling in the pond, you’ll need to decide on the type of fill material to use. Common options include soil, gravel, sand, or a combination of these materials. The choice of fill material will depend on factors such as the desired final use of the filled-in area and the local regulations.
Step 4: Fill in the Pond
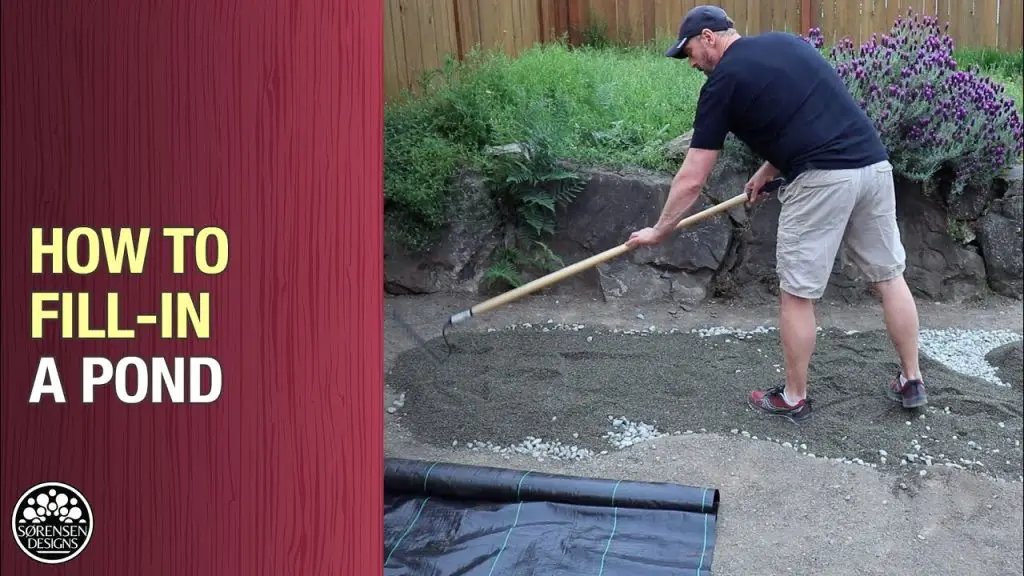
Begin filling in the pond with the chosen fill material. Start by adding a layer of fill material at the bottom of the pond and compact it using a compactor or roller. Continue adding layers of fill material until the pond is completely filled. Make sure to compact each layer to prevent settling over time.
Step 5: Grade the Area
Once the pond is filled in, it’s important to grade the area to ensure proper drainage and prevent water from pooling. Use a rake or shovel to smooth out the surface and create a slight slope away from buildings or other structures.
Step 6: Seed or Sod the Area
If you’re looking to establish grass or vegetation in the filled-in area, you can seed or sod the area once the grading is complete. Choose grass or plants that are suitable for the local climate and soil conditions for best results.
Step 7: Monitor for Settlement
After filling in the pond, monitor the area for any signs of settlement or unevenness. If you notice any areas that have settled more than others, add additional fill material and compact it to ensure a level surface.

Credit: www.youtube.com
Step 8: Consider Environmental Impact
When filling in a pond, it’s important to consider the environmental impact of the process. Make sure to dispose of any waste materials responsibly and follow local regulations regarding pond filling and land use.
Conclusion
Filling in a pond can be a rewarding project that transforms your outdoor space and allows for new landscaping opportunities. By following the steps outlined in this guide and taking the necessary precautions, you can successfully fill in a pond and create a beautiful new area on your property.


