Having an above-ground pool is a fantastic way to beat the summer heat and enjoy some refreshing swim time. However, there may come a time when you need to drain your pool for maintenance or winterizing purposes. In this article, we will guide you through the step-by-step process of draining an above-ground pool.
Why Drain an Above-Ground Pool?
Before we dive into the steps, let’s understand why you might need to drain your above-ground pool. Some common reasons include:
- Resurfacing and repair
- Winterizing
- Excessive dirt or debris
- Changing pool water
- Algae or chemical imbalance
Step 1: Gather the Necessary Equipment
Before you begin the process, it’s important to gather the following equipment:
| Equipment | Description |
|---|---|
| Submersible Pump | To remove water from the pool |
| Backwash Hose | To direct the water flow |
| Garden Hose | For refilling the pool |
| Siphon | Alternative method to drain the pool |
| Chemical Test Kit | To check water balance after refilling |

Credit: www.wikihow.com
Step 2: Prepare the Pool
Before you start draining, make sure to remove any pool accessories such as ladders, toys, or filters. It’s also a good idea to trim the surrounding vegetation to prevent debris from falling into the pool during the draining process.
Step 3: Connect the Pump
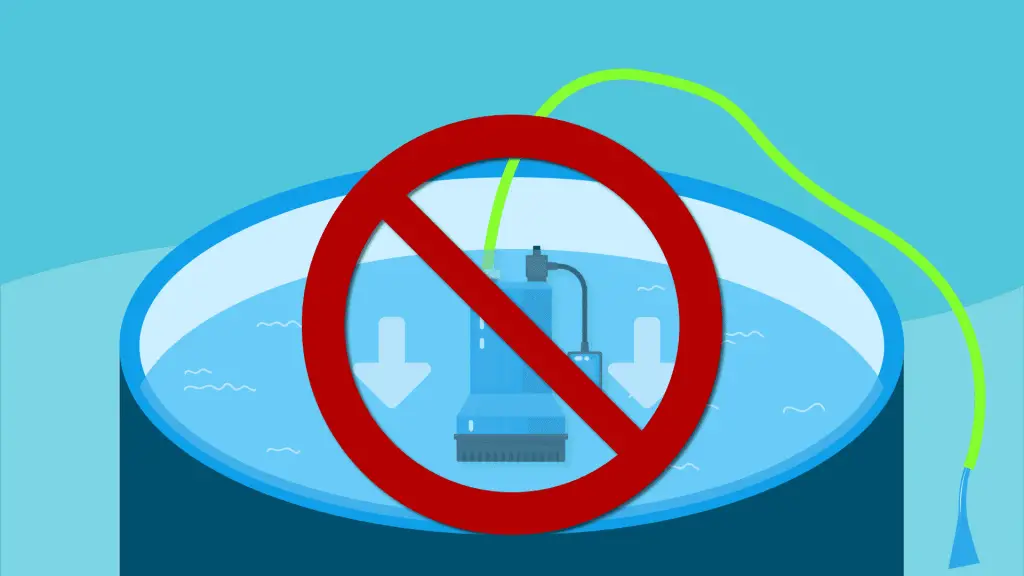
Connect the submersible pump to the power source and attach it to the backwash hose. Place the pump in the deepest part of the pool, making sure not to run it dry to avoid damage. Switch on the pump and let it start removing the water from the pool.

Credit: m.youtube.com
Step 4: Direct the Water Flow
Ensure the backwash hose is properly connected and direct it towards a suitable drainage area, such as a nearby sewer drain or an unused portion of your property. Make sure the hose is securely fastened to avoid any leaks or spills.
Step 5: Monitor the Draining Process
While the pool is draining, keep an eye on the pump and hose to ensure that everything is functioning properly. Periodically check the progress of the drainage and make any necessary adjustments if needed.
Step 6: Test the Water Balance
Once the pool is drained, it’s time to refill it. Connect the garden hose to a water source and start filling the pool. After the pool is full, use a chemical test kit to check the water balance and make any necessary adjustments before using the pool again.
Alternative Method: Siphoning
If you don’t have access to a pump, you can use a siphoning method to drain the pool. Simply submerge one end of a hose into the pool, making sure to remove any air pockets. Then, suck on the other end of the hose to initiate the flow of water. Once the water starts siphoning, direct the hose towards a suitable drainage area and continue until the pool is drained.
Conclusion
Draining an above-ground pool may seem like a daunting task, but by following these simple steps, you can successfully drain and refill your pool as needed. Remember to always prioritize safety and follow the manufacturer’s instructions for your specific pool model. Now you can enjoy a clean and well-maintained pool all summer long!


