If you have ever dreamed of having your own swimming pool, why not consider digging it yourself? Not only can it be a rewarding and fulfilling project, but it can also save you a significant amount of money. However, before grabbing a shovel and starting to dig, there are a few essential steps you need to follow for a successful outcome.
1. Planning Phase
Before you begin digging, take the time to plan out your pool. Consider the size, shape, and location that would best suit your needs. Additionally, check with your local authorities regarding any permits or regulations you need to comply with. Once you have a plan in place, gather all the necessary tools and materials.
2. Preparing the Area
Clear the area where you will be digging the pool. Remove any rocks, debris, or vegetation. Use stakes and a string or spray paint to mark the outline of the pool on the ground.
3. Digging the Pool
Start digging your pool by removing the top layer of soil using a shovel or excavator. Be mindful of any utility lines that may be present and stay clear of them to avoid accidents. Create a hole that matches the depth and shape of your pool design. Use a measuring tape to ensure accuracy.

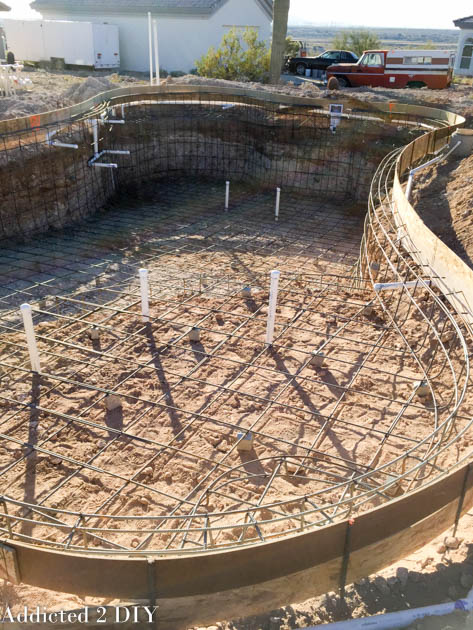
Credit: addicted2diy.com
4. Sloping the Sides
To prevent the walls from collapsing, slope the sides of the hole. This will provide stability and support to the pool structure. The angle of the slope should depend on the type of soil you have. Consult with an engineer or pool professional if you are unsure about the appropriate slope angle.
5. Leveling the Bottom
Use a level to ensure that the bottom of the pool is even and flat. This will help prevent any future issues with your pool’s stability and water distribution. Take your time during this step to achieve the best results.
6. Add Support Structures
Install support structures such as rebar or mesh to reinforce the walls and floor of your pool. This will add strength and durability to your pool, ensuring that it remains intact over time. Follow the manufacturer’s instructions for the proper installation.
7. Backfilling and Compacting
Once the support structures are in place, carefully backfill the pool area with soil, making sure to compact it as you go. This will provide additional support and stability to the pool walls. Take your time to achieve the right density and prevent future sinking or shifting.
8. Finishing Touches
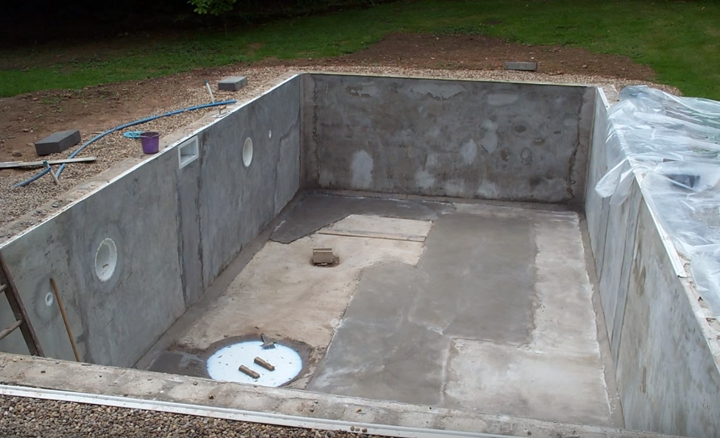
After the pool is fully backfilled and compacted, it’s time to add the final touches. Install the pool liner or finish materials such as tiles or concrete. Follow the manufacturer’s instructions for proper installation and allow for curing time before adding water.

Credit: www.instructables.com
9. Maintenance and Safety
Congratulations! Your hard work has paid off, and you now have a beautiful pool in your backyard. Remember to properly maintain your pool by regularly cleaning it, balancing the chemicals, and checking for any leaks or repairs needed. Ensure you have adequate safety measures in place, such as a fence or pool cover, to protect everyone, especially children, from accidents.
In conclusion, digging your own pool can be a rewarding and cost-effective project if done correctly. Taking the time to plan, prepare, and follow the necessary steps will contribute to a successful outcome. Remember to consult with professionals when needed and prioritize safety throughout the entire process. Enjoy your new pool and the countless hours of relaxation and fun it will provide!


