Creating a small pond in your backyard can be a wonderful addition to your outdoor space. Not only does it enhance the aesthetics of your garden, but it also provides a habitat for wildlife and can help promote a sense of tranquility and relaxation. In this guide, we will walk you through the steps to dig a small pond successfully.
Step 1: Planning
Before you start digging, it’s essential to plan out the location and size of your pond. Choose a spot that receives a good amount of sunlight but also has some shade to prevent excessive algae growth. Consider the overall design of your garden and ensure that the pond will complement the existing landscape.
Step 2: Marking the Area
Use a garden hose or spray paint to outline the shape and size of your pond. You can opt for a simple circular or oval design, or get creative with irregular shapes to add visual interest. Make sure the area is easily accessible and that there are no underground utilities or pipes running through it.
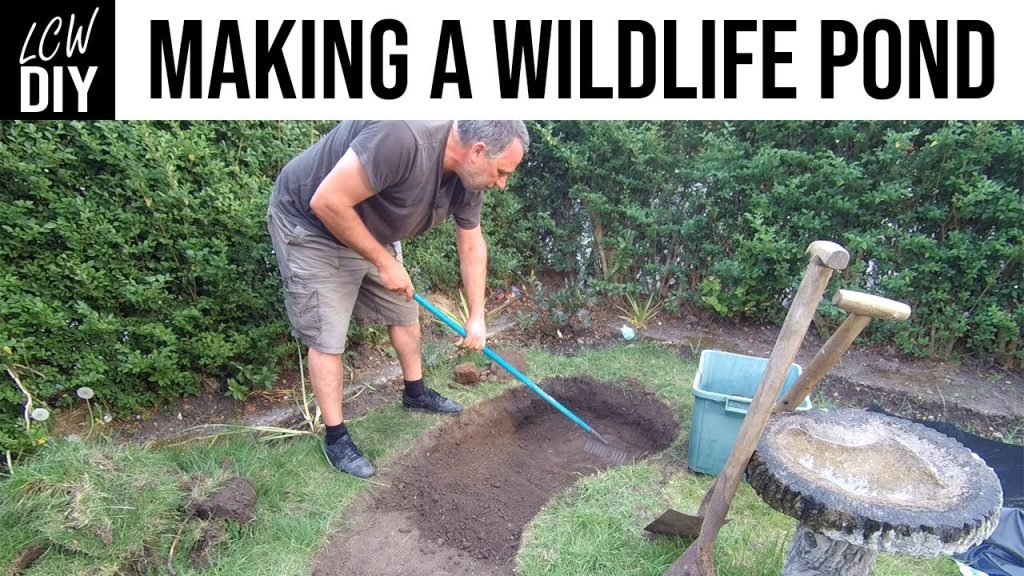
Step 3: Digging the Pond
Now comes the exciting part – digging! Start by removing the top layer of grass and soil within the marked area. Use a shovel or a small excavator to dig out the pond to your desired depth. For a small pond, a depth of around 18 to 24 inches should be sufficient. Remember to create shelves or ledges at different levels to support aquatic plants.
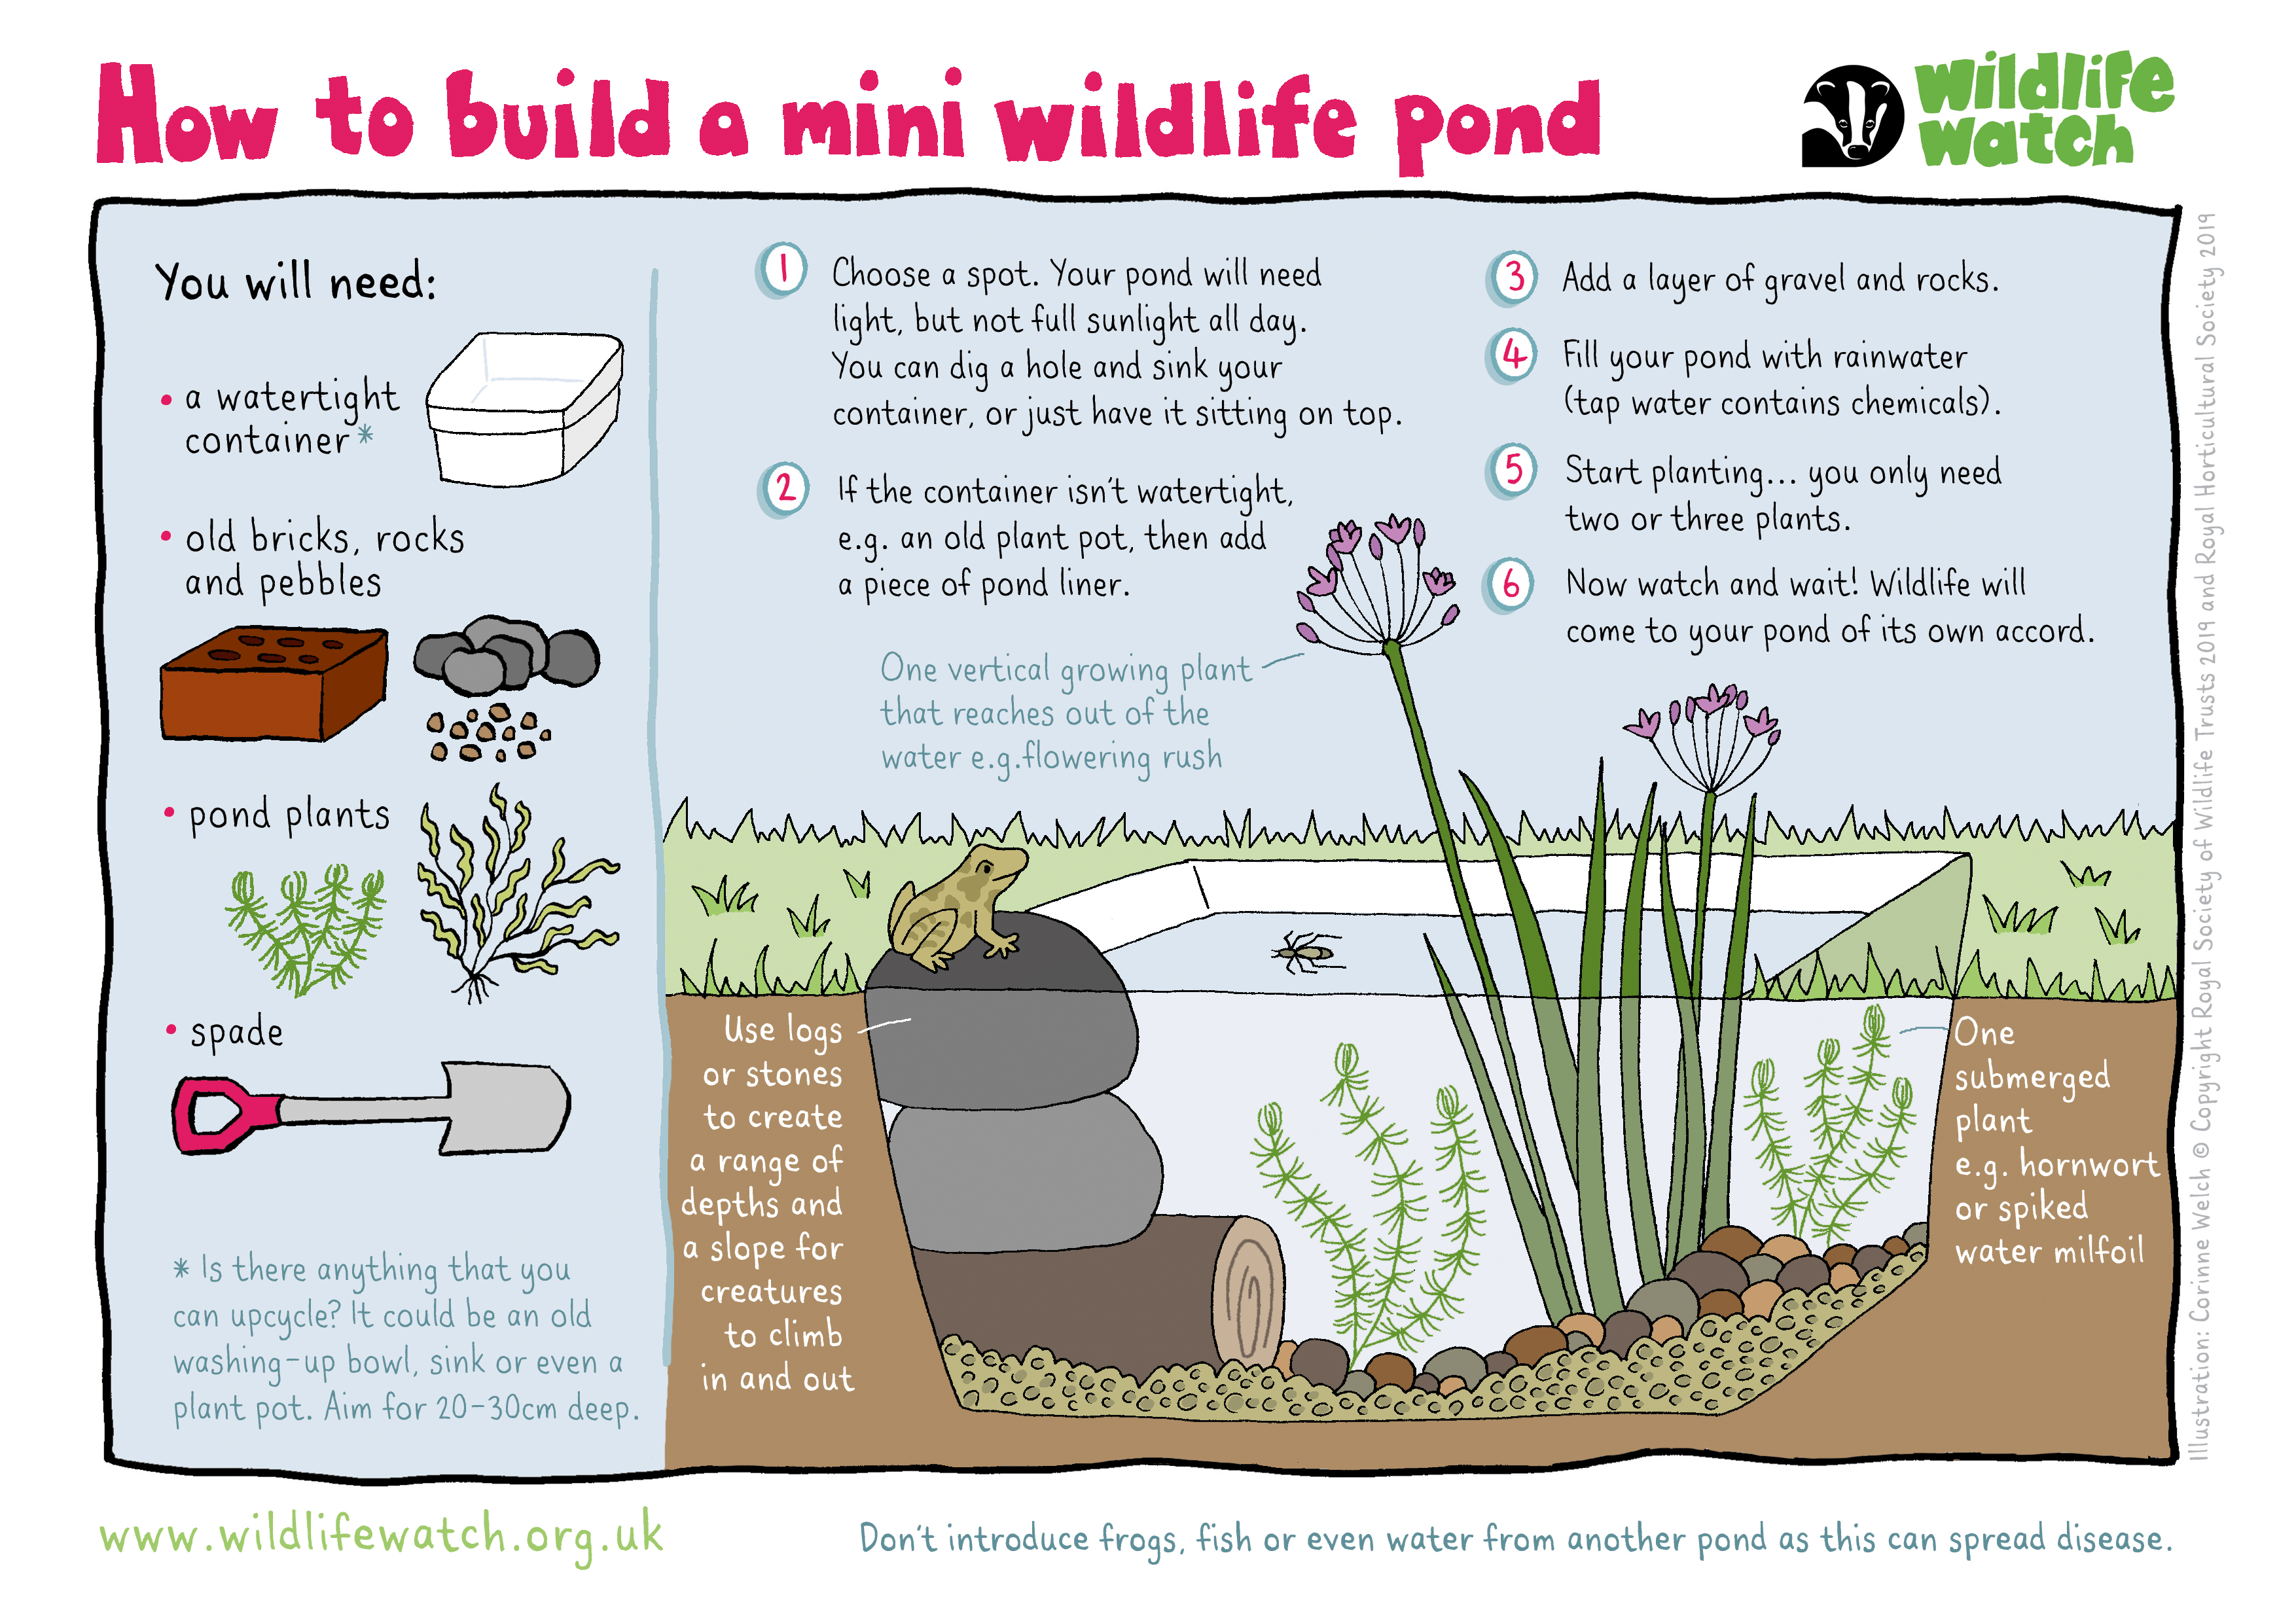
Credit: www.wildlifetrusts.org
Step 4: Creating a Slope
To prevent rainwater runoff and maintain the water level, create a gentle slope around the edges of the pond. This will also provide easy access for wildlife such as birds and frogs to enter and exit the water. Pack down the soil firmly to prevent erosion.
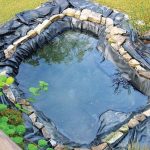
Step 5: Installing a Liner
Once the pond is dug to the desired shape and depth, it’s time to install a pond liner. Choose a durable and flexible liner that is resistant to punctures and UV damage. Place the liner carefully in the hole, making sure it covers the entire bottom and sides of the pond with some excess overlapping the edges.
Step 6: Filling the Pond
Slowly fill the pond with water, allowing the liner to settle and conform to the shape of the hole. Avoid using chlorinated water if possible, as it can harm aquatic plants and wildlife. Let the water sit for a few days to allow any chemicals to dissipate before adding plants and fish.
Step 7: Adding Plants and Fish
Now that your pond is filled with water, it’s time to add aquatic plants and fish. Choose a variety of plants such as water lilies, lotus, and water hyacinths to provide oxygen, shade, and filtration for the pond. Introduce fish like goldfish or koi to help keep the ecosystem balanced.

Credit: www.youtube.com
Step 8: Maintenance
Regular maintenance is crucial to keep your small pond healthy and thriving. Remove debris such as leaves and algae regularly, and check the water quality using a test kit. Trim and divide plants as needed, and ensure that the pump and filter are working correctly to maintain water circulation.
Conclusion
Creating a small pond in your backyard can be a rewarding and enjoyable project that adds beauty and tranquility to your outdoor space. By following these step-by-step instructions, you can successfully dig a small pond and create a thriving ecosystem that will bring joy and relaxation for years to come.
Remember to enjoy the process and take the time to appreciate the sights and sounds of your new pond as it becomes a focal point in your garden.